Last updated November 18, 2026



Free written scope consultation - allowances, timeline, and change-order rules on paper before a single trade is scheduled
Fence Installation Maintenance Schedule: What to Do and When
The most expensive thing a wood fence owner can do is wait until they can see the problem. By the time rot is visible, it’s already six inches deeper into the post than the surface shows. We’ve pulled posts in San Jose that looked solid at eye level and crumbled at the base from the inside out. The homeowner paid for a full replacement instead of a $12 bottle of sealer they kept meaning to buy.
Here’s the part most people never hear: a wood fence on a consistent three-year cycle lasts 20 years. The same fence ignored until it looks bad needs replacement in 10. That’s roughly five times the total cost in favor of the homeowner who does the small tasks on schedule. This guide lays out exactly what to check, when to check it, and what to do about what you find.
Quick Answer
A wood fence needs a full inspection once a year, a deep clean and sealer touch-up every two to three years, and a complete strip-and-refinish roughly every six to eight years. Vinyl and aluminum need an annual wash and hardware check but no staining. Gate hardware should be lubricated and adjusted twice a year, before winter rain and again in late spring.
Styles & brands we work with
- Kitchen remodeling
- Bathroom remodeling
- Home additions & ADU
- Roofing
- Windows & doors
- Driveway & pavers
- Fence
Table of Contents
- The Annual Inspection Checklist
- How to Find Early-Stage Rot Before It Spreads
- The Correct Stain and Sealer Cycle for California UV
- Vinyl and Aluminum: The Maintenance Most Homeowners Skip
- Why Your Sprinklers Are Aging Your Fence
- Gate Hardware: Lubrication and Adjustment by Season
- The Full Three-Year Maintenance Calendar
- Common Mistakes to Avoid
The Annual Inspection Checklist
Pick a dry weekend in late spring, after the last of the rain and before the hard summer sun sets in. Walk the entire fence line with a flathead screwdriver, a flashlight, and a notepad. This takes about 45 minutes on a typical residential lot in San Jose. Do it in the same order every year so you learn what “normal” looks like for your fence.
Here’s what to check, in order:
- Post bases. Probe the wood within two inches of the ground on all four sides of every post. Push the screwdriver with moderate hand pressure. If it sinks more than a quarter inch or comes out with soft, stringy wood, you’ve found rot. Check the side facing the sprinklers first; that’s where it starts.
- Top rails. Run your hand along the top of every rail. Feel for splintering, soft spots, and lifting finish. Water sits on top rails and wicks into the end grain, so the top of the fence often fails before the bottom.
- Board end grain. Look at the exposed ends of pickets and rails. End grain drinks water like a straw. If the ends look fuzzy or grey and the finish has worn thin there, that’s the first place to re-seal.
- Gate hardware. Open and close each gate several times. Listen for squeaks, feel for sag, and check that the latch catches cleanly without lifting the gate. A gate that drags is a hinge problem or a post problem, and both get worse fast.
- Loose fasteners. Look for popped nails, backed-out screws, and rust streaks around fastener heads. Rust streaks mean water is getting in and steel is corroding.
- Ground contact and grade. Make sure soil, mulch, or pavers aren’t piled above the bottom rail. Wood should never touch soil. If it does, dig it back.
Write down what you find and photograph it. Next year’s inspection starts with last year’s notes, and a fence that’s deteriorating in one spot tells you where to spend your attention. If the inspection turns up structural problems you can’t fix yourself, our Fence Installation in San Jose team can take a look.
How to Find Early-Stage Rot Before It Spreads
Rot in a fence post follows a predictable path. It starts at the ground line, where moisture, soil contact, and oxygen all meet. It moves up the post from the inside, because the untreated heart of the wood is more vulnerable than the finished surface. By the time you see a soft spot on the outside, the core has been failing for a year or more.
The screwdriver probe is your best early detection tool. Here’s how we do it:
- Probe low and slow. Work around each post at ground level, pushing the tip in at a slight downward angle. Healthy wood resists; rotted wood gives.
- Look at the color. Dark, discolored wood near the base, especially with a whitish or greyish film on it, is a sign of fungal activity. Fresh rot sometimes looks like a stain rather than a soft spot.
- Smell it. A musty, earthy smell at the base of a post is a strong indicator. Healthy pressure-treated wood has a chemical smell when fresh; rotted wood smells like wet basement.
- Check for termites and carpenter ants. In San Jose, subterranean termites are common and they love a damp fence post. Look for mud tubes, small holes in the wood, or sawdust at the base.
- Tap it. A solid post gives a sharp, high tap. A hollow or dull sound means the interior is compromised.
What you do with what you find depends on how bad it is. Surface rot on a board can be treated and re-sealed. Rot that’s gone structural in a post means the post needs replacing, and that’s not a job to put off, especially if it’s holding a gate or a corner. If you’re seeing rot in more than two or three posts, it’s usually a sign that the fence is at the end of its useful life and repair costs are chasing replacement costs. That’s a good time to get a written estimate and compare the math.
The Correct Stain and Sealer Cycle for California UV
San Jose’s climate is hard on exterior wood in ways that surprise people who moved here from wetter places. We get a lot of UV. We get long dry stretches. We get a rainy season that dumps water for a few weeks and then stops. That cycle of bake-and-soak is what breaks down finish, not steady rain like you’d see in the Pacific Northwest.
The basic cycle has three phases:
- Clean only. If the finish is intact and the wood looks good but dirty, you don’t need to re-coat. A wash with a mild oxygenated cleaner and a soft brush, then a rinse, is enough. Don’t use a pressure washer on wood, especially at high pressure. It drives water into the grain and strips the finish you’re trying to protect.
- Clean and re-coat. If the finish has thinned or the wood is starting to look grey, clean, let it fully dry (two to three dry days minimum), and apply a maintenance coat of the same product type that’s already on there. Oil-based over oil-based, water-based over water-based. Mixing types is a common mistake that leads to peeling.
- Strip and refinish. If the old finish is failing in patches, peeling, or flaking, or if the wood is grey and the finish won’t accept a new coat evenly, you need to strip. That means a chemical stripper or sanding back to bare wood, a brightener if needed, and a fresh start. This is the deep cycle, and it should happen every six to eight years on a fence exposed to full California sun.
Two things we see on San Jose fences all the time: homeowners re-coating over a dirty surface, which traps grime and causes peeling, and homeowners using a clear sealer on grey wood expecting it to bring the color back. Clear sealer protects wood that’s already in good shape; it doesn’t restore color. If the wood has gone grey, you need a stain that adds pigment back, or you need to sand it down to fresh wood first.
Vinyl and Aluminum: The Maintenance Most Homeowners Skip
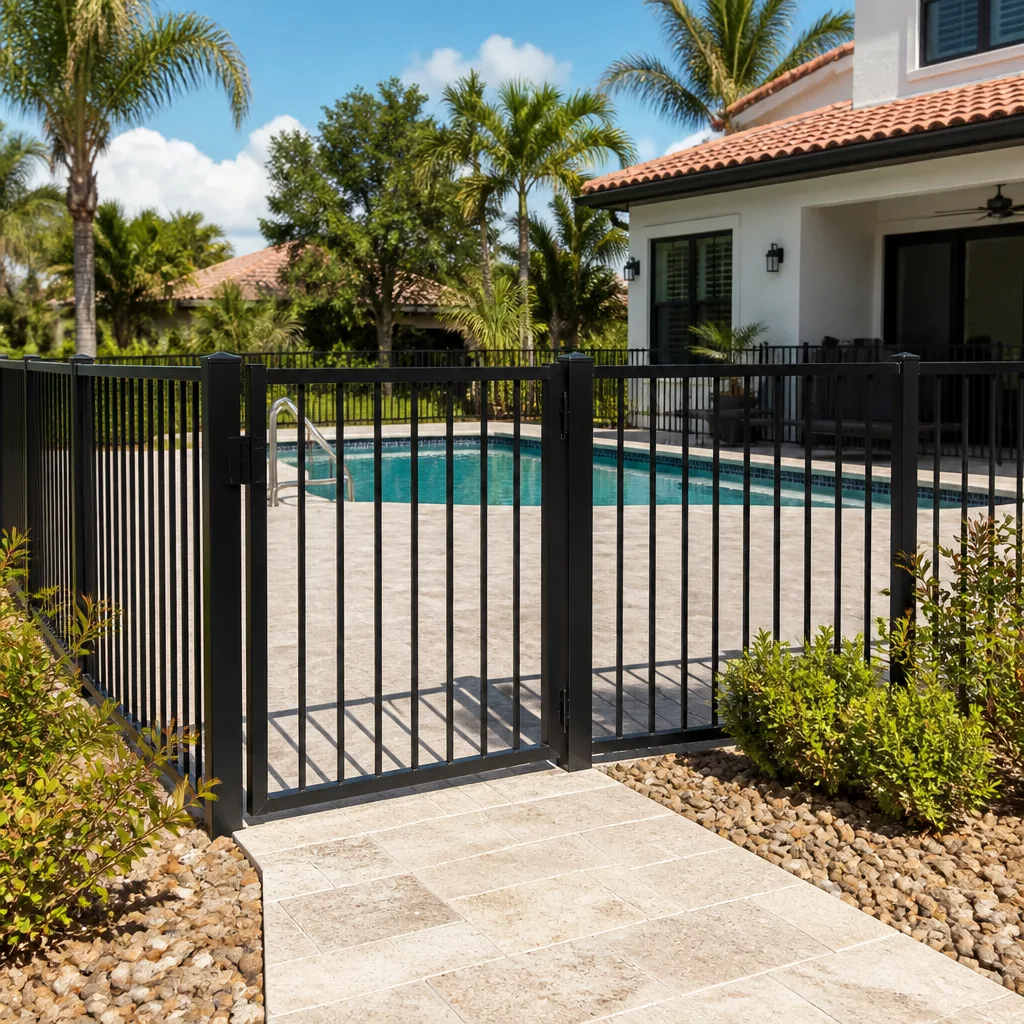
Vinyl and aluminum fences get sold as maintenance-free, and that’s mostly true for the panels. What the sales brochure doesn’t tell you is that the hardware, post caps, and panel channels all need attention, and if you ignore them, the fence slowly starts to sag, rattle, and stain.
Here’s the annual routine:
- Wash the panels. Once a year, a garden hose, a soft-bristle brush, and a mild dish-soap solution removes the dust, pollen, and sprinkler mineral deposits that build up. Don’t use abrasive cleaners, and don’t use a pressure washer directly on the surface or at the seams.
- Check and clean the panel channels. Vinyl panels sit in bottom and top channels. Those channels collect dirt, leaves, and water. If they stay wet, the panels can grow mildew at the contact points. Flush them once a year and make sure nothing is blocking drainage.
- Look at the post caps. Post caps are the plastic or aluminum covers on top of the posts. They come loose, crack, or fill with water. A missing or cracked cap lets water into the post, and on vinyl fences that hollow post holds it until the next freeze or the next big wind. Tighten or replace loose caps.
- Check the hardware and brackets. Aluminum fences have brackets and fasteners that loosen over time. Walk the line and tighten anything that wiggles. Replace any fastener that shows corrosion, especially on aluminum, where dissimilar metal contact causes galvanic corrosion.
- Check for impact and settling. Vinyl gets brittle in cold weather and can crack if struck. Look for cracks at posts and rail junctions. Also check that posts haven’t settled; a slightly leaning post over a few seasons can rack the whole fence.
We install vinyl and aluminum fencing across San Jose, and the fences that age the best are the ones where the homeowner takes 30 minutes once a year to wash, tighten, and check the caps.
Why Your Sprinklers Are Aging Your Fence
This is the maintenance task nobody thinks about, and it’s one of the biggest causes of fence rot in San Jose. Sprinklers aimed at or near a wood fence spray water onto the boards and into the post bases on every cycle. The wood never fully dries. Add the sun baking the moisture into the grain and you’ve created the perfect environment for rot and rust streaking on fasteners.
Here’s how to tell if your irrigation is working against your fence:
- Look for dark, consistently wet wood. If the bottom rail or post bases are damp long after the sprinklers run, the fence is getting water it shouldn’t.
- Check for mineral staining. White, chalky deposits or rust-colored streaks on the fence mean hard-water spray is landing on it and evaporating. San Jose’s water is hard, so this happens quickly.
- Watch the spray pattern during a cycle. Turn the zone on and stand at the fence. If the spray hits the fence boards, the heads are aimed too close, or the throw is too long.
- Look for overspray onto aluminum. Aluminum fences near irrigated lawns will show rust-colored water stains from the same mineral issue. It’s cosmetic, but it means you’re watering the fence instead of the lawn.
Fixing it is usually simple. Reposition or replace the heads so the spray stops 18 to 24 inches short of the fence. If a head has to water right up to the fence line, switch it to a drip line or a low-volume bubbler. Some homeowners add a simple wood or metal splash guard along the bottom of the fence to deflect spray. We’ve seen fences gain years of life from a 20-minute sprinkler adjustment, and it’s the cheapest maintenance you’ll ever do.
Gate Hardware: Lubrication and Adjustment by Season
Gates take more abuse than any other part of a fence. They’re the moving piece, the impact point, and the part every visitor touches. Twice a year, in late fall before the rainy season and again in late spring, spend 15 minutes on the gate hardware.
The common hinge and latch types in San Jose residential fencing, and what each one needs:
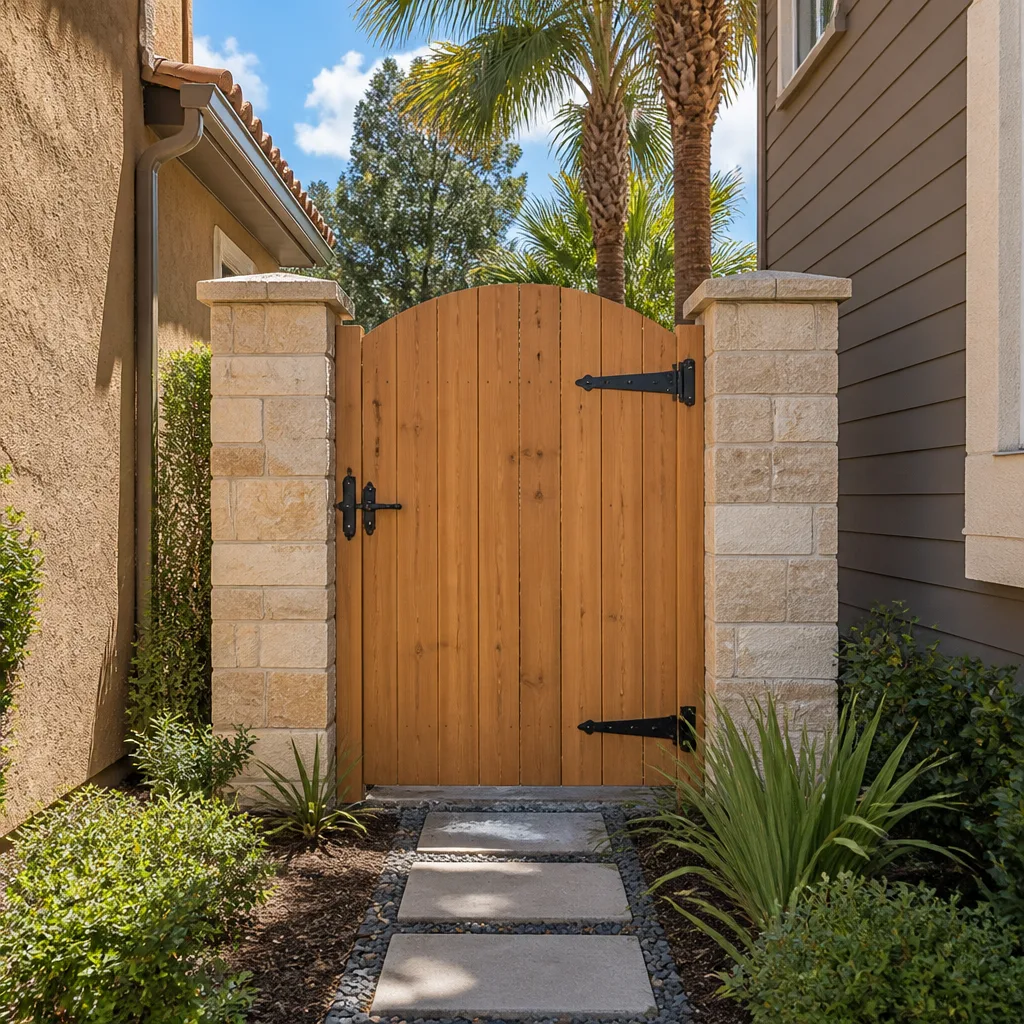
- Butt hinges (wood gates). These are the standard flat hinges screwed into the gate frame and post. Wipe them clean, then apply a few drops of silicone spray or a light lithium grease to the pin. Don’t use WD-40 as a long-term lubricant; it cleans and displaces water but leaves a thin film that gums up. Check that the screws are tight; a gate that sags usually has loose hinge screws or rotted hinge-side post wood.
- Strap hinges (wood and vinyl gates). These are the long decorative hinges that run across the gate face. The pivot point needs the same light lubrication. Check that the strap isn’t bending, which happens when the gate has been leaning on it.
- Self-closing and spring hinges. Lubricate the spring mechanism with a silicone spray, and check that the closure is smooth and steady. If the gate slams, the spring tension is too high; if it doesn’t close, it’s too low, or the gate has swelled or dropped.
- Latch types. Thumb latches, slide bolts, and self-latching magnetic latches all benefit from a little silicone spray on the moving parts. Check the strike plate alignment; if you have to lift or push the gate to latch it, the gate is sagging or the post has moved, and adjusting the latch without fixing the underlying cause makes it worse.
- Aluminum and vinyl gate hardware. These use stainless or aluminum hinges and often a magnetic catch. Lubricate the pivot points minimally with silicone, and check for loose brackets. On these gates, adjustment is usually in the hinge brackets, not the wood.
Adjustment matters as much as lubrication. A gate that’s dragging on the ground is a sign the hinge has worn, the hinge-side post has moved, or the gate frame has warped. Small adjustments now prevent a full gate rebuild later.
The Full Three-Year Maintenance Calendar
When we talk to homeowners about a fence maintenance schedule, they want it in plain terms. Here’s the cycle we recommend for a wood fence in San Jose.
Year 1:
- Full inspection in late spring (post bases, rails, end grain, hardware, fasteners).
- Wash the fence.
- Re-coat exposed end grain and the top rails if the finish looks thin.
- Lubricate gate hardware and adjust the gate.
- Adjust sprinklers to keep spray off the wood.
Year 2:
- Full inspection.
- Wash the fence.
- Lubricate gate hardware; check hinge and latch alignment.
- Touch up any spots where finish has worn or rot has been treated.
Year 3:
- Full inspection.
- Deep wash.
- Apply a full maintenance coat of the same finish product type.
- Lubricate gate hardware; make adjustments.
- Check post bases after the rainy season for new water damage.
Repeat this three-year loop. Every six to eight years, replace the maintenance coat with a full strip and refinish. For vinyl and aluminum, drop the staining and stripping entirely and keep the wash, hardware check, and post cap inspection on the annual routine.
One more piece of context: San Jose’s rainy season runs roughly November through March, and the UV dose is highest from May through September. That means the finish has two windows of stress each year, and your inspection should happen after the rain and before the summer sun. If you’re planning a larger project nearby, our team handling Driveway & Pavers in San Jose can tell you how pavers and fence footings affect drainage along the property line.
Common Mistakes to Avoid
- Waiting for visible damage. By the time rot shows on the surface, it’s already structural. Probe the post bases every year and catch it early.
- Pressure washing wood fences. A pressure washer strips finish, drives water into the grain, and damages the surface. Use a garden hose and a soft brush.
- Re-coating over a dirty or wet fence. Finish won’t adhere to dirt or moisture. Clean, let the wood dry fully, and check the weather forecast before you start.
- Mixing stain product types. Oil-based over water-based (or the reverse) causes peeling. Know what’s already on the fence before you add another coat.
- Ignoring the sprinkler overlap. In San Jose, irrigation spray hitting the fence is one of the top causes of rot and rust streaking. Re-aim the heads and let the wood dry out.
- Forgetting the post caps. On vinyl and aluminum fences, a loose or missing cap is an invitation for water to get into the post. Check and tighten them annually.
- Skipping gate hardware maintenance. Gates are the moving part of the fence. Lubricate twice a year, adjust the hinges, and address sag before it becomes a rebuild.
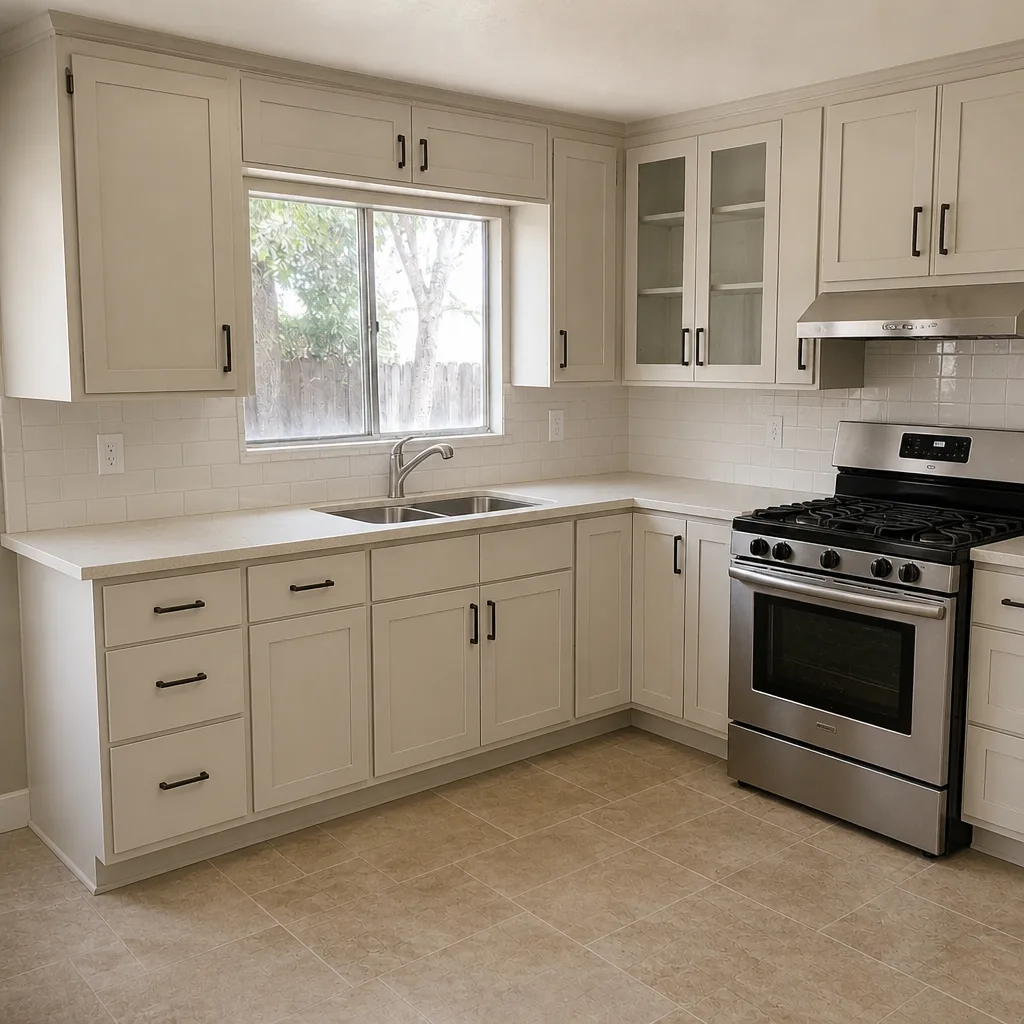
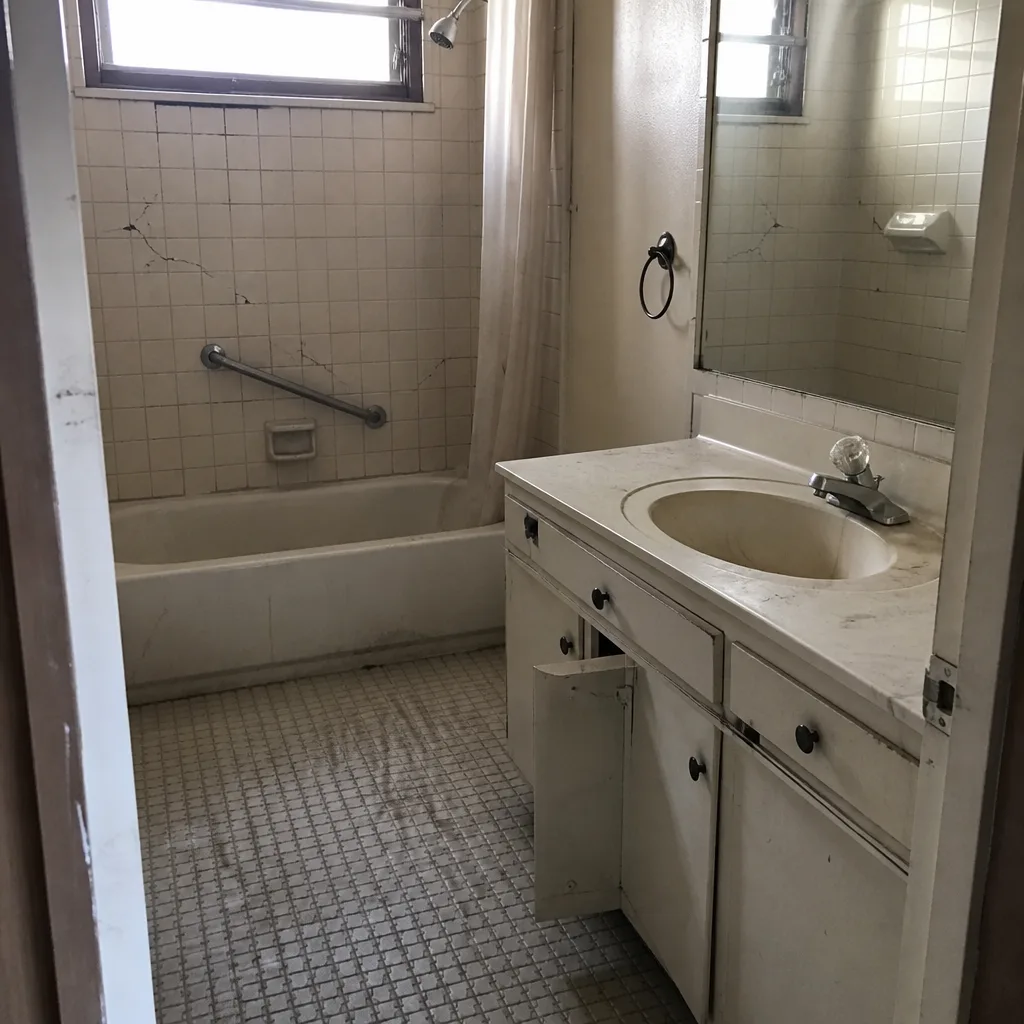
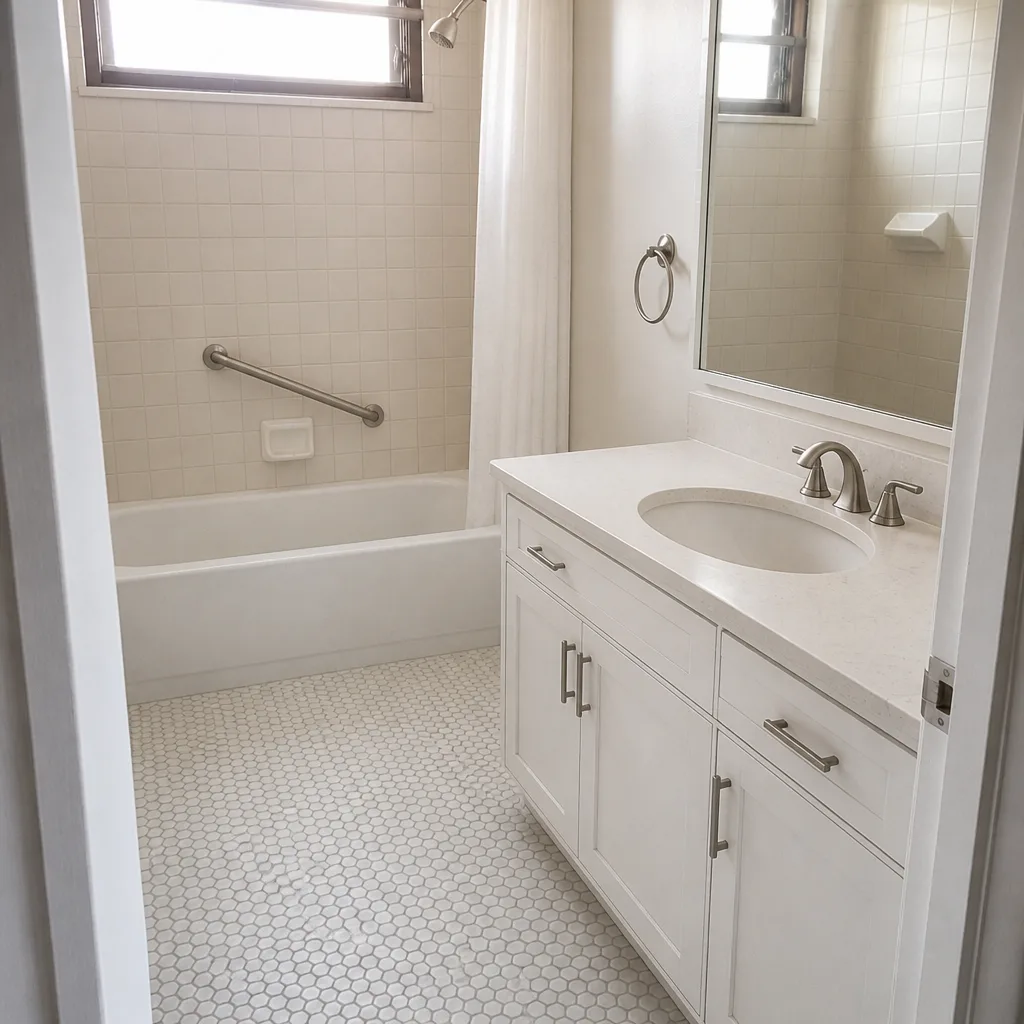
See the difference
 Before
 After
 Before
 After
 Before
 After
When to Call a Professional
Some maintenance you can do yourself, and we’d rather you did. But there are times when a weekend project turns into a structural problem. Call us if you find rot in two or more posts, if a gate is sagging badly enough that the latch no longer aligns, if you’re seeing termite activity in the fence, or if a fence is leaning and you can’t tell whether it’s a post problem or a footing problem. We’re also the right call if you’re deciding between repairing and replacing; the math isn’t always obvious, and a written line-item estimate makes it clear. Barrett & Sons Construction offers free estimates in San Jose. Call (844) 320-5918.
Frequently Asked Questions
A wood fence in San Jose should be inspected once a year, cleaned and touch-coated every two to three years, and fully stripped and refinished every six to eight years, given the area’s strong UV exposure and long dry season.
Probe the post base with a flathead screwdriver. If the wood resists firm hand pressure, it’s stained or weathered, not rotten. If the screwdriver sinks in more than a quarter inch and comes out with soft, stringy fibers, the post is rotting and needs attention. Call (844) 320-5918 for an exact quote if you find more than one or two bad posts; estimates are free.
No, but vinyl still needs annual maintenance. Vinyl doesn’t rot, but San Jose’s UV can fade and chalk the surface over time, and mineral deposits from sprinklers and hard water build up on the panels. Wash it once a year, check the post caps, and flush the panel channels.
Use a garden hose, a mild oxygenated wood cleaner, and a soft brush. Work at low pressure, rinse thoroughly, and give the fence two to three dry days before applying any finish. Never use a pressure washer on wood at high pressure.
Yes, twice a year. Use a light silicone spray or a lithium grease on butt and strap hinge pins. Avoid WD-40 as a long-term lubricant; it’s a cleaner and water displacer, not a lasting lubricant. Check hinge screws and latch alignment at the same time.
Yes, especially in San Jose’s dry climate, where water evaporates fast but leaves the wood damp for hours after each cycle. If sprinkler spray consistently hits the fence, the wood never fully dries. Re-aiming the heads to stop the spray 18 to 24 inches short of the fence is the cheapest fix.
The Bottom Line
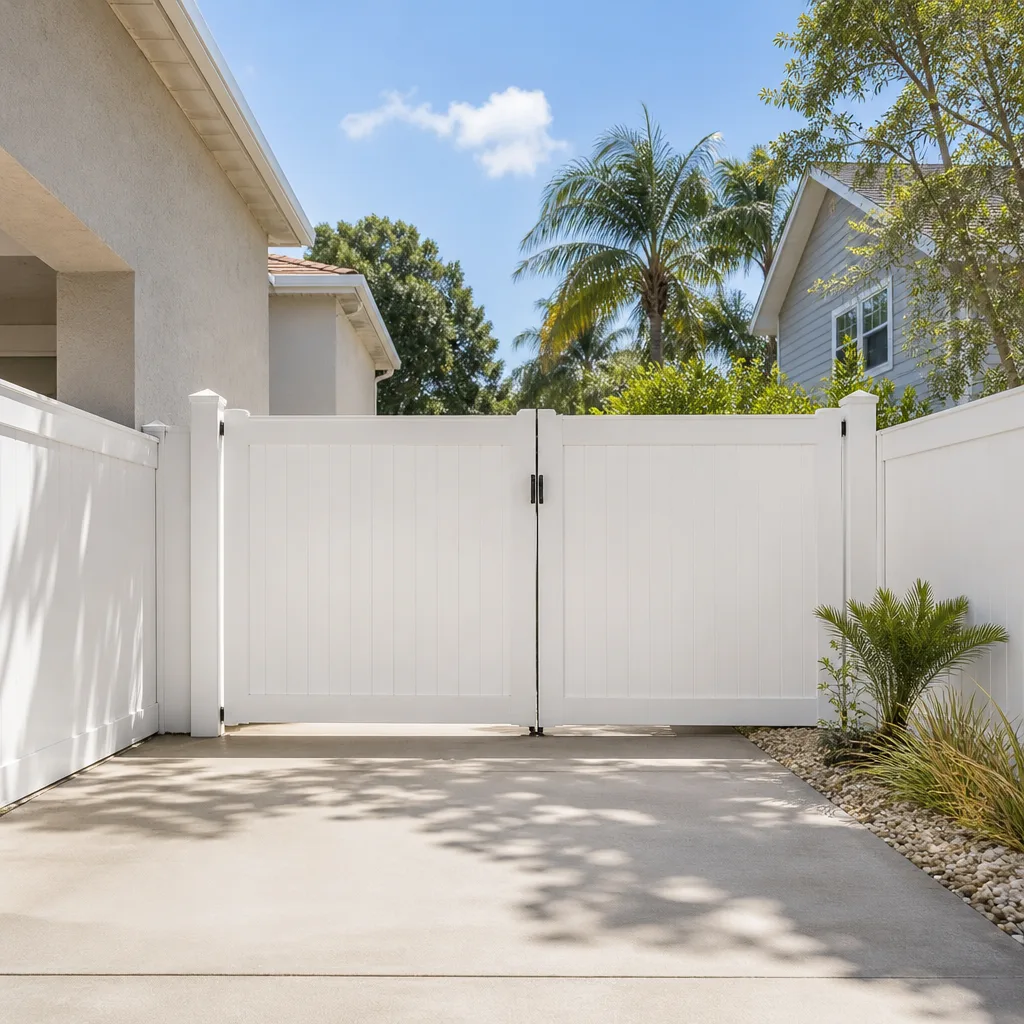
A fence is one of those things that’s easy to ignore until it’s expensive. The homeowners who get 20 years out of a wood fence are the ones who spend an hour a year walking the line with a screwdriver, an afternoon every couple of years on stain and sealer, and 15 minutes twice a year on gate hardware. The homeowners who replace in 10 years are the ones who waited for the problem to show. The schedule is simple. The small tasks are the ones that matter. And if you’d rather trust the structural work to a crew that pulls permits and puts every change in writing, our team at the Barrett & Sons Construction San Jose home page is a good place to start. For homes planning a larger project around the fence line, our Home Additions & ADU in San Jose team can coordinate with the fence work so nothing gets dug twice.
Whether you need a one-time inspection, a repair, or a full installation, we’re happy to put together a written estimate. Call Barrett & Sons Construction San Jose at (844) 320-5918 for a free estimate. Our technicians have up to 28 years of experience, and we’re glad to talk through your fence line.
Written by the team at Barrett & Sons Construction San Jose.