Last updated November 18, 2026








Free written scope consultation - allowances, timeline, and change-order rules on paper before a single trade is scheduled
Bathroom Remodeling Troubleshooting: Common Problems and How to Fix Them
Grout cracking in a shower within the first year almost never means the grout was cheap. It almost always means the wall substrate moved, either because backer board wasn’t used, wasn’t fastened correctly, or the niche framing wasn’t rigid enough before tile went on. That’s the part most homeowners never hear, because cosmetic fixes get sold while the real cause stays hidden behind the tile. We’ve walked into a lot of San Jose bathrooms where a homeowner has already paid twice for regrouting that failed again within months. This guide is a symptom-to-cause reference so you can describe what you’re seeing accurately, tell a maintenance item from a contractor call, and get the actual problem fixed the first time.
Quick Answer
Most post-remodel bathroom problems trace back to a handful of installation shortcuts: missing or poorly fastened backer board, an undersized exhaust fan or a kinked duct run, a drain that was moved without adding a vent, and flexible caulk doing a job that rigid construction should have done. Cracking grout, hollow tile, persistent mildew, slow drains, and foggy mirrors are all symptoms you can trace to one of those causes. The fix depends on whether it’s a caulk failure you can handle or a substrate failure that needs the contractor who did the work.
Styles & brands we work with
- Kitchen remodeling
- Bathroom remodeling
- Home additions & ADU
- Roofing
- Windows & doors
- Driveway & pavers
- Fence
Table of Contents
- Why Is My Shower Grout Cracking Already?
- What Does Hollow-Sounding Tile Mean?
- Why Does Mildew Keep Coming Back at the Caulk Lines?
- Why Is My Bathroom Drain Slow After a Remodel?
- Why Doesn’t My Exhaust Fan Clear the Steam?
- Why Won’t My Bathroom Door Latch After Humid Weather?
- Caulk Failure vs. Substrate Failure: Which One Do You Have?
- How to Have the Warranty Conversation the Right Way
Why Is My Shower Grout Cracking Already?
Cracking grout points to movement behind it. Grout is a rigid cement product, and when the substrate under the tile flexes even a fraction, the grout has nowhere to go but crack. In a properly built shower, cement backer board is screwed to the studs on a schedule close enough that the panel doesn’t shift, and the seams are taped and mortared before tile ever goes up. When that step gets rushed, or when greenboard drywall is used where backer board belongs, the wall moves with every shift in humidity and temperature, and the grout pays the price.
San Jose gives us a particular version of this. Our dry summers and damp winters mean the bathroom walls cycle between very different moisture levels across the year, and a wall that isn’t built rigid shows that cycle within a season or two. The old housing stock in neighborhoods like Willow Glen and the Rose Garden often has studs that aren’t perfectly plumb, and a crew that shims tile instead of fixing the framing is setting up a crack down the road.
Here’s how to tell what you’re dealing with:
- Run a fingernail or a plastic card along the crack. If it’s a hairline that only appears in the grout joints and the tile feels solid around it, it may be minor movement.
- Press on the tile on either side of the crack. Any give or flex at all means the substrate is moving, and regrouting won’t fix it.
- Check whether cracks follow a straight line along a seam. That pattern usually means the backer board seam wasn’t taped and bedded.
- Look at the corners where two walls meet. Grout in inside corners should generally be flexible caulk, not hard grout, precisely because corners move.
If the tile is solid and the crack is confined to one joint, a proper regrout with the right flexible sealant at the corners may hold. If there’s flex anywhere, the honest answer is that the wall needs to be opened up. We’ve seen this enough in San Jose to say it plainly: regrouting over a moving substrate is money spent twice.
What Does Hollow-Sounding Tile Mean?
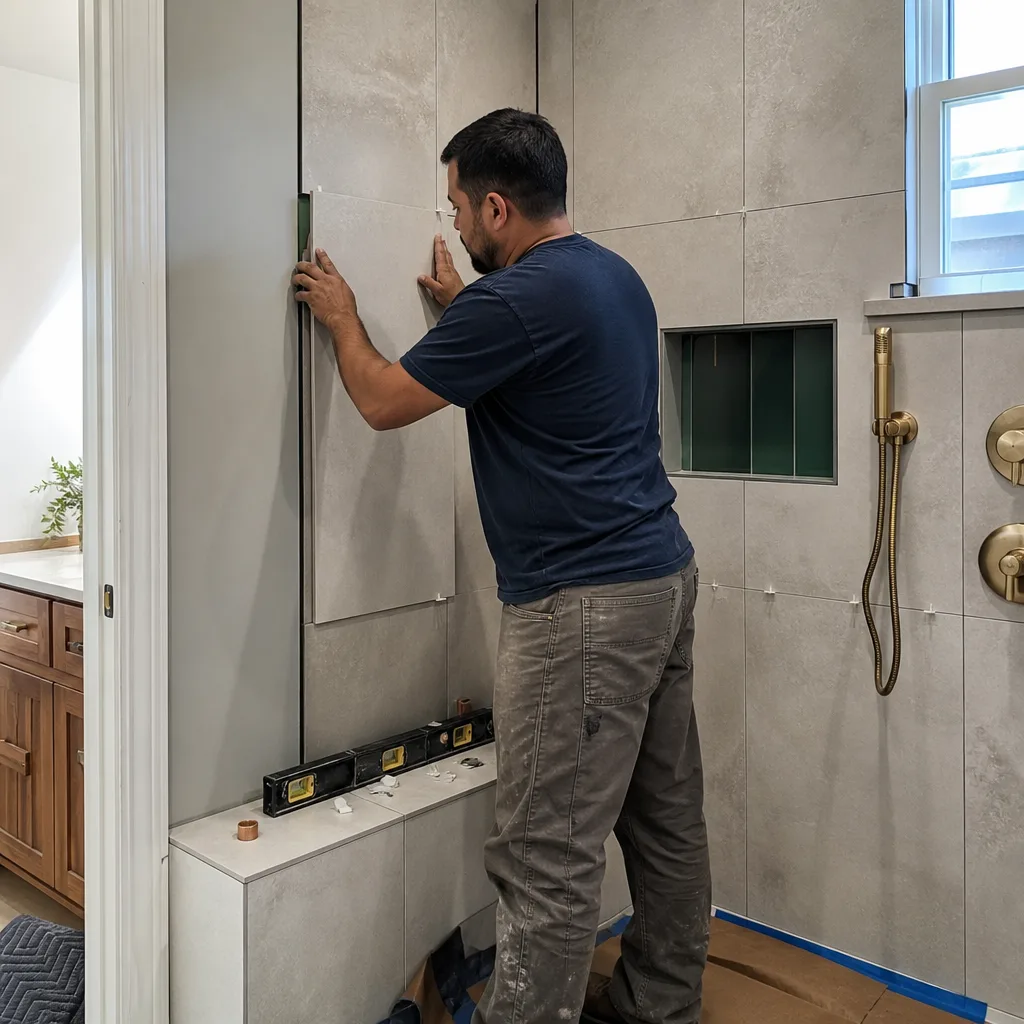
A hollow sound when you tap a tile means there’s a void between the tile and the thinset underneath, and that void is where trouble starts. Properly set tile has full coverage under it, usually above 90 percent in a wet area, so tapping gives you a dull, solid thunk. A hollow ring says the thinset was spot-bonded, mixed too dry, or the tile was pressed down without back-buttering. That void collects moisture, and in a shower it eventually works loose and can pop off the wall.
Tap test the whole bathroom with a plastic screwdriver handle, not metal, so you don’t chip the surface. Mark the hollow ones with painter’s tape. A single hollow tile on a dry floor may live a long time. Hollow tiles anywhere in a shower, or a cluster of them, need attention, because water trapped in the void has nowhere to drain and can feed the mildew problem you’ve been fighting.
Small, isolated hollow spots can sometimes be injected with epoxy, which is a repair a tile setter can do without tearing out the wall. A field of hollow tile or a hollow shower floor means the setting bed failed and the tile comes off. That’s not a cosmetic job, and it’s a legitimate conversation to have with whoever built it. If you’re planning a full redo instead of a repair, our Barrett & Sons Construction San Jose home page lays out how we scope bathroom work and what’s included.
Why Does Mildew Keep Coming Back at the Caulk Lines?
Mildew that returns to the same caulk lines after every cleaning is usually a moisture problem, not a cleaning problem. Mold needs food, water, and a surface. Silicone caulk in a wet bathroom gets all three if water is sitting against it, which happens when the caulk joint was smeared thin, when it was applied over damp or dirty tile, or when the exhaust fan isn’t pulling humidity out. Cleaning kills what’s on top. It doesn’t remove the water that keeps feeding it.
The first thing to check is ventilation, which we cover below. The second is the caulk joint itself. A properly done joint is at least an eighth inch wide, squared off, and filled with a mold-resistant silicone rated for wet areas. A thin smear over the old caulk holds moisture against the wall and grows mildew fastest of all. In San Jose, our mild damp winters are long enough that a badly done joint stays wet for weeks at a time.
- Remove the old caulk completely with a plastic scraper and a caulk-removal tool. Don’t caulk over caulk.
- Clean with a mildewcide and let the area dry fully, a full day if you can.
- Fill deep joints with backer rod first so the silicone has a proper profile to grab instead of a thin skin.
- Use a silicone rated for bathrooms and wet areas, with mold resistance built in.
- Tool the joint smooth and let it cure the full time on the tube before the shower goes back into use.
If mildew keeps returning at a horizontal surface where water pools, and the surface itself is soft or the grout has gone dark and crumbly, that’s past a caulk fix and worth having looked at.
Why Is My Bathroom Drain Slow After a Remodel?
A slow drain after a remodel comes from one of two causes that look identical from above but need completely different fixes. The common one is a partial clog in the P-trap, usually construction debris, hair, or soap scum. The other is a venting problem, which happens when the remodel moved the drain or added a fixture, like a second sink or a relocated shower, without running a vent for it. Both drain slowly. Only one is fixed by plunging or snaking.
How to tell them apart:
- Does the drain gurgle or does the water in the toilet or another fixture move when you run this one? Gurgling points to venting.
- Does the slow drain smell like sewer gas at any point? That’s a vent sign.
- Does plunging or snaking bring up debris and restore the flow? That’s a clog, and the fix is clearing it.
- Did the drain ever work well after the remodel, or has it been slow since the day the work finished? Slow from day one points to the install.
A venting problem is not a homeowner fix. It means the plumbing under your floor isn’t breathing, and it needs a plumber who can look at the whole drain system, not just the trap. This is one we see in San Jose bathroom remodels where a fixture was added to increase function without checking the vent routing, and it’s worth asking about before a remodel, not after. If you’re planning other projects, the same care applies to Driveway & Pavers in San Jose and any work that touches grade or drainage around the house.
Why Doesn’t My Exhaust Fan Clear the Steam?
An exhaust fan that doesn’t clear the mirror is either undersized for the room or fighting a bad duct run. The sizing part is simple math. Building code and the Home Ventilating Institute call for about one cubic foot per minute of airflow for every square foot of floor area in a bathroom, so an 8-foot by 10-foot bath needs roughly an 80 CFM fan, and anything with a tub or shower wants more. If the fan is rated close to that minimum, it can only do its job if the duct work behind it is clean and short.
The duct is where the real problem usually lives. A correctly sized fan connected to a duct that’s too long, pinched into a flexible run that got kinked during installation, or vented into the attic instead of outside will never clear the room, no matter how loud it runs. In our experience, most “fan doesn’t work” calls in San Jose are duct problems, not fan problems, because a flexible duct that was pulled tight around a corner or crushed above the ceiling loses most of its airflow.
What to check:
- Confirm the rating. Look at the fan’s label or the model number. Compare CFM to the square footage of the room.
- Listen for the exhaust at the outside vent. Hold a tissue near the exterior flap while the fan runs. Weak pull there means a duct restriction.
- Check the attic run if you can safely reach it. Kinked or disconnected flex duct is common. Don’t crawl through insulation or near wiring to diagnose it; that’s a job for a pro.
- Confirm it vents outdoors, not just into the attic. Venting into the attic pushes moisture into the building envelope, and that’s a much more expensive problem later.
If the fan is correctly sized and still struggles, the duct gets corrected, not the motor. Roof-mounted terminations and vent caps on a San Jose home also matter, and our roofing team is familiar with proper exhaust terminations under the brands we install, like CertainTeed and Owens Corning systems.
Why Won’t My Bathroom Door Latch After Humid Weather?
A bathroom door that won’t latch after the first humid spell is a humidity and ventilation signal, not a door problem. A hollow-core door and its frame both swell slightly with moisture. If the strike plate and latch line up perfectly in a dry month, a warm, steamy week can move the door enough that the latch catches on the plate. Forcing it or shaving the door is a cosmetic fix that comes back every season.
Treat the cause. If the exhaust fan isn’t clearing steam, the room stays humid and nothing else will hold. After that, the fixes are small. Tighten or adjust the strike plate a sixteenth of an inch. Confirm the door hinges are tight and the gap at the bottom isn’t binding on a new tile floor that raised the threshold slightly, which happens in a lot of remodels. If you’ve got genuine seasonal movement beyond a sixteenth inch, that’s worth having looked at.
None of that is a contractor call on its own. It’s a useful signal, though: a door that started swelling is a door that’s been breathing steam, and steam is what makes grout crack and caulk mildew.
Caulk Failure vs. Substrate Failure: Which One Do You Have?
This is the single most useful distinction in the whole guide, because it decides whether you spend a Saturday afternoon or make a phone call. A caulk failure is a maintenance item in the flexible sealant at a joint, corner, or edge. A substrate failure is a movement problem in the wall or floor structure behind the tile. They can look nearly identical, and homeowners waste real money applying cosmetic fixes to substrate problems that will not hold.
| Sign | Likely Caulk Failure (you can address) | Likely Substrate Failure (call the builder) |
|---|---|---|
| Crack location | Along a corner, edge, or where tile meets tub | Across the middle of a wall, or following a backer board seam |
| Tile movement | None. Tile is solid to the touch | Flex or give when you press near the crack |
| Recurrence | Returns slowly over a year or more | Returns within weeks of repair, same spot |
| Sound when tapped | Solid thunk | Hollow ring |
| Water behind the caulk | Dry once old caulk is removed | Damp or crumbly material behind it |
The rule of thumb: if the tile is solid and the problem is confined to a joint that flexes by design, it’s maintenance. If anything moves, it’s structural. If you’re not sure, a free second opinion on a written estimate is the cheapest way to find out before you spend on repairs.
How to Have the Warranty Conversation the Right Way
A good craftsmanship warranty covers the install work, and a manufacturer warranty covers the product. They’re two different things, and knowing which applies gets you a faster, better outcome. A written craftsmanship promise, like our 90-Day Done Right Promise, should stand behind the labor and the installation method: proper backer board, correct fastening, properly sized and ducted exhaust, and drains installed with the right venting. The manufacturer warranty covers a defective fan motor or a failing tile finish. Keep them separate in your mind, and in your conversation.
To present a problem so it gets taken seriously, document it in writing:
- Photograph the issue from a distance and up close, with something for scale. Take a photo at the same angle each week so change is visible.
- Write down the timeline. When you first noticed it, what you’ve done since, and whether it’s gotten worse.
- Describe it in cause terms using this guide’s symptom names. “Grout cracking along the backer board seam with flex when pressed” is a much stronger report than “grout looks bad.”
- Note the conditions that seem to trigger it: after a shower, after humid weather, only in winter.
- Send it in writing by email or text so there’s a record, and ask for a written response.
A company that stands behind its work will come back and look. If your remodel was done by a contractor who has gone quiet, a free second opinion on the written estimate or repair quote tells you what you’re actually looking at. And when you’re ready for the next project, whether that’s a bathroom or a Home Additions & ADU in San Jose, get the scope and allowances in writing before work starts. An allowance that isn’t on paper is a surprise waiting for a date.
Common Mistakes to Avoid
- Regrouting over a moving wall. If the tile flexes, the new grout cracks again within a season. Fix the substrate or don’t fix it at all; don’t pay for a repair that can’t hold.
- Caulking over old caulk. Layering new silicone over a dirty, damp joint traps moisture and grows mildew faster. Strip it out and start clean, with backer rod in any deep joint.
- Buying a bigger fan before checking the duct. In our experience the duct gets kinked or the run is too long far more often than the motor is weak. A new fan on a bad duct clears no more steam than the old one.
- Snaking a vented drain. If your drain gurgles or the toilet moves, you may have a venting problem, and a snake won’t fix a pipe that can’t breathe. That’s a plumber’s call.
- Ignoring a door that stops latching. It’s the cheapest early warning you’ll ever get that the bathroom is holding humidity. Handle the ventilation before the wood and paint pay for it.
- Letting a contractor install without a written scope. Every change, every allowance, every price should be on paper before the work happens. If a contractor won’t pull permits or put changes in writing, walk. That’s a habit, not an oversight.
- Skipping the tap test. Two minutes with a plastic screwdriver handle before you buy will tell you whether the shower was set properly. It’s the single best thing you can do on a walkthrough.
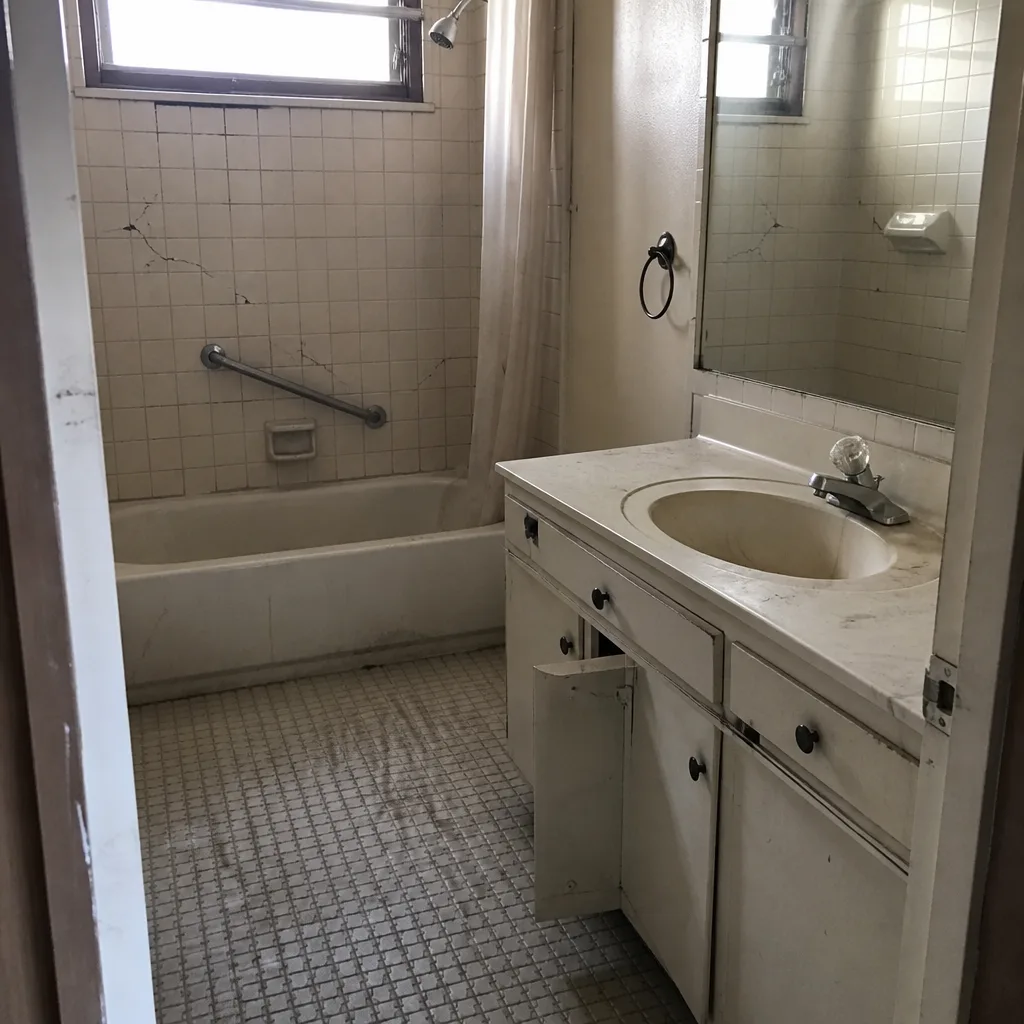
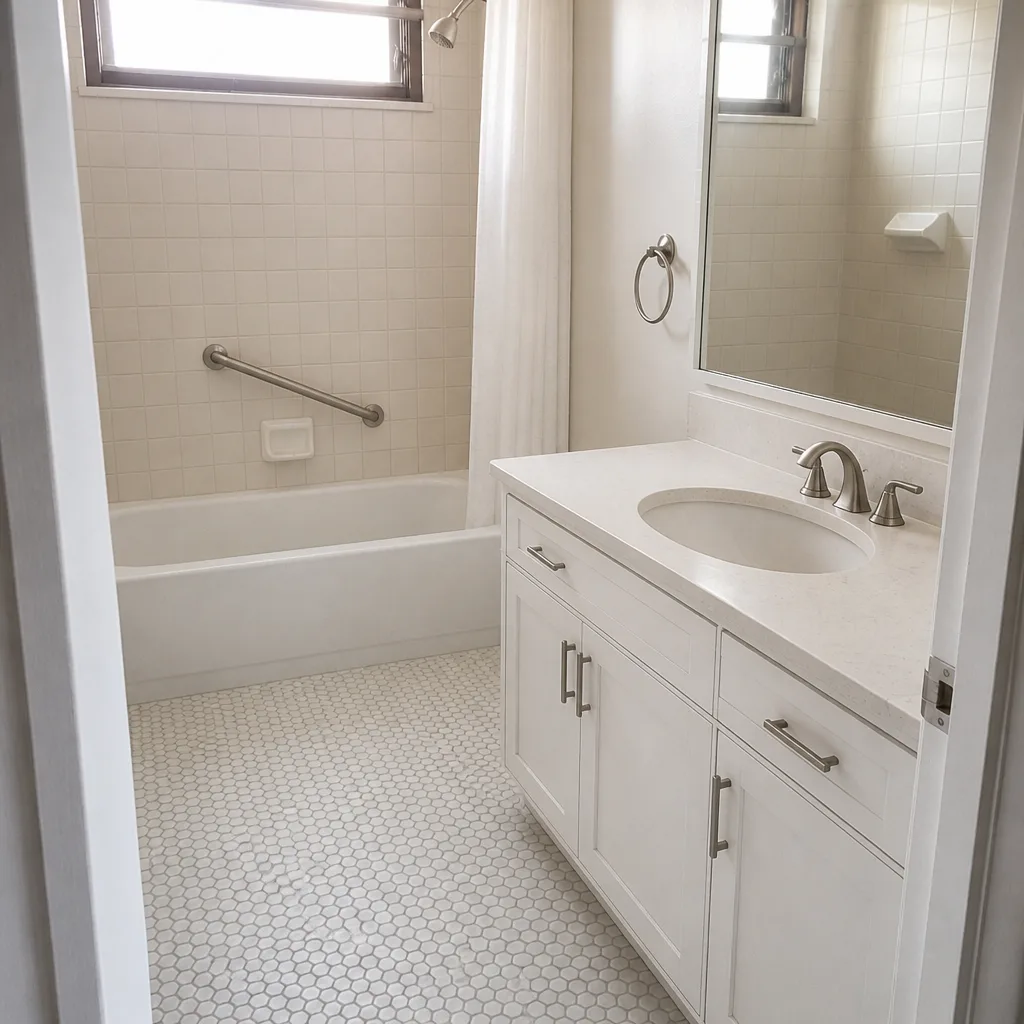
See the difference
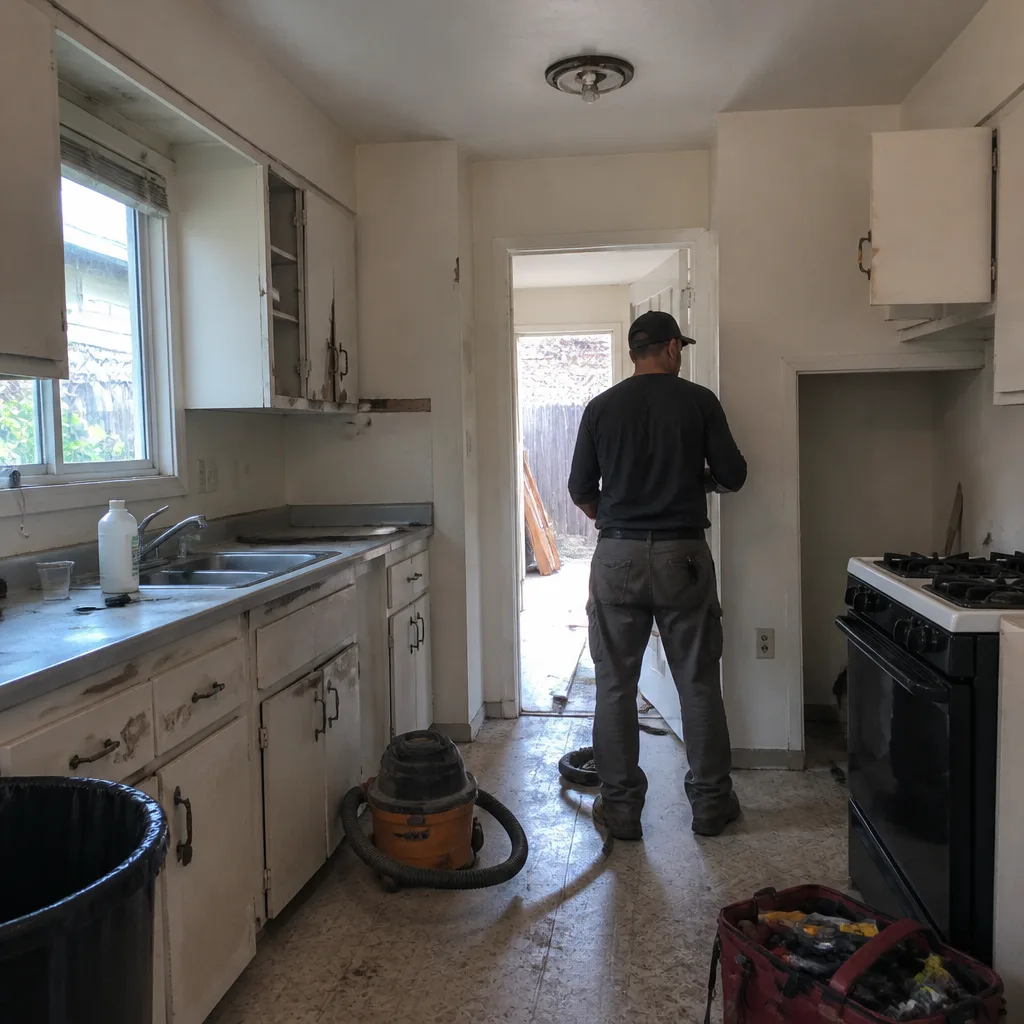 Before
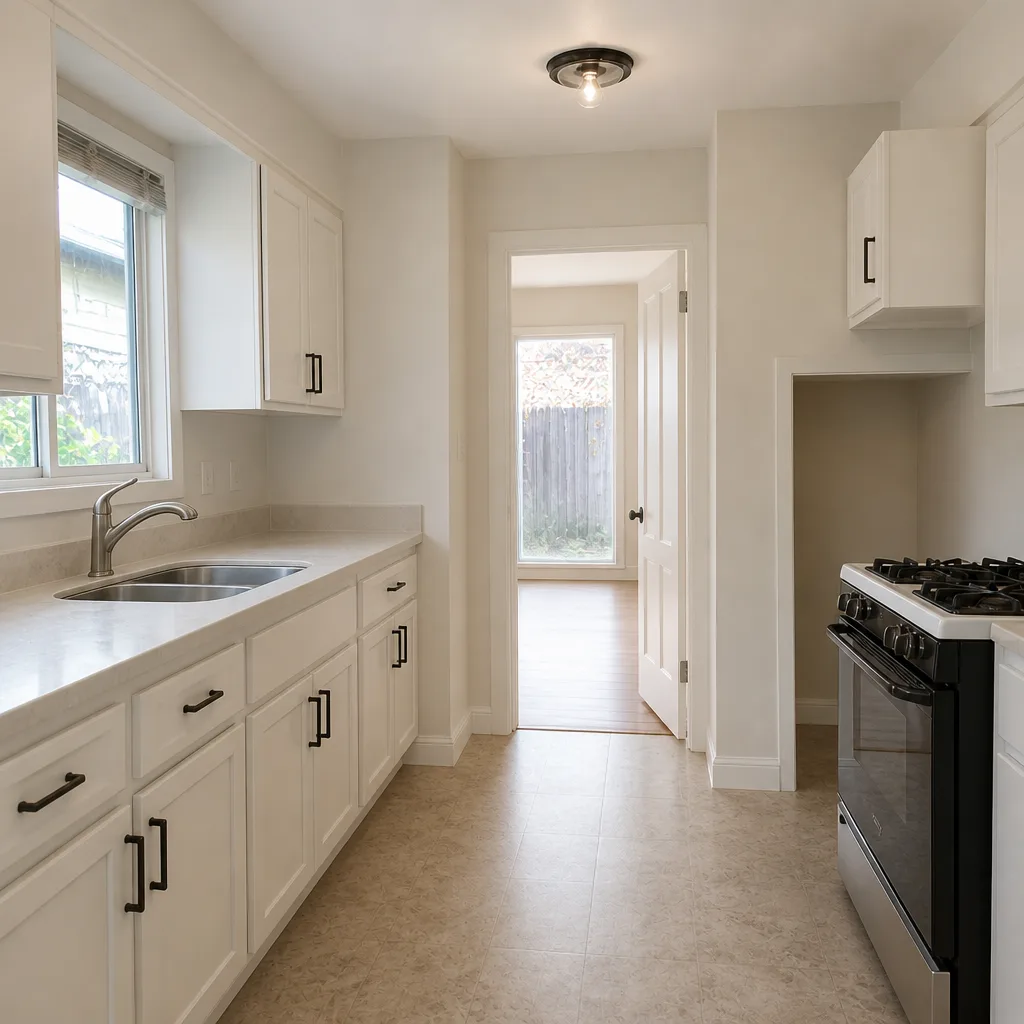 After
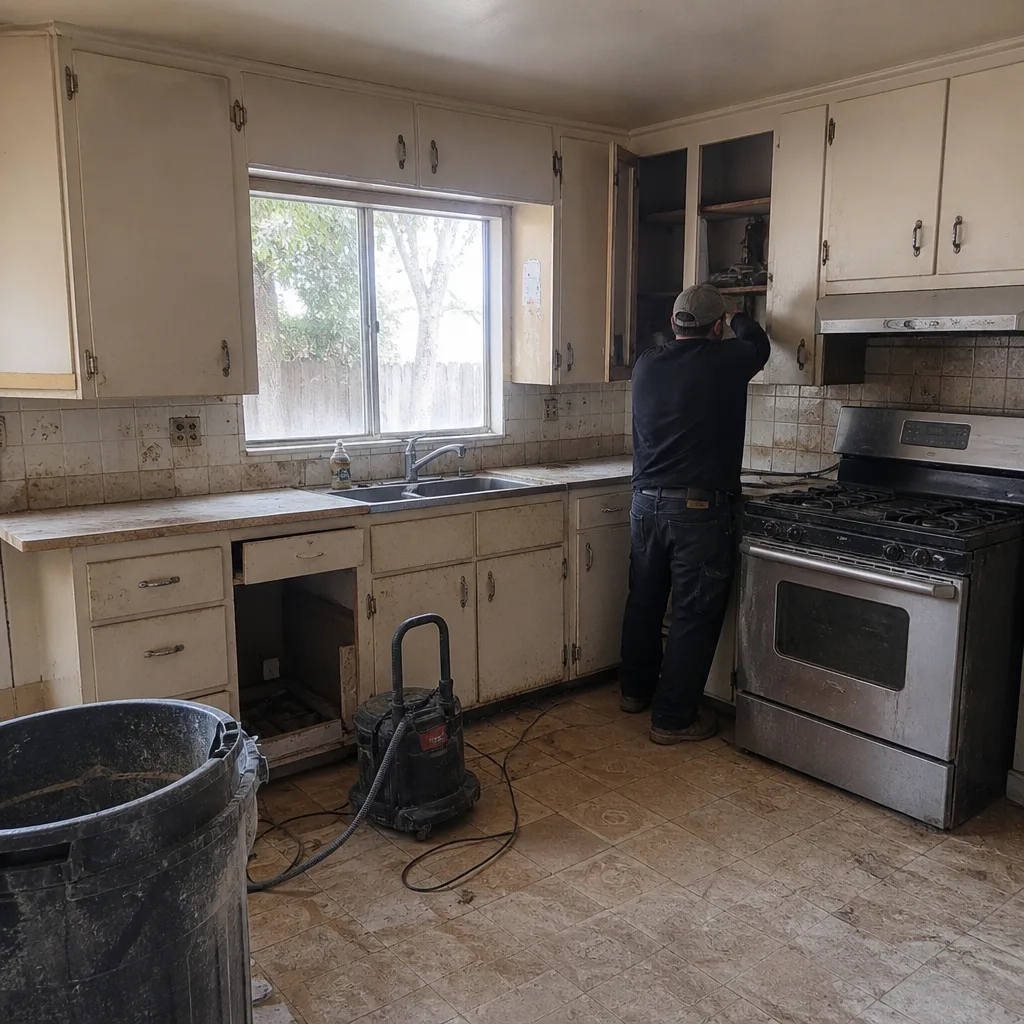 Before
 After
 Before
 After
When to Call a Professional
Call a professional when the tile flexes under your hand, when hollow spots run in a field across a shower wall, when a drain has gurgled since the remodel finished, or when an exhaust duct is disconnected or venting into the attic. Those are substrate, plumbing, and ventilation problems, and none of them get better with a tube of caulk. If a DIY repair you made six weeks ago has failed in the same spot, stop and get it looked at before you spend the money again. Barrett & Sons Construction San Jose offers free estimates in San Jose and a free second opinion on any written estimate, so you know what you’re dealing with before you commit. Call (844) 320-5918. Our crew members are background-checked, every eligible job gets its permits pulled and inspections signed, and Tom Barrett backs it all with the written 90-Day Done Right Promise.
Frequently Asked Questions
A straightforward regrout of a shower typically runs a few hundred dollars, but the honest answer depends on whether the substrate is moving. If the tile flexes, a regrout will fail and the real fix is opening the wall, which is a larger job. Get a written line-item quote that says which problem the contractor diagnosed, and call (844) 320-5918 for a free estimate before you spend on the wrong repair.
If a new fan still won’t clear steam, the problem is almost always the duct behind it, not the fan. A kinked flexible duct, an overlong run, or venting into the attic instead of outside all cut airflow. A correctly sized fan on a clean, short duct clears the room; the same fan on a pinched run won’t. Call (844) 320-5918 for a free estimate on correcting the install.
It may, depending on when the hollow tile appeared and what caused it. A craftsmanship promise should cover install-related workmanship, such as poor coverage under the tile, while a manufacturer warranty would cover a defective tile. Document the hollow spots with a tap test and photos, send it in writing, and ask for a written response. Call (844) 320-5918 for a free second opinion on your written work order.
It depends on the scope. A cosmetic regrout or a caulk replacement doesn’t need one. Moving a drain, adding a fixture, or changing the vent routing almost always does. Permits and inspections protect you, because the inspector works for you, not for the contractor. If a contractor tells you a permit isn’t needed for a moved drain, get it in writing and consider that a warning sign. Call (844) 320-5918 for a free estimate with permits pulled.
Gurgling plus a slow drain usually means a venting problem introduced when the drain was moved or a fixture was added without adding a vent. A plain clog wouldn’t make the toilet water move when you run the sink. If plunging or snaking doesn’t restore the flow, get a plumber to look at the whole drain system. Call (844) 320-5918 for a free estimate on the repair.
If mildew returns to the same caulk lines within weeks of a deep clean, it’s fast for cleaning and almost certainly a ventilation or moisture issue. Check the fan sizing and the duct run first. If the fan is correct and the caulk joint was properly built, the mildew usually stops coming back. Call (844) 320-5918 for a free estimate if you need the exhaust or caulk work done right.
The Bottom Line
Nearly every bathroom problem that shows up in the first year or two after a remodel traces back to an installation decision made before the tile went on: how the backer board was fastened, whether the drain was vented, whether the fan was sized and ducted for the room. Learn to read the symptoms. Flexing tile and hollow rings mean substrate. Gurgling drains mean venting. Mold that returns fast means moisture, and a door that stops latching is the cheapest warning there is. If you can tell a caulk failure from a substrate failure, you’ll never waste money on the wrong fix. If you need a second opinion, or you’re starting a remodel, get every scope, every allowance, and every change in writing first. For a straightforward look at fence work around the property, see Fence Installation in San Jose.
If your bathroom is showing signs from this guide and you want a straight answer before booking any repair, call (844) 320-5918 to schedule your free estimate with Barrett & Sons Construction San Jose. We’ll walk the bathroom, tell you what we see, and put the recommendation in writing. Every eligible job gets its permits pulled and inspections signed, every price change is a written change order before work proceeds, and every completed job is backed by the written 90-Day Done Right Promise. Our technicians have up to 28 years of experience, our crew members are background-checked, and a live person answers the phone around the clock. The current standing offers apply: $40 off any repair over $200, a free second opinion on any written estimate, no trip charge inside the county, and a permanent 10% senior and veteran discount.
Written by the team at Barrett & Sons Construction San Jose.