Last updated November 18, 2026



Free written scope consultation - allowances, timeline, and change-order rules on paper before a single trade is scheduled
Driveway & Pavers Warning Signs Every Homeowner Should Know
That one sunken paver you’ve been stepping around for two years isn’t a quirk. It’s your driveway’s base telling you something is moving underneath, and every rainy season you wait, the problem spreads laterally another two or three feet. The signs of a paver driveway heading toward expensive failure aren’t subtle. They’re just easy to rationalize as cosmetic until the base damage is too widespread to fix with anything short of a full tear-out. In this guide, we’ll walk through what the warnings actually look like, which ones are urgent and which can wait, and how San Jose homeowners can document a problem before it costs them a whole driveway.
Quick Answer
The most urgent driveway paver warning signs are rocking or hollow-sounding pavers, edge-restraint failure (pavers spreading or lifting along the border), and water pooling in spots that used to drain. Cracked or stained pavers are usually cosmetic. Rocking, spreading edges, and new pooling mean the base or the restraint system is failing, and those problems get more expensive every month they’re left alone.
Styles & brands we work with
- Kitchen remodeling
- Bathroom remodeling
- Home additions & ADU
- Roofing
- Windows & doors
- Driveway & pavers
- Fence
Table of Contents
- Cosmetic vs. Structural: How to Tell the Difference
- Why Rocking Pavers Are More Urgent Than Cracked Ones
- The Edge-Restraint Failure Pattern (and the Narrow Repair Window)
- How to Spot Drainage Failure Early
- What to Photograph and Keep (for Warranty or Contractor Talks)
- Why San Jose’s Climate Makes Some Failures Worse
- Repair or Replace? A Reasonable Way to Decide
Cosmetic vs. Structural: How to Tell the Difference
Most homeowners walk right past a structural problem because the surface still looks fine. So start with the categories, because the fix and the cost are completely different depending on which one you’re looking at.
Cosmetic problems live on the surface. Staining from tree tannins or rust, white powdery efflorescence (mineral salts wicking up from below), fading color, or a chip on a single paver face. None of these move under your feet. None of them spread to your neighbor pavers. Cosmetic issues are annoying, not urgent, and often solve with a wash and a re-seal.
Structural problems live under the surface and show in the field. The tell is movement. If a paver shifts when you step on it, if the sand between two pavers keeps disappearing after every storm, if a border paver lifts slightly in summer, that’s base or restraint. Structural problems do not stay the same size. They spread.
Here’s a quick way to check the difference this weekend:
- Walk the entire drive in soft shoes and note every paver you can feel move. Those are your rocking pavers.
- Tap a suspect paver with a screwdriver handle. A hollow ring means the sand base underneath has washed away.
- Pour a bucket of water near the low corner. If the water disappears sideways instead of running to the street, water is traveling under the field, not through it.
- Look at the border. If the sand joint at the border paver is wider than a pinky finger, the edge is creeping.
If items 1, 2, or 4 show up, you have a structural problem. Item 3 is a drainage problem. Either way, it’s worth a professional look before the next rainy season. Barrett & Sons Construction San Jose handles Driveway & Pavers in San Jose and can give you a written read on what’s actually failing.
Why Rocking Pavers Are More Urgent Than Cracked Ones
A crack in a paver face looks dramatic, but it often stops where it starts. A rocking paver is doing the opposite. Every time you drive over it, the paver rocks up and down, churning the base sand and pushing it outward like a pump. Left in place, a single rocking paver can loosen its four neighbors within a season and route water into the base course underneath.
The cause matters because the repair is different:
- Rocking from base erosion. Sand or aggregate has washed out under that paver. Usually tied to drainage, tree roots, or a low spot where water sits. The fix is lifting that section, regrading, and resetting.
- Rocking from a bad bedding spot. The original install left a hollow under that stone. Common on driveways built in a hurry. The fix is a spot re-bed. If more than a handful of pavers rock, the field likely needs a full re-bed of the square footage affected.
- Rocking from upheaving roots. A palm, ficus, or eucalyptus root is pushing up from below. The fix requires removing the offending root section, re-compacting, and resetting. Coyote willow and ficus roots are the usual suspects in San Jose.
- A true crack in a paver face. Cosmetic 90% of the time. Replace the paver, re-sand, and move on, unless the crack reappears within a month, which usually means the base has settled under it.
If you call out a contractor on cracked pavers alonly, ask them to check for hollow sound under each one with a screwdriver handle. Any honest contractor will want to know what’s underneath. By contrast, if you call for an estimate and the crew only talks about the surface, that’s a warning about them, not your driveway.
The Edge-Restraint Failure Pattern (and the Narrow Repair Window)
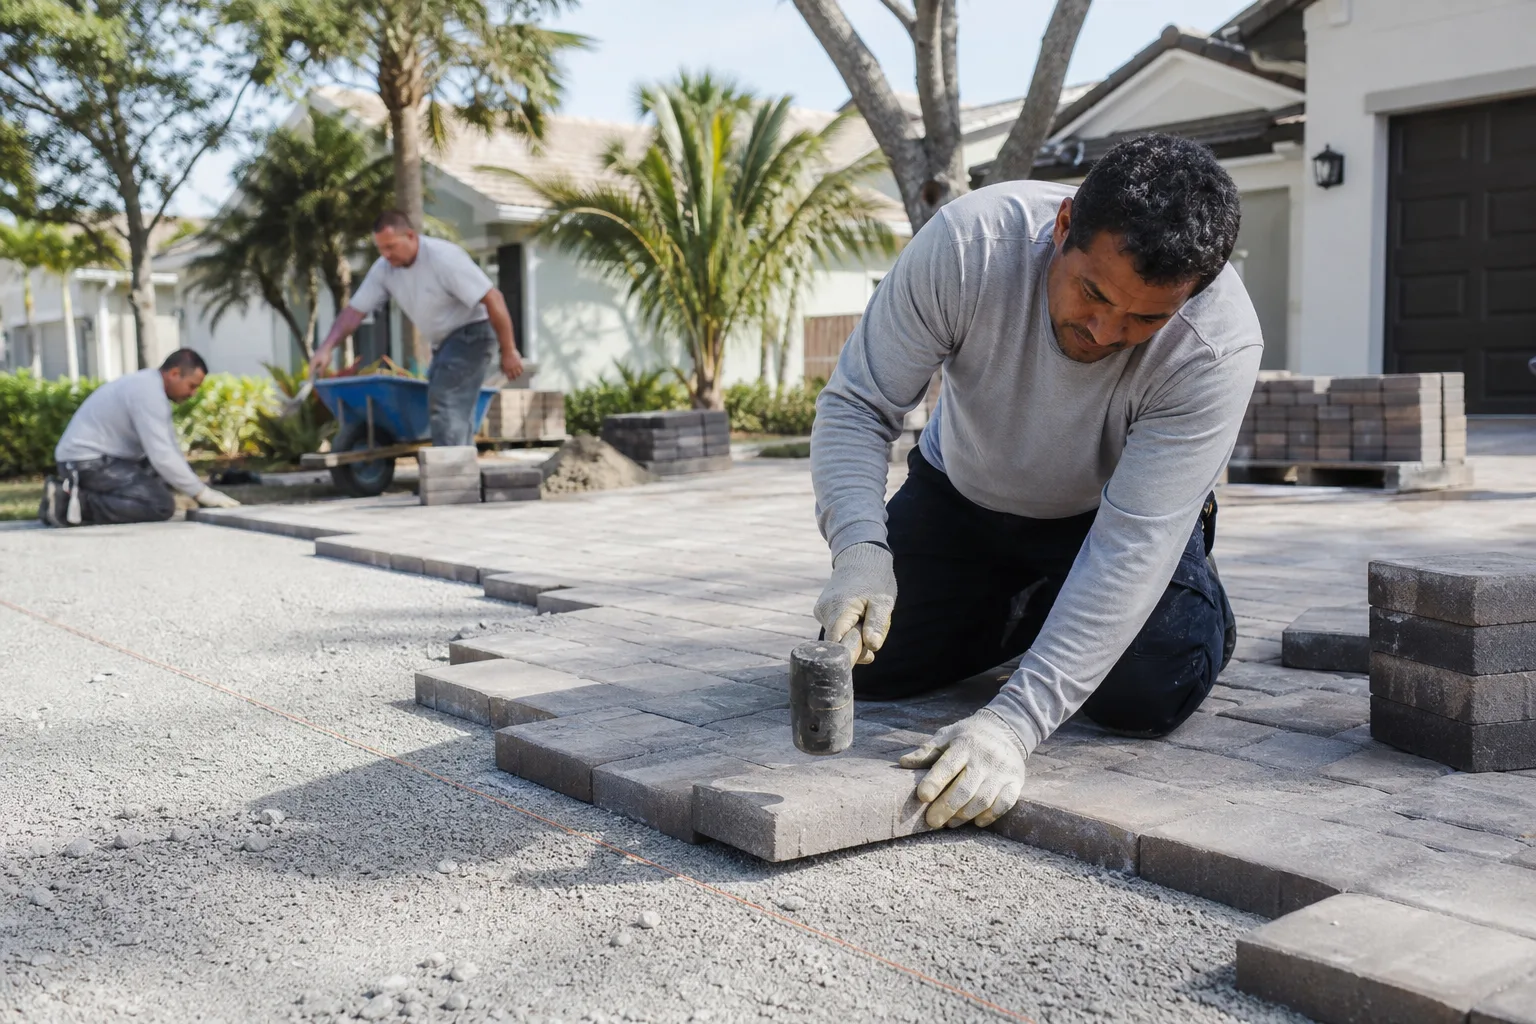
This is the failure pattern we see the most in San Jose driveways: the border spreads before the field does. It happens because the edge restraint, which is the hidden strip of concrete, plastic, or steel that holds all the outside pavers in place, has lost purchase. Once that happens, the lateral pressure from the field pushes the border outward a quarter-inch a year, then a half, then an inch.
What edge failure looks like:
- A border row that no longer lines up with the field. Pavers shift sideways like shingles slipping down a slope.
- A widening gap between the paver edge and the driveway apron, driveway-to-street transition, or the lawn strip. In San Jose we see this start at the curb almost every time.
- Sand joints along the border that keep opening up after every rain, even when you refill them.
- Pavers that lift slightly at the edge when driven over, then settle back with a click.
Why it accelerates: every paver that lifts slightly at the edge blows out a little more sand from the joint. That creates room for the next paver to migrate outward. The field acts like a wedge. The wider the border gets, the less the restraint can do, and the faster it goes.
The narrow window: if we catch edge failure before the field itself spreads more than a few inches, we can often reset the border, replace the restraint, and re-sand for a fraction of a new driveway. Once the field pavers themselves start to migrate and the base under the field is compromised, the repair is a full section tear-out, four to six times the cost of resetting the border. That’s the window. Most homeowners miss it because they’re waiting for a paver to actually break. The pavers won’t break nearly as fast as the border will creep.
How to Spot Drainage Failure Early
Water is the quiet killer of paver driveways. A paver field is designed to carry water downslope through the joints to a curb, a drain, or the lawn. When that path is blocked or the base has shifted, water goes under the pavers instead of through them, and the base turns into a muddy sponge.
Signs water is traveling under the field rather than through the designed path:
- Puddles that stay 24 hours after a storm in spots that have never held water before.
- Moss or algae growth starting on the surface where the water lingers. San Jose’s dry summers kill it off, then it comes back in the first rains, easy to spot if you look in December.
- Efflorescence (that white powdery look) appearing in patches along the same slope line.
- Sand joints emptying along one line across the driveway, almost like a highway lane.
- Water stains on the lower edge of a retaining wall, fence post base, or garage slab apron, showing water arriving where it shouldn’t.
If you see drainage failure early, the fix is often to reset a rain channel, correct the slope over three or four pavers, and re-sand. If you wait, the water eats the base course under the field and the fix moves from a few hundred dollars to a section reset. Also worth checking: gutters and downspouts. A downspout dumping onto one spot in the driveway will eat that spot. Sometimes the cheapest driveway repair is a $40 extension on a downspout.
What to Photograph and Keep (for Warranty or Contractor Talks)
Every homeowner who calls us over a paver problem wishes they’d started documenting sooner. Here’s what genuinely helps and what’s not worth your time.
Keep:
- A dated photo of the full driveway from the street, once a year. It shows the border position and any creep over time.
- A close-up of any crack, lifted paver, or pooling spot with a tape measure in frame. The measuring tape in the photo is the difference between a vague complaint and a documented progression.
- A short video walking the drive in soft shoes so the rocking pavers are audible. Sound is real evidence.
- Rain photos showing where water sits one hour, four hours, and 24 hours after a storm.
- Any paper trail: the original install contract, warranty, product spec sheet (Belgard, Techo-Bloc, and similar brand names go a long way here, since brand spec matters for replacement matches), and any repair invoices.
Not worth your time:
- Photos without dates. They can’t show progression.
- Close-ups without a frame of reference. We can’t tell a 1/8-inch crack from a 1/2-inch one without scale.
- Screenshots of texts. Keep a printed log instead.
What a reasonable contractor will cover based on documented progression: workmanship defects (bad base, missing restraint, wrong sand) within the warranty period, provided the photos show the issue is genuinely progressing, not just a single accident like a dropped trailer hitch. What a reasonable contractor won’t cover: damage from tree roots the homeowner planted after installation, surface fading beyond normal, or failures caused by changes made by another contractor. If a contractor refuses a documented, progressing base failure inside their warranty window, that’s your signal to look up their license and have a longer conversation.
Why San Jose’s Climate Makes Some Failures Worse
San Jose gets roughly 15 inches of rain a year, but it all arrives in a handful of atmospheric river storms between November and March, often on top of already saturated ground. That pattern is hard on paver driveways in a specific way. The dry summer bakes the base and opens sand joints. The first big storm sends water straight down through those opened joints before they’ve swelled back. Then the ground underneath goes soft for weeks. That’s the soft window where edge restraint loses purchase and rocking pavers start.
Neighborhood specifics matter. In Willow Glen and Rose Garden, mature ficus and liquidambar roots lift pavers after thirty or forty years, and the repairs usually involve root work, not just resetting. In Almaden Valley and the hills around Silver Creek, we see more slope-driven drainage failures because water runs downhill for a long way before it gets a chance to drain. Near Alum Rock and the older East Side streets, the driveway slopes often point away from the curb toward the garage, and when the base shifts, water finds the garage slab first. And in newer builds out toward Evergreen, base compaction from the original builder is usually the culprit if you’re seeing trouble before the ten-year mark.
We’ve rebuilt paver driveways in San Jose after one hard winter. We’ve also done a reset on a Saturday morning that cost less than a tank of gas. The line between those two is almost always about how early the homeowner spotted the warning sign.
Repair or Replace? A Reasonable Way to Decide
Ask three contractors and you’ll get three answers, so here’s the way we think about it, and it holds up whether you hire Barrett & Sons or anyone else.
Repair is usually the right call when:
- Less than about 20% of the field is affected. Spot resets cost less, match better, and keep original materials.
- The failures are edge-restraint only. The field is sound, the border just needs reset.
- The drainage failure is a single point (a downspout, a low spot near the apron).
- The pavers themselves are in good shape and the original installation used a base spec worth preserving.
Replace is usually the right call when:
- Failures are widespread. If pavers rock across more than a third of the field, the base under the whole drive is suspect.
- The original base was under-spec’d. Sand-only base, no compacted aggregate sub-base, and no edge restraint worth the name. No amount of resetting fixes that.
- The pattern is a shallow slope fed by groundwater, not surface water. That’s a grading problem, not a paver problem.
- You’re changing the driveway footprint anyway. If you’re adding an ADU, a detached garage, or a wider apron, replacement makes economic sense. Whitcomb Avenue in San Jose is our favorite recent example where a paver driveway rebuild came out of a bigger project and saved the homeowner the cost of doing it twice.
If any of this sounds like your driveway and you’re considering a wider project, look at Home Additions & ADU in San Jose or Fence Installation in San Jose. Both often touch the driveway footprint, and doing them together is cheaper than doing them separately. See how the whole scope fits by starting at our Barrett & Sons Construction San Jose home page.
Common Mistakes to Avoid
- Refilling the sand joints and calling it done. Re-sanding a failing field hides the symptom. Fix the base and the joint stays full on its own.
- Replacing a single lifted paver without addressing the base. The new paver will be the next one to rock within a season. Base first, then paver.
- Power-washing the efflorescence off. That white powder is a sign of water wicking up. Wash it off and you’ve lost your early warning, not the problem.
- Assuming a creosote or oil stain is a base failure. Stains are cosmetic. Don’t let a stain distract you from the rocking paver three feet away.
- Letting a contractor skip the permit because “it’s just a driveway.” In San Jose, driveways that cross a public sidewalk or change the curb cut usually need a permit. And the permit inspection is the cheapest third-party check you’ll ever get.
- Not photographing with a tape measure. Every warranty conversation is easier with a photo that shows the seam width, the pool diameter, or the paver lift in actual inches.
- Waiting one more rainy season. A rocking paver costs a reset. Twelve months later, the same rocking paver costs a section reset because the neighboring pavers went with it. San Jose’s storm season doesn’t forgive the delay.
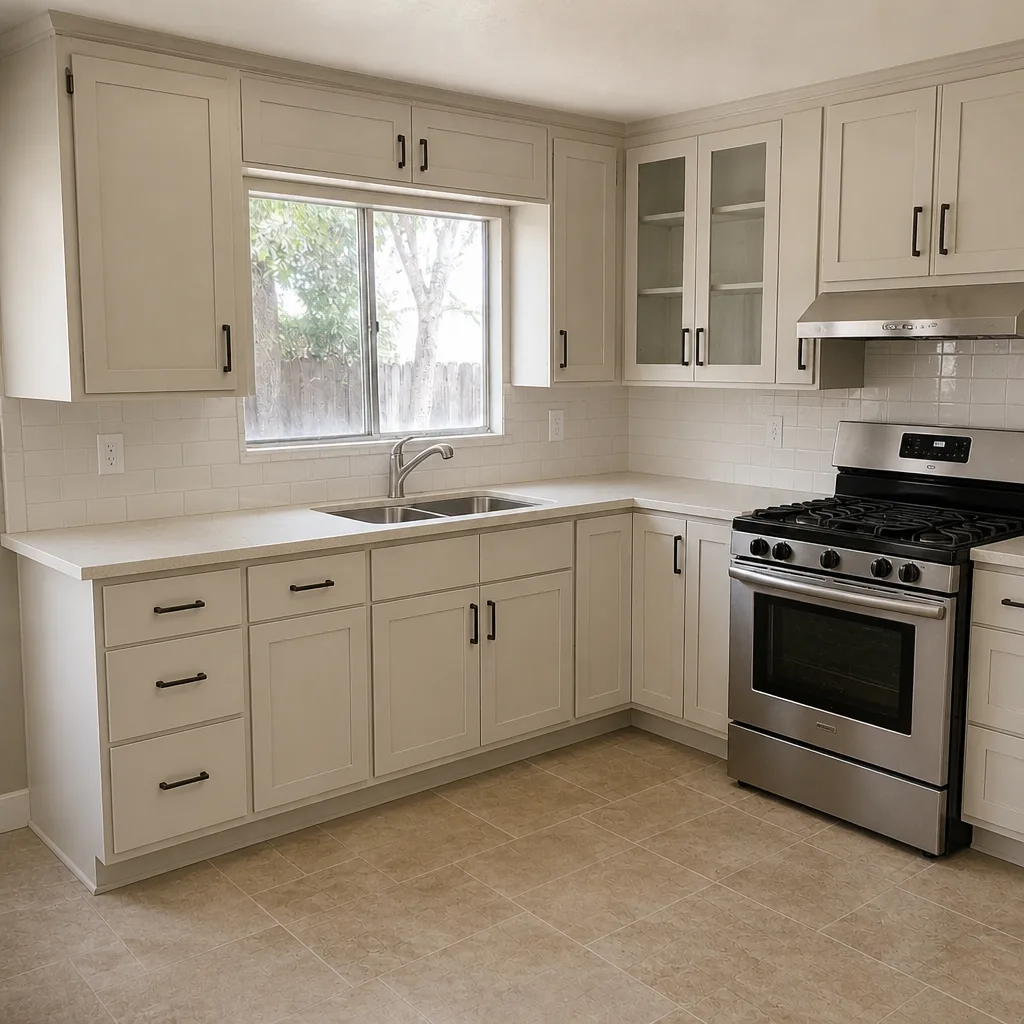
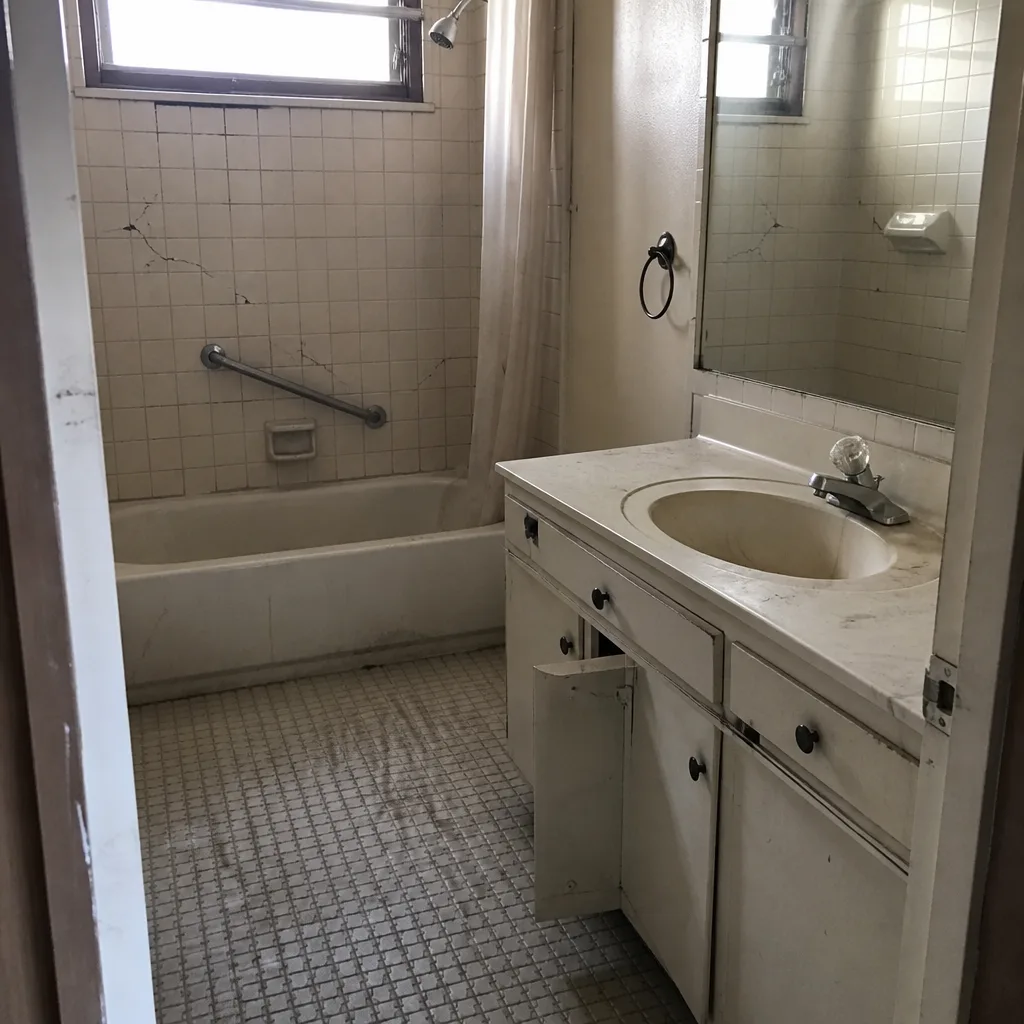
See the difference
 Before
 After
 Before
 After
 Before
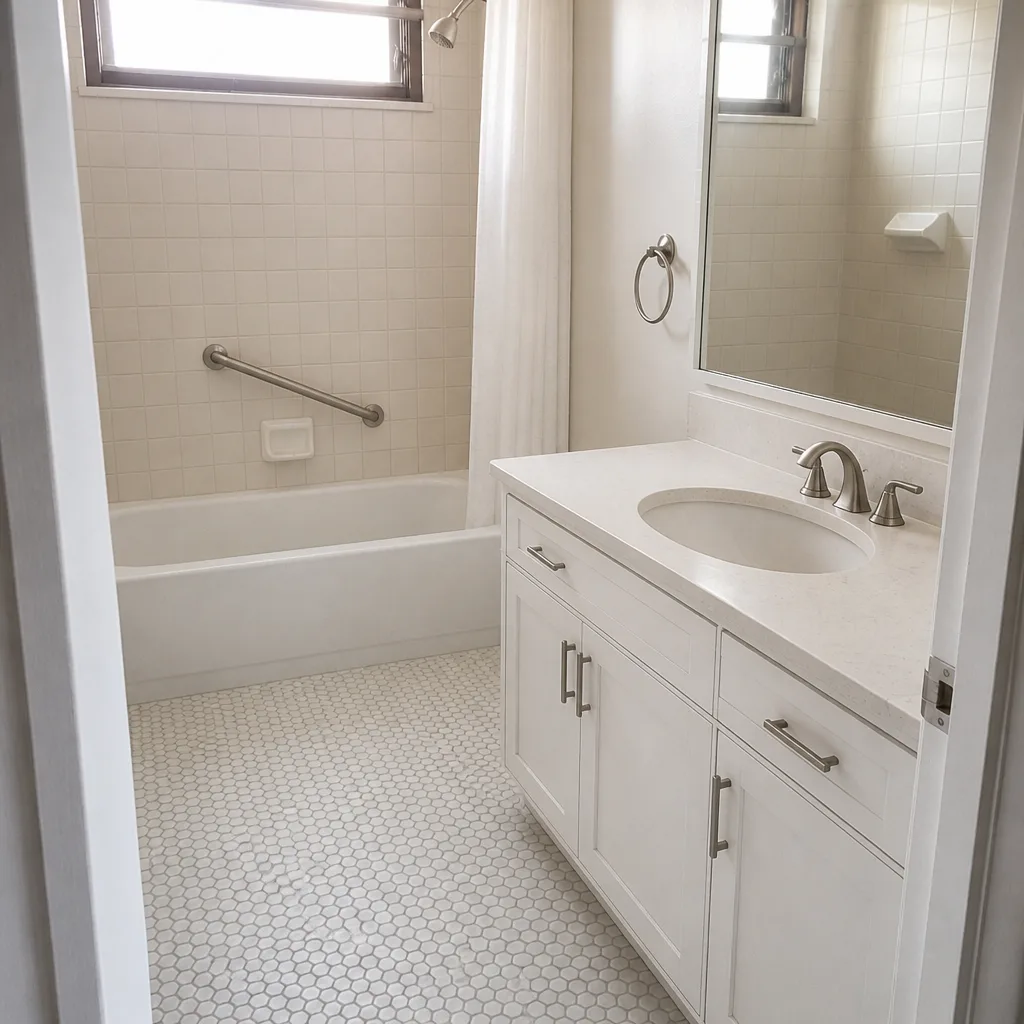 After
When to Call a Professional
Call a professional when you find any of these: pavers that move underfoot, edge border creep you can feel with the toe of your shoe, water pooling in a spot that has never held water, or a spreading pattern of sand-joint loss along one slope line. Also call when you’re not sure whether it’s cosmetic or structural, because an hour of diagnosis from someone who looks at pavers every week is worth a lot less than being wrong. For a hazard like a retaining-wall edge lifting over a walkway, don’t try a DIY reset. Backup from a trained crew is faster and safer. Barrett & Sons Construction San Jose offers free estimates in San Jose. Call (844) 320-5918. We’ll walk the drive with you, show you what’s failing and what isn’t, and put the scope in writing before anything moves.
Frequently Asked Questions
The first warning signs are usually rocking pavers, hollow-sounding pavers, and edge border spread. Cracks and stains come later, and often don’t signal base failure at all. If you can feel a paver move or hear a hollow tone when tapped, the base is already talking to you.
Rocking is far more serious than cracking. A crack is often cosmetic and stays local. A rocking paver churns the base underneath and spreads to neighboring pavers, so the repair grows every month it’s left alone. For a free look at which one you’re seeing, call (844) 320-5918.
Spot reset of a few pavers in San Jose typically runs a few hundred dollars. Border reset with new restraint is often under a thousand. A full section reset jumps once the field starts migrating, and full replacement is a different conversation. Call (844) 320-5918 for a written, line-item estimate. Estimates are free and no trip charge applies inside the county.
You know water is going under the pavers when puddles form where they never used to, moss returns along the same diagonal line, or the sand joints empty out along one route across the drive. Surface water runs to the street. Water traveling under the field leaves these marks instead. A bucket test on the low corner will confirm it in about two minutes.
Yes, if the driveway touches a public sidewalk, changes the curb cut, or affects drainage toward the street. Standard like-for-like repair of the paver field often doesn’t need one. We pull permits on every eligible job and pass the inspection; the inspector works for you, not for us.
Edge restraint failure looks like a border row that no longer lines up with the field, alongside a widening gap between the paver edge and the drive apron or lawn. The fix is cheap if caught early. If the field itself spreads, the repair is a section reset. Photograph it the first time you notice it and call (844) 320-5918 for a free assessment.
The Bottom Line
Paver driveways fail from the base up, not the top down. Cosmetic stains and cracks can wait. Rocking pavers, edge creep, and new water pooling cannot. The right workflow is simple: walk the drive once a season, photograph anything with a tape measure in frame, and call a professional the moment the surface stops behaving like a solid slab. Barrett & Sons Construction San Jose will show you exactly what’s happening, put the fix in writing, and back it with a 90-Day Done Right Promise. Call (844) 320-5918 for a free estimate and catch the warning signs while they’re still cheap to fix.
Written by the team at Barrett & Sons Construction San Jose.