Last updated November 18, 2026




Free written scope consultation - allowances, timeline, and change-order rules on paper before a single trade is scheduled
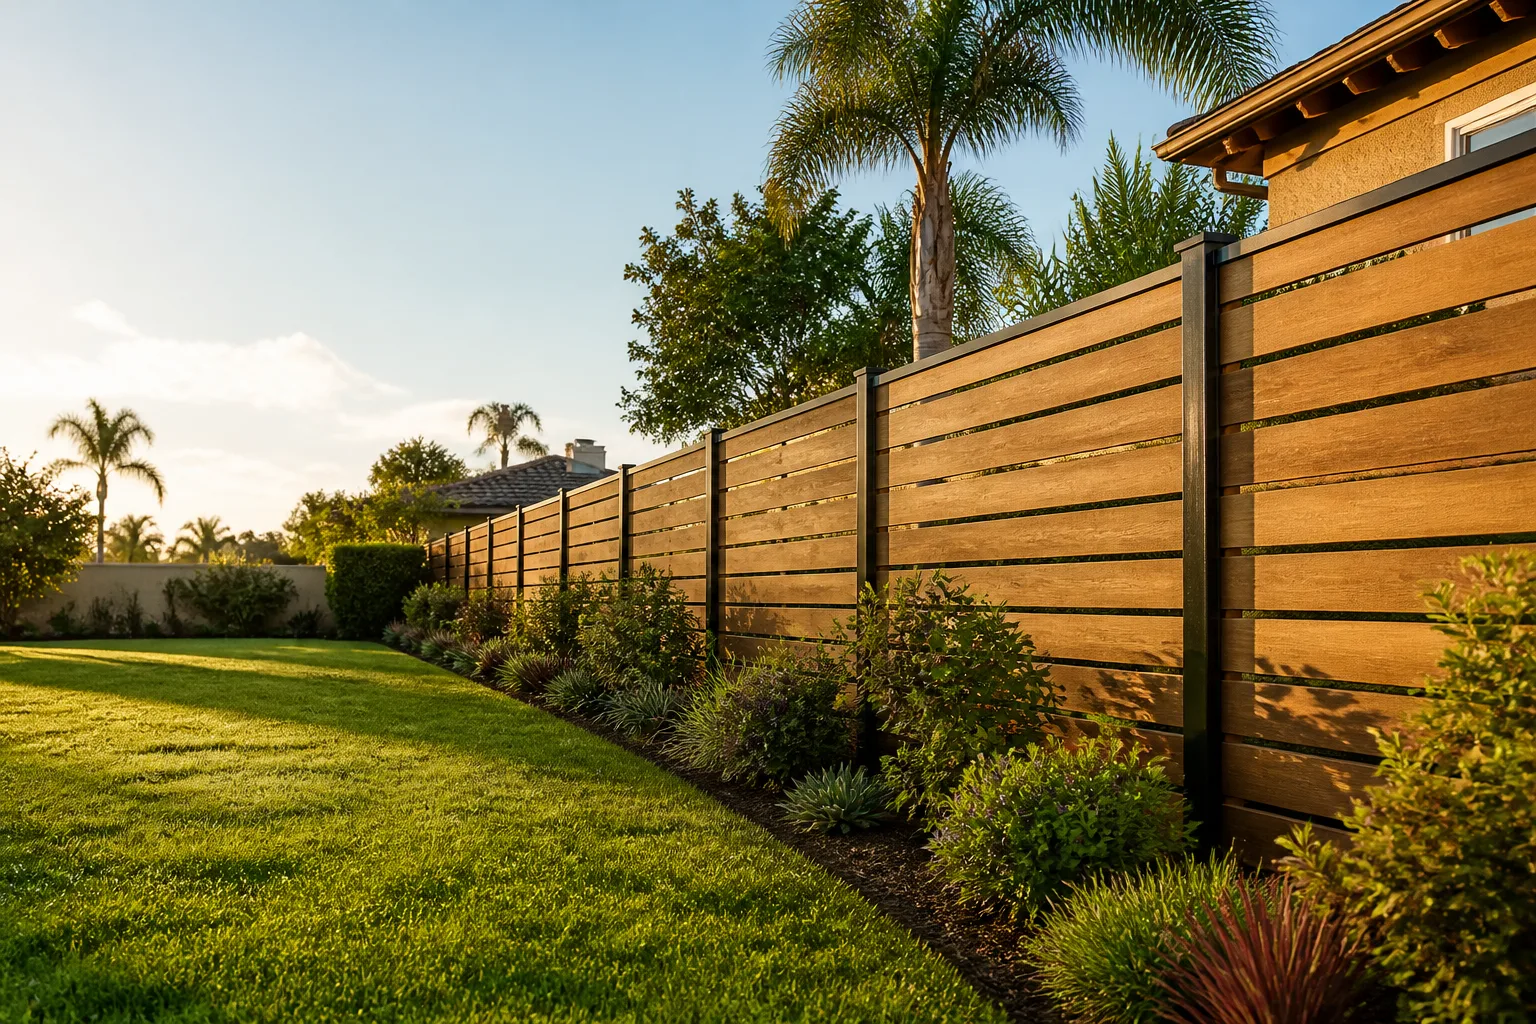
Fence Installation Troubleshooting: Common Problems and How to Fix Them
A leaning fence post almost always looks like a wind problem. It’s almost never a wind problem. Wind reveals the failure; it doesn’t cause it. In our experience across San Jose, the post was set too shallow, the concrete was mixed too wet, or water has been pooling at the base since the day it went in. Three installation mistakes drive the large majority of fence failures we get called out to look at, and the visible symptom tells you which one gave out. This guide walks you through diagnosing what actually failed, fixing a leaning post without tearing it out, and knowing which problems are yours to solve and which belong to your contractor.
Quick Answer
If a fence post is leaning, the fix depends on the cause: frost-heave leans correct themselves seasonally and need deeper footings, base-rot leans require a new post because the wood is gone at ground level, and lateral-load leans (the ones that show up after a storm) can often be re-plumbed and re-set in place with bracing and fresh concrete. Warped boards and dragging gates trace back to moisture, drainage, or hinge adjustment. Diagnose before you dig – the symptom names the failure.
Styles & brands we work with
- Kitchen remodeling
- Bathroom remodeling
- Home additions & ADU
- Roofing
- Windows & doors
- Driveway & pavers
- Fence
Table of Contents
- How Do You Diagnose a Leaning Fence Post?
- How Do You Re-Set a Leaning Post Without Replacing It?
- Why Do Fence Boards Warp After Installation?
- How Do You Fix a Gate That Won’t Latch or Drags?
- Why Does Water at the Base Destroy Fences?
- What Concrete Mix and Post Depth Prevent Failures?
- What’s Covered by a Contractor Warranty vs. Homeowner Conditions?
How Do You Diagnose a Leaning Fence Post?
Walk the fence line and answer three questions: is it one post or a row, is the wood soft at ground level, and when did the lean appear? Those three answers separate the failures cleanly.
The three lean types
- Frost-heave lean. Uniform tilt across a row of posts, worse in late winter and early spring, often back to normal by summer. The ground is pushing the post up because the footing sits above the frost line. In San Jose’s climate you’ll see this less than in the hills above Los Gatos, but it shows up in colder pockets and on shaded lots.
- Base-rot lean. One post, wood soft or crumbling right at the soil line, often dark or discolored. Water has been wicking into end grain or soil contact has kept the wood wet for years. The post is structurally gone and no amount of re-plumbing saves it.
- Lateral-load lean. Happened after a storm or a wind event, usually one or two posts, and the concrete at the base may still be intact. The post bent or the footing rotated under a load it wasn’t built to carry.
Push on the post. A healthy post is rock solid near the ground. If it moves independently of the concrete, the post has separated from the footing. If the concrete itself moves, the footing is undersized or too shallow. If the wood is punky under your thumbnail, it’s rot and you’re replacing it. One more thing to check: any sign of a sprinkler head within two feet of the post usually explains the whole story.
How Do You Re-Set a Leaning Post Without Replacing It?
If the post is solid wood and the footing is the problem, you can re-set it in place. The sequence matters more than the materials.
- Expose the footing. Dig out around the concrete on the lean side, about 12 inches down and wide enough to work a bar in. Don’t pry against the fence boards.
- Brace the post. Set a diagonal brace from the post to a stake driven well back in the yard, pushing the post past plumb by about a quarter inch so it settles straight when you release. Use two braces on a tall post.
- Break up the old footing. Loosen the concrete so the post can move freely in the hole. You’re not pulling the post out; you’re freeing it.
- Re-plumb and pour. Pour a stiff mix (roughly 4 parts gravel to 1 part cement, barely enough water to hold it together) into the void, working it in with a rod to eliminate voids. Crown the top so water runs away from the post.
- Hold the brace for 24 to 48 hours. Don’t release early. Concrete needs at least a day to set enough to resist the load the post was already failing under, and 48 hours is safer on a tall post or a gate post.
If the old concrete is undersized to begin with – less than about 10 inches across for a 6-foot fence post – the post will lean again. That’s when you dig it out entirely and pour a proper footing. On jobs across San Jose we’ve seen plenty of posts set in a coffee can’s worth of concrete. It holds until it doesn’t. If the whole fence is going the same way, it may be time to look at Fence Installation in San Jose rather than chasing one post at a time.
Why Do Fence Boards Warp After Installation?
Warping boards are usually blamed on the weather. The real cause traces back to one of three things, and the timing of the warp tells you which.
Moisture content problems
If boards started cupping or bowing within the first few weeks, they went up too wet. Cedar and pine installed green will shrink and cup as they dry. Good lumber gets stacked and stickered (spaced apart to air dry) before it’s nailed. If you saw cupping right away, the lumber should have sat longer before installation.
Drainage problems
If the bottom third of the boards is swelling, twisting, or growing a stain line, water is standing at the base. Boards that sit in soil or touch the ground wick moisture and never dry. That’s a drainage and clearance problem, not a lumber problem. Keep at least a 2-inch gap between the bottom board and grade.
Finish failures
If the boards are fine except at the cut ends and along the top, the finish is the issue. End grain soaks up more water than the face of the board and needs to be sealed. Once water gets into end grain, the board cups and splits from the inside out. A coat of sealer on every cut end, done the day it’s cut, prevents most of this.
How Do You Fix a Gate That Won’t Latch or Drags?
Ninety percent of gate problems come down to three adjustments, and you can work through them in order in about an hour.
- The hinges first. Tighten every hinge screw, and if the screws won’t bite, replace them with longer ones or fill the holes with wood glue and a golf tee. A sagging gate is usually a hinge pulling loose, not a warped gate.
- The diagonal brace. The brace should run from the bottom hinge side up to the top latch side. If yours runs the other way, the gate will sag under its own weight – that’s a build error, and it needs a brace flip or a cable kit to correct.
- The latch plate last. Only after the gate hangs square, move the strike plate in or out to line up with the latch. Adjusting the latch first hides the real problem and it comes back in a month.
If the gate drags on the ground, add a caster wheel on the swing side or raise the whole gate by shimming the hinges. In San Jose, a gate that swells tight in winter and binds in summer is usually a sign of a too-tight initial fit or untreated end grain soaking up moisture. The gate hardware brands we install – and the wood we use – are chosen to hold up under that seasonal swing.
Why Does Water at the Base Destroy Fences?
Every fence failure we’ve fixed traces back to the base sooner or later. Wood posts rot from the ground up, not the top down, because the worst place for wood is the line where soil, air, and water all meet. That’s where the post stays wet longest.
Five things keep water trapped at the base:
- Sprinkler overspray. A head within two feet of the fence line soaks the post and boards every time the system runs. Move the head or swap to a drip line. This is homeowner-side, not a defect.
- Soil piled against the boards. Grade above the bottom rail means the boards never dry. Clear the soil back at least 2 inches below the bottom of the boards.
- Flat or graded-toward footing. A footing poured with the top edge sloping toward the post channels water right where it does the most damage. Crown the top.
- Downspouts emptying at the fence. Rainwater off a roof concentrated at one section of fence will rot it from the outside in within a few seasons.
- Vegetation against the boards. Ivy, shrubs, and grass held tight against a fence trap moisture and block airflow. Trim back to 6 inches.
Good drainage isn’t fancy: it means the base dries out between rains. If you’re planning hardscape work that changes the grade near a fence, the layout matters – that’s one reason we sequence grading and Driveway & Pavers in San Jose work around the fence line rather than after it.
What Concrete Mix and Post Depth Prevent Failures?
Most failures come back to a footing that was too shallow or a mix that was too wet. Both are easy to get wrong and easy to get right.
Post depth
For a 6-foot privacy fence, set posts at least 2 feet in the ground, and go to 3 feet for a gate post or a post carrying a heavy wind load. San Jose’s code and soil don’t push as hard as colder climates, but a 2-foot minimum is a good baseline and gate posts need more.
Concrete mix
A stiff mix – about 4 parts gravel, 2 parts sand, 1 part cement, with just enough water to hold together – sets stronger and drains better than a soup mix poured from a bag. Wet concrete is easier to pour and weaker once cured. Crown the top of the footing so water runs away from the post, and set the post before the concrete stiffens.
Post materials
Ground-contact-rated pressure-treated wood is the baseline. Cedar posts look better but rot faster in wet soil. Steel posts set in concrete outlast both, though they need proper coating to survive. If you’re building near a corner where wind load is high, ask for the heavier option. Our crews work with the brands that publish their exact specs and don’t cut corners on footings – the footing is invisible after the day it’s poured, which is why it’s the first thing to go cheap.
What’s Covered by a Contractor Warranty vs. Homeowner Conditions?
A reasonable contractor warranty covers the workmanship and the materials installed – the post depth, the footing, the fastening, the grade of lumber. It does not cover what the homeowner controls. The line is worth knowing before you pick a contractor, not after.
Typically covered
- Post depth and concrete work done wrong at installation
- Incorrect drainage grading on the installation side
- Boards that warp from moisture at the time of installation
- Workmanship defects in gate hardware and bracing
Typically not covered
- Sprinkler overspray soaking the fence
- Soil piled against the boards after installation
- Vegetation growing against the fence
- Damage from a vehicle, tree fall, or storm
- Rot caused by homeowner-side water management
That last list isn’t a loophole – it’s the honest dividing line. Our written guarantee is the 90-Day Done Right Promise: if the work isn’t done right, we come back and make it right with one call. That’s why every scope, every allowance, and every price change arrives in writing before work starts. We want you to call us if something fails; we want to be the contractor who shows up. If the fence is part of a bigger project, it also stacks with the work on Home Additions & ADU in San Jose.
Common Mistakes to Avoid
- Pouring concrete on wet ground. Concrete set on saturated soil at the base of a San Jose winter grading season will settle and crack. Wait for the hole to drain first.
- Skipping end-grain sealer on cuts. Every board cut on-site needs a coat on the exposed end. It’s the single cheapest way to prevent warping.
- Setting gate posts to the same depth as fence posts. Gate posts carry more load. They need more depth and more concrete.
- Piling soil against the bottom board. Looks tidy, rots the fence. Keep grade 2 inches below the boards.
- Adjusting the latch before the hinge. You’ll tune the latch to a sagging gate and it’ll drag again within a month.
- Ignoring a sprinkler head near the fence. Water at the base accounts for most rot we see in San Jose. Move the head or switch the zone to drip.
- Pouring concrete without crowning the top. A flat top holds water and rots the post from the inside.
See the difference
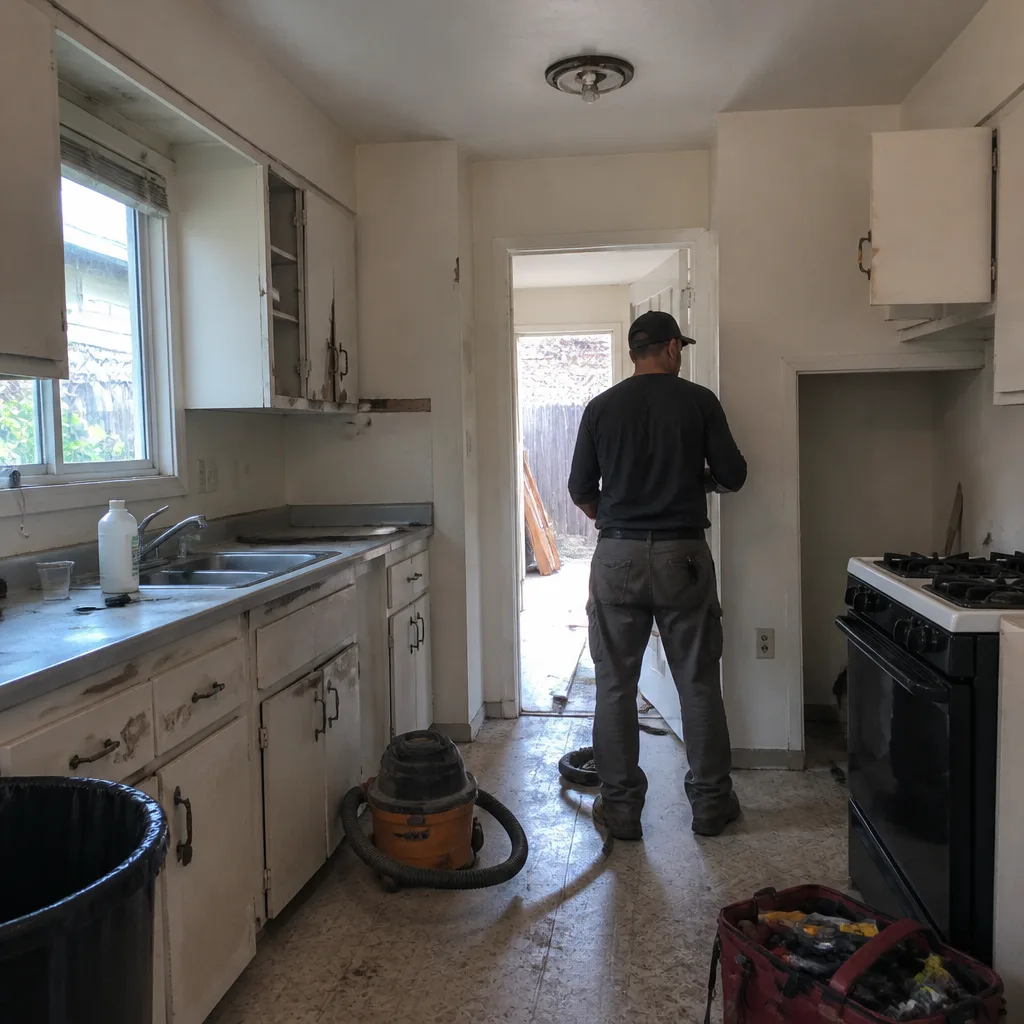 Before
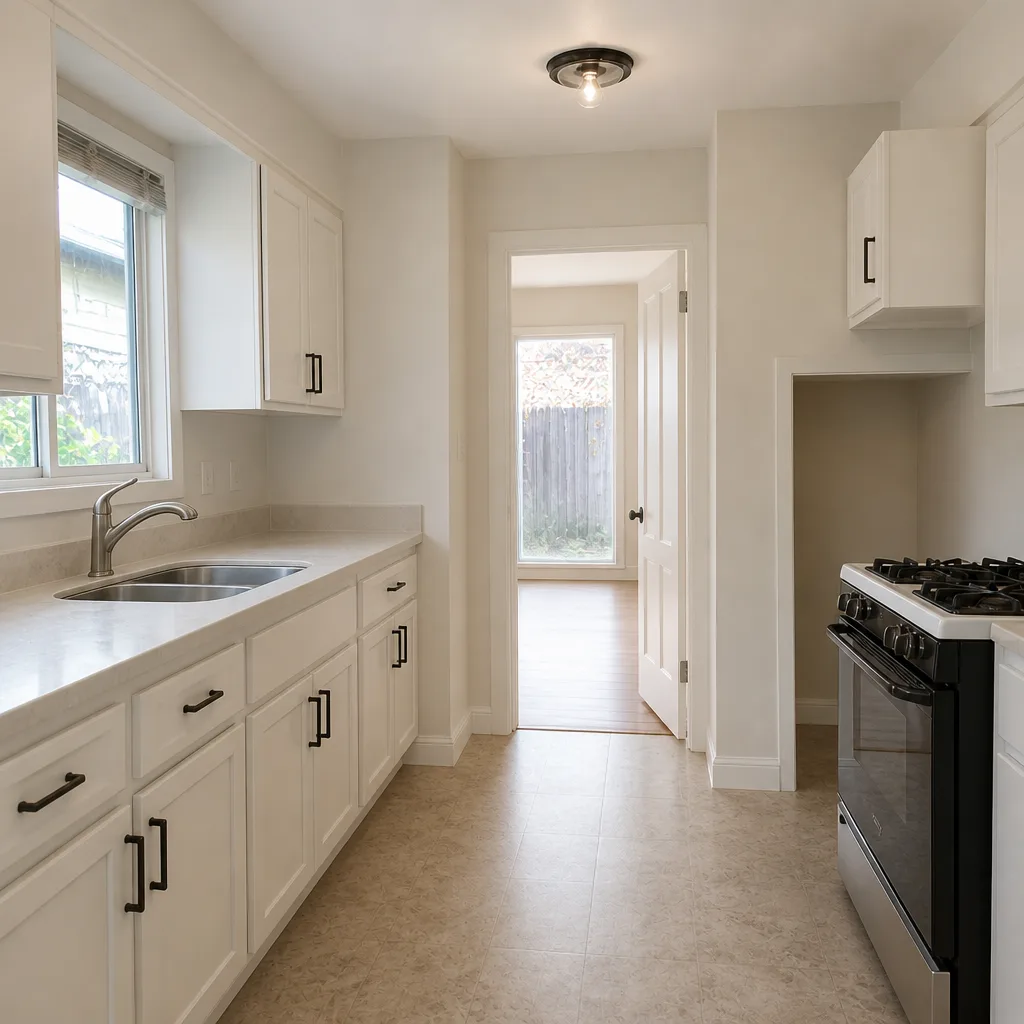 After
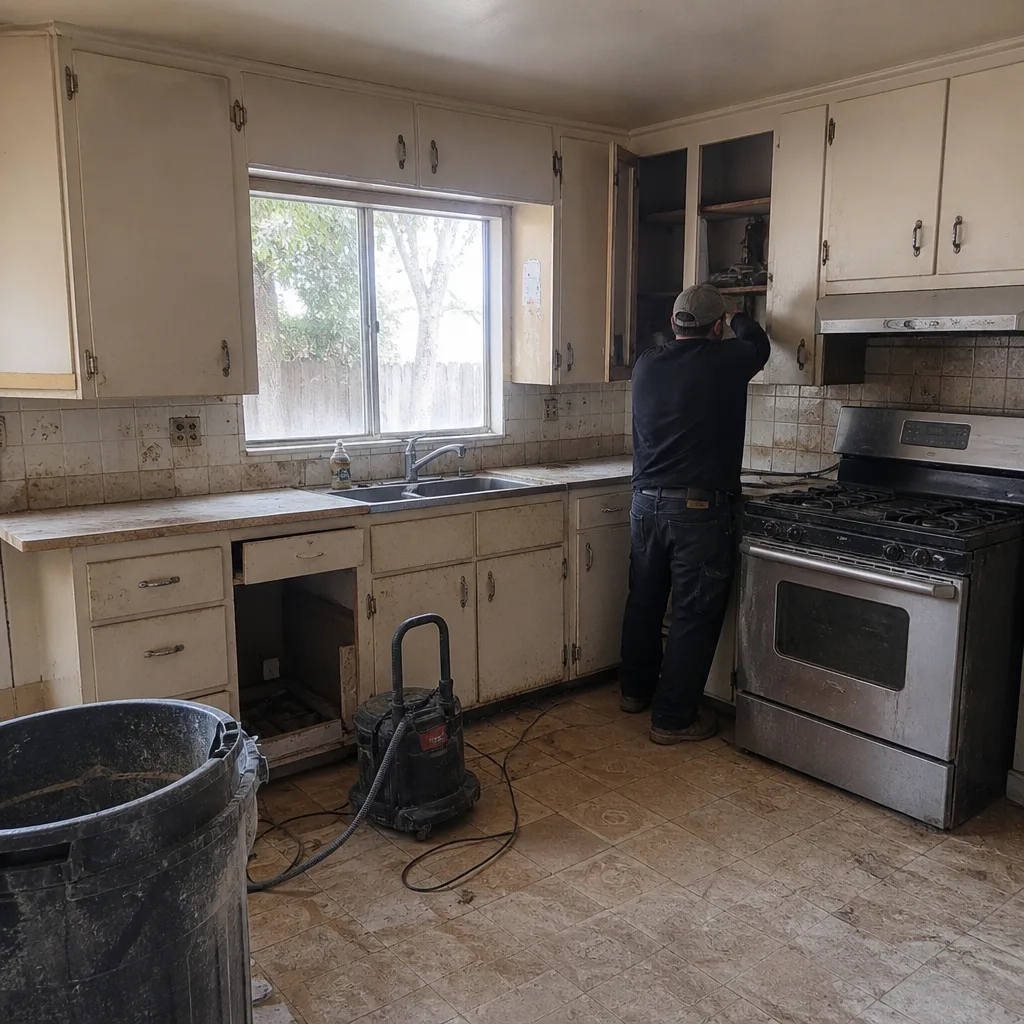 Before
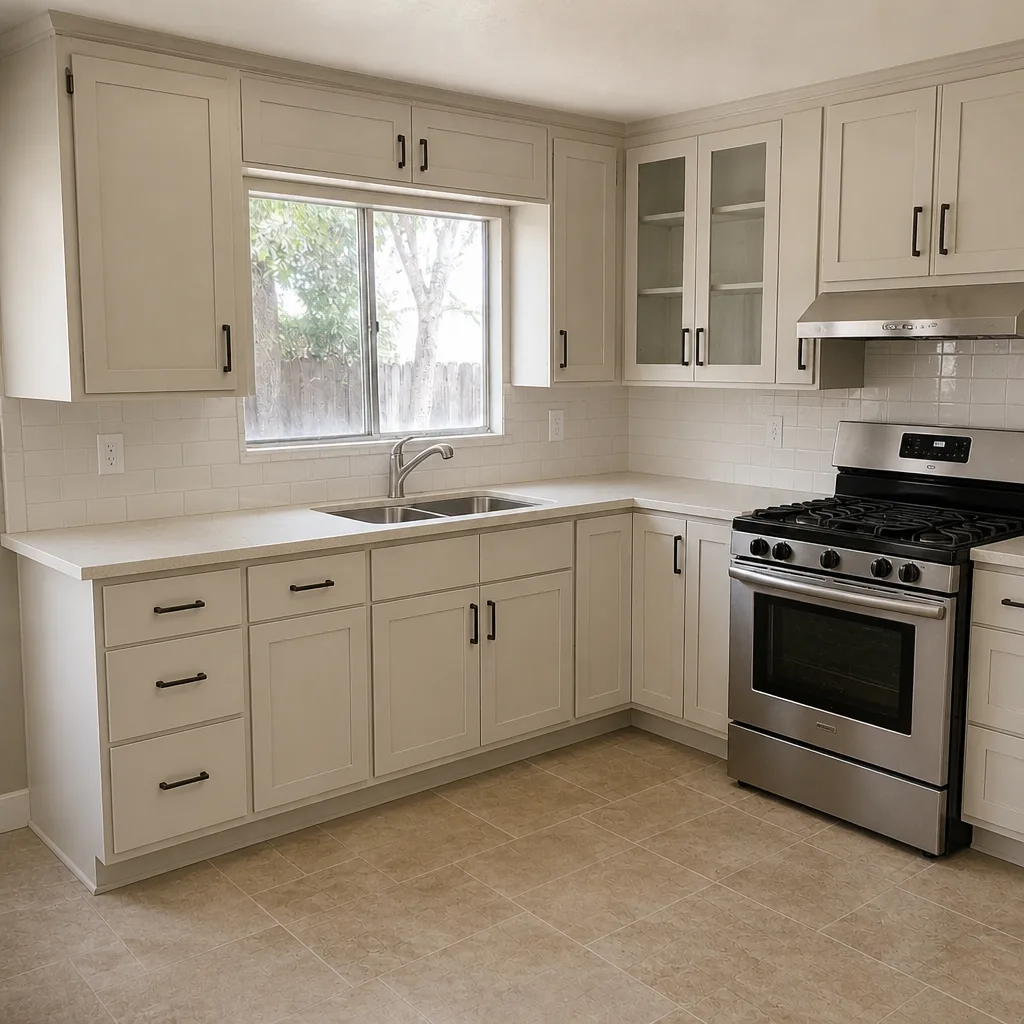 After
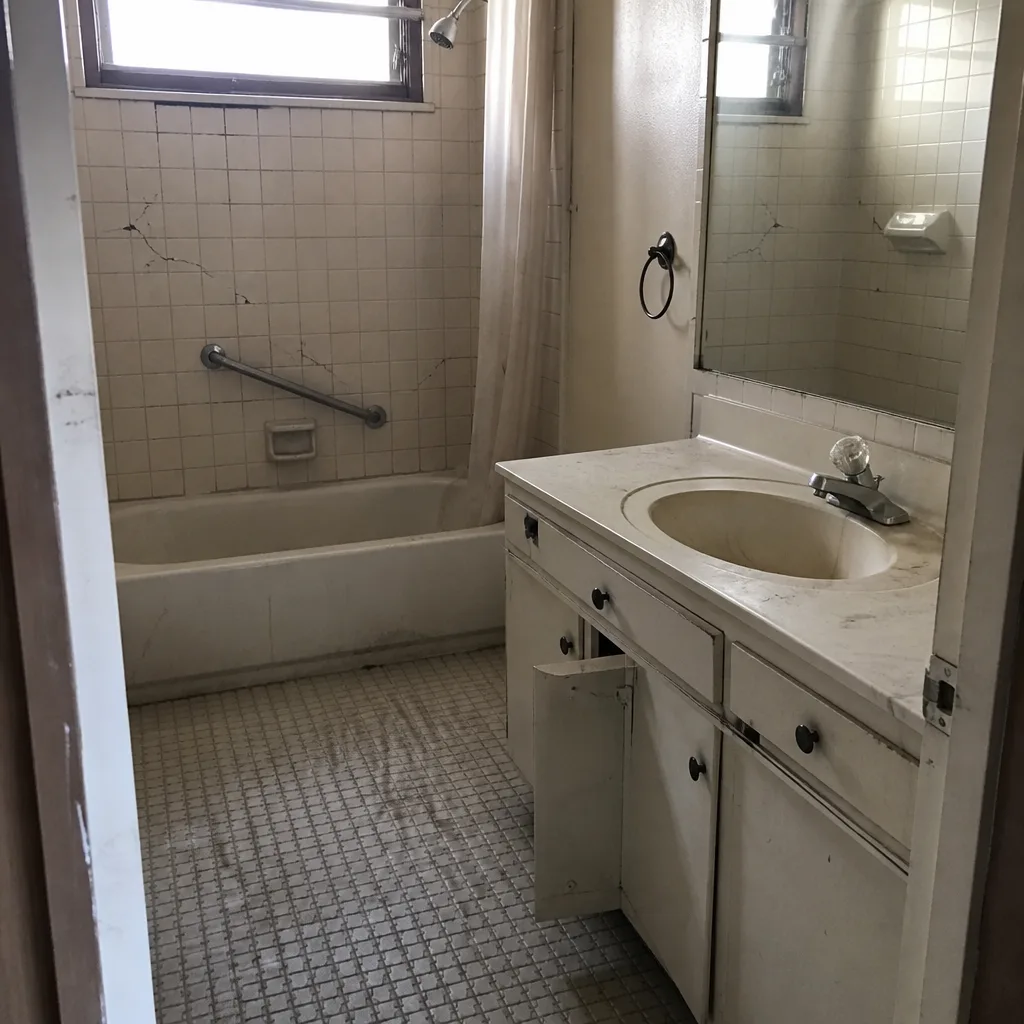 Before
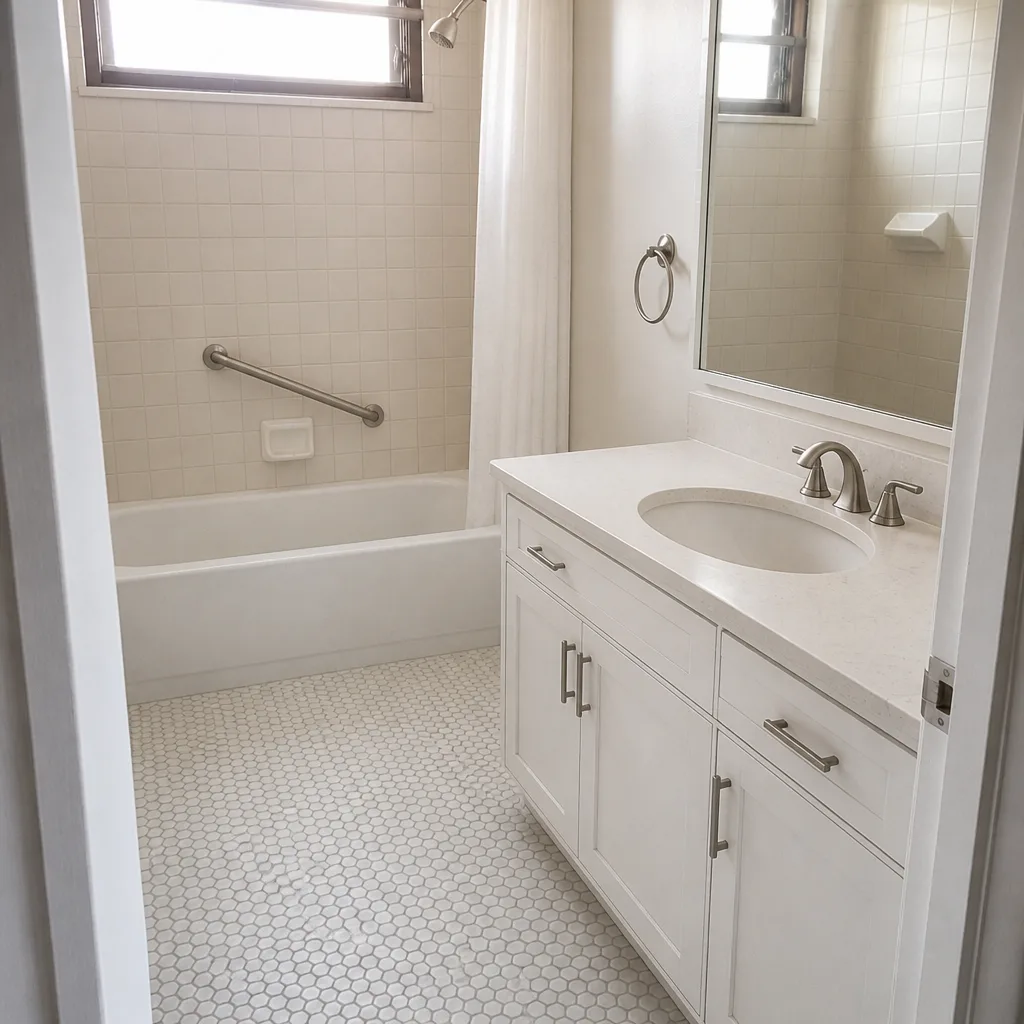 After
When to Call a Professional
If the post moves independently of the concrete and the wood is solid, you can re-set it yourself with braces and fresh mix. That said, some situations deserve a call before you pick up a shovel:
- The lean is at a gate post or a structural corner where the whole fence depends on it.
- Two or more adjacent posts have moved, indicating a failed footing or soil issue.
- The base is soft or crumbling, meaning the post is rotted and a replacement is coming.
- The gate itself is racked and the fence is following it.
- The install is part of a larger exterior project where grading and drainage tie together.
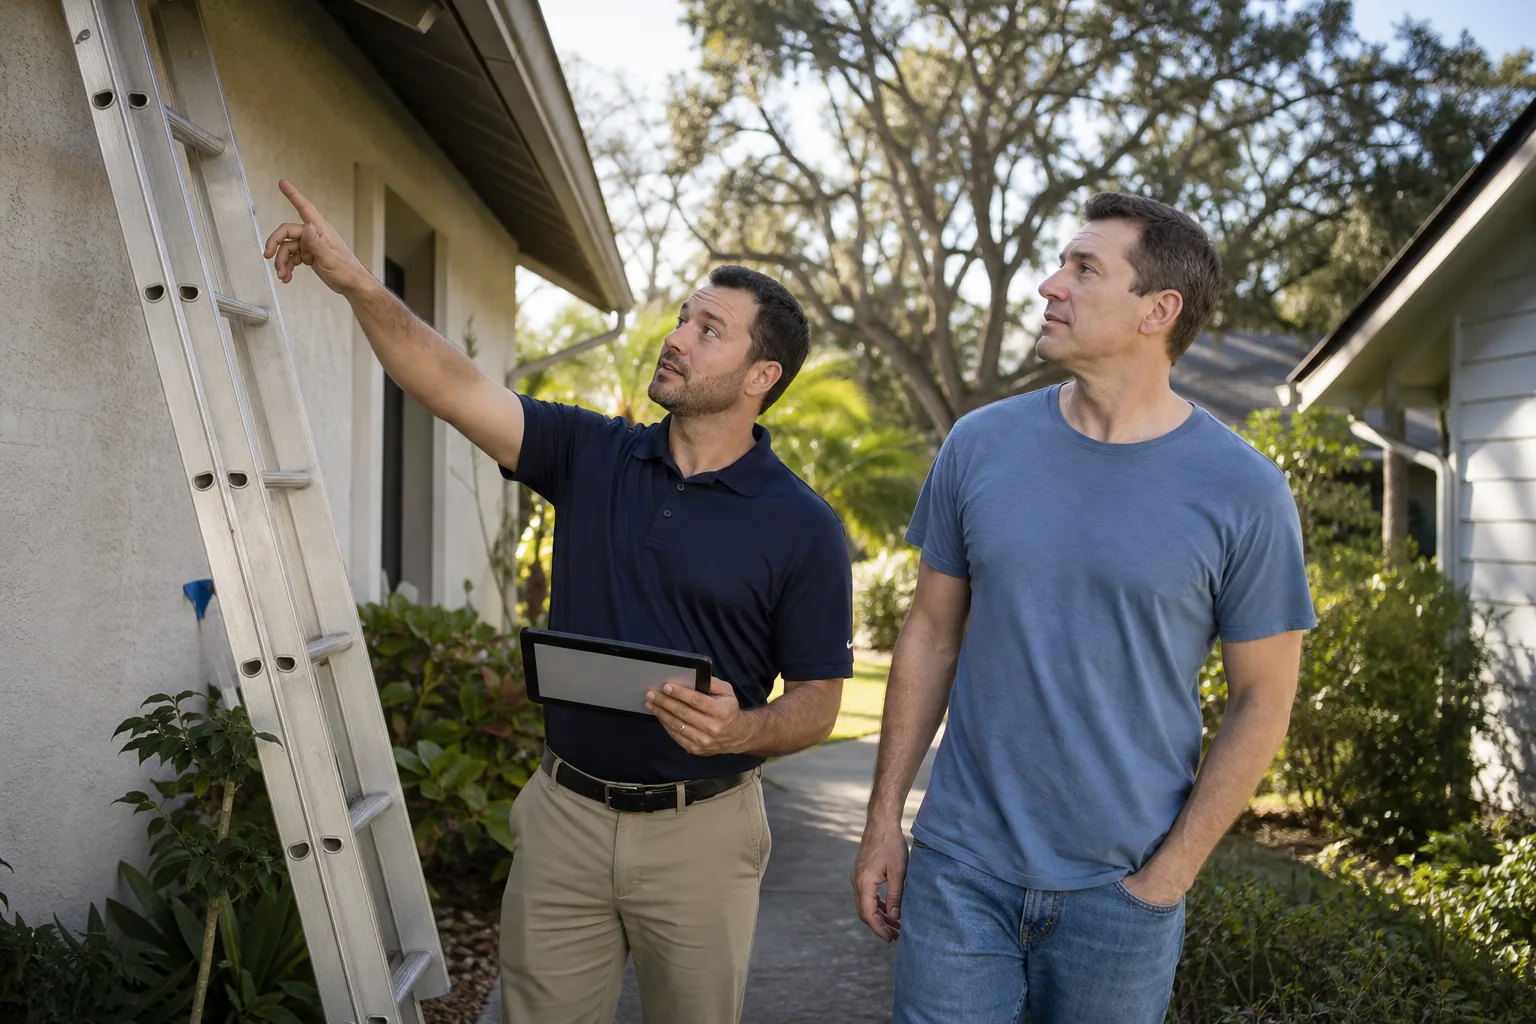
Barrett & Sons Construction San Jose offers free estimates in San Jose – call (844) 320-5918. Our technicians have up to 28 years of experience with fence failures, and we can tell you in a walk-around whether you’re looking at a re-set, a repair, or a rebuild before you spend a dollar.
Frequently Asked Questions
Yes, if the wood is solid and the concrete is intact. Expose the footing, brace the post past plumb, break up the old concrete, and re-pour a stiff mix. Hold the brace 24 to 48 hours before releasing. If the wood is soft at ground level, the post is rotted and a replacement is the only fix that lasts.
Storm leans are lateral-load failures. Wind put more load on the fence than the footing was built to carry. Check whether the concrete at the base is intact – if it is, the post can be re-set. If not, the footing needs more depth and volume. San Jose storms don’t stay long, but the load they place on undersized footings is real.
At least 2 feet for a 6-foot privacy fence, and 3 feet for gate posts or posts facing high wind load. Deeper is better and never hurts. Shallow footings fail first, and re-setting a post is cheaper than rebuilding a fence line.
Boards that warp within weeks went up too wet or weren’t sealed on the cut ends. Cedar and pine shrink and cup as they dry. Let lumber dry before installing, seal every cut end the day it’s cut, and keep a 2-inch gap between the bottom board and the ground.
A single re-set typically runs in the low hundreds of dollars including concrete and labor. Replacing a post with rot costs more because the post, bottom rail, and boards on either side usually need to come out. A free estimate is the cheapest way to know which you’re facing. Call (844) 320-5918 to schedule one.
Workmanship and materials are on the contractor – post depth, footing, fastening, and lumber grade. Homeowner-side conditions are on you: sprinkler overspray, soil against the boards, vegetation, and storm or vehicle damage. Ask what the guarantee actually says in writing before you sign.
The Bottom Line
The lean in your fence is a symptom, and the symptom names the cause. Frost-heave leans correct seasonally and want deeper footings. Base-rot leans mean the wood is gone. Lateral-load leans from a storm can be re-set in place if you brace and pour correctly and give the concrete 24 to 48 hours to cure. Warped boards trace back to moisture content, drainage, or unsealed end grain. Dragging gates trace back to hinges, then the diagonal brace, then the latch – in that order. And drainage at the base decides most of these outcomes long before the failure shows up.
Deep enough posts, a stiff mix, a crowned footing, and a sealer on cut ends prevent most of what we get called out to fix across San Jose. If you’d rather have a trained eye diagnose it than chase one post at a time, Barrett & Sons Construction San Jose home offers free estimates and no-trip-charge walk-arounds inside the county. We answer the phone and we stand behind the work with a 90-Day Done Right Promise. Call (844) 320-5918 to schedule your free estimate.
Written by the team at Barrett & Sons Construction San Jose.