Last updated November 18, 2026







Free written scope consultation - allowances, timeline, and change-order rules on paper before a single trade is scheduled
Construction Warning Signs: A San Jose Homeowner’s Reference Guide
A stair-step crack in a brick retaining wall doesn’t mean the wall is decoratively interesting. It means the footing is moving, and the only real question is whether it’s moving slowly or fast. Most construction problems give visible warning long before they become emergencies, and the difference between a $400 fix and a $40,000 one is usually somebody noticing early. This guide teaches you to read your own property the way a contractor does. You’ll learn which cracks matter, what white mineral stains are telling you, where water is quietly working against your foundation, and how a simple photo habit twice a year turns vague worry into data you can act on. Everything here is written for San Jose homes, soil, and weather.
Quick Answer
Construction warning signs in a San Jose home are visible changes you can read yourself: cracks wider than a credit card, stair-step cracks in masonry, white mineral deposits, sinking or rocking flatwork, and water pooling against the foundation. Catch them at the cosmetic stage and repairs stay small. Ignore them for a season or two and they become foundation, drainage, or structural problems with five-figure price tags.
Styles & brands we work with
- Kitchen remodeling
- Bathroom remodeling
- Home additions & ADU
- Roofing
- Windows & doors
- Driveway & pavers
- Fence
Table of Contents
- The Width-and-Direction Rule: Which Cracks Matter
- What Efflorescence Is Telling You
- Five Drainage Red Flags Around a San Jose Home
- Paver and Flatwork Signs: DIY vs. Failed Base
- The Photo Habit That Turns Worry Into Data
- Roof and Window Warning Signs
- When to Call a Professional
- Frequently Asked Questions
The Width-and-Direction Rule: Which Cracks Matter
Not every crack is a problem, and treating a hairline like a catastrophe wastes money. The trick contractors use is a two-part filter: measure the width, then read the direction. Width tells you how active the movement is. Direction tells you what’s moving.
Use a coin. A U.S. quarter is about 24mm across; a penny is roughly 19mm. If a crack swallows a penny, it’s approaching the danger zone. The common field threshold is 1/8 inch (about 3mm) for a “monitor it” crack and 1/4 inch (about 6mm) for a “call someone” crack.
- Hairline, under 1/8 inch, straight or random: Usually shrinkage or settlement. Concrete cures and shrinks; stucco and plaster crack as they dry. Cosmetic. Note it and move on.
- Diagonal crack from a corner of a window or door: Often settlement at that corner. On stucco it’s frequently cosmetic, but watch whether it grows.
- Stair-step crack through brick or block: This is the one that stops us cold. It follows the mortar joints like a staircase and means the footing under one end has dropped relative to the other. The footing is moving.
- Vertical crack in a foundation wall, wider at the top: Settlement or soil pressure. Needs eyes on it.
- Horizontal crack in a basement or foundation wall: Frequently means soil or water pressure pushing the wall inward. Take this seriously.
- A crack that grows between two inspections: The most important sign of all, regardless of width. Movement means movement.
In San Jose, we see a specific pattern: our clay-heavy soils in older neighborhoods like Willow Glen and the Rose Garden swell in the wet months and shrink hard in the dry ones. That seasonal swelling and shrinking is a slow pump against foundations. Cracks that open in August and close by February are a hallmark of that clay cycle, and they’re worth photographing so you can prove the pattern to a structural engineer later. This is exactly the kind of detail a contractor reads walking up your driveway that most homeowners miss.
What Efflorescence Is Telling You
That chalky white powder on a retaining wall or foundation is called efflorescence, and it’s water’s signature. It forms when moisture moves through concrete, brick, or block and carries dissolved salts to the surface, where they dry and crystallize. The stain itself is harmless. What it’s reporting is not.
Think of efflorescence as the ground telling you water is passing through the wall. For a retaining wall or foundation, that means water is on the wrong side, and it’s moving with enough force to push salts through dense material. Over time, that same water pressure pushes walls, softens mortar, and undercuts footings.
Read it this way:
- Light, patchy bloom that washes off and stays gone: Probably normal seasonal moisture. Monitor.
- Recurring bloom in the same spots every year: Water is reaching the wall regularly. Find where it’s coming from.
- Bloom plus a rust streak or dark stain: Could indicate water penetrating near rebar. Worth a professional look.
- Bloom on the inside of a basement or garage wall: Water has fully crossed the wall. This is a drainage and waterproofing problem, not a paint problem.
Don’t paint over it. In San Jose we’ve watched this go wrong many times: a coat of sealer traps the moisture inside, and the bloom returns within a year, now with spalling concrete in tow. Find the water first. If your retaining wall is showing efflorescence on the face, this is often an early signal that the drainage behind it is clogged or missing, and it’s the same root cause that eventually shows up as a leaning wall or a shifted fence installation in San Jose along the property line.
Five Drainage Red Flags Around a San Jose Home
Foundation movement almost always starts with water. Around a San Jose home, there are five grading and downspout conditions that push water toward your foundation and quietly set up trouble over years. Walk your property with a critical eye and check for these:
- Soil that slopes toward the house. The grade should fall away from the foundation at roughly six inches over the first ten feet. If the ground has settled since the house was built (and in older San Jose neighborhoods it almost always has), the slope may now run the wrong way. You’ll see a shallow trough where the soil meets the foundation.
- Downspouts that dump at the corner. A downspout that ends directly at a foundation corner delivers several hundred gallons of water to the worst possible spot during a single storm. Look for a dark, damp stain or a divot where it lands. Extend it at least six feet out.
- Standing water an hour after the rain stops. Water should be gone within a couple of hours. A low spot in the side yard that holds water for a day or more is a slow, steady sponge against your foundation.
- Moss, algae, or dark green patchy growth in a pattern. These grow where water lingers. If you see a clear wet-weather pattern in the lawn or along the house, that’s your drainage telling on itself.
- Separation between the soil and the foundation (a gap). Soil that pulled away from the foundation during a dry summer lets water pour directly into the gap and down against the footing during the first fall rain. It’s the single most common drainage failure we find around San Jose homes.
Fixing grading and downspouts is cheap compared to foundation repair. If you’re adding hardscape or grading at the same time, this is why we write the drainage plan into the scope on jobs like a Driveway & Pavers in San Jose installation: water has to have somewhere to go before concrete and pavers go down.
Paver and Flatwork Signs: DIY vs. Failed Base
Driveways, paver patios, and walkways speak a clear language, and the three main symptoms mean different things. The good news is that some are yours to handle, and some tell you the base underneath has failed.
- Edge separation: The pavers at the outside edge are spreading outward, or the sand joints have opened up along the border. If it’s just loose paver edge restraint, a homeowner can usually reset it. If the border has separated and the pavers beyond it are also moving, the base under the edge is gone.
- Center sinking: A bowl-shaped low spot in the middle of a patio or driveway usually means the base compacted unevenly, or water got under the center and pumped the sub-base loose. Almost always a base problem, not a surface one. Pulling and replacing pavers over a bad base just reproduces the problem.
- Rocking: If a paver or concrete slab tilts under your foot, or you hear a hollow “thunk,” the material has lost contact with the base below it. Isolated rocking can sometimes be re-bedded. Widespread rocking across a section means the base has failed.
Here’s the line homeowners cross: surface repairs and edge fixes are reasonable DIY territory. Anything that points to the base (center sinking, widespread rocking, drainage washing out underneath) is not. You cannot fix a failed base from the top. The pavers or slab have to come out, the sub-base has to be corrected and re-compacted, and the water has to be directed before the surface goes back down.
In San Jose we look at a specific tell: our dry summers make polysand joints open up and shed between the pavers. When the sand washes out, water finds its way under the pavers and starts pumping the base. If your joints are opening seasonally and the surface near them is beginning to settle, deal with it in the dry months before the first rain pushes the problem further.
The Photo Habit That Turns Worry Into Data
Here’s the habit that separates a homeowner who worries vaguely for two years from one who walks into a contractor’s office with a problem already half-solved: photograph the same cracks twice a year with a coin for scale.
Once in the spring (March or April, after the winter rain has done its work) and once in the fall (September or October, at the end of the dry season). Same spots, same angle, coin held alongside the crack for a size reference. This gives you two things no memory can: proof of whether a crack is stable, and a dramatic visual of whether it moved between seasons.
- Pick your monitoring spots. Any crack you’ve noted, any wall showing efflorescence, any paver section that’s rocking, any gap between soil and foundation.
- Lay a coin beside the widest part of the crack and photograph straight on, with something recognizable in the frame so you find the same spot next time.
- Name the file with the location and the date. “Garage-west-wall-2026-09.jpg” beats “IMG_4821” every time.
- Keep the photos in one folder. When you eventually talk to a structural engineer or a contractor, hand them the folder. A three-year photo history of a crack that never moved is worth more than a hundred words of description.
A crack that’s the same width across three years of photos is likely settling that has stabilized. A crack that’s opened visibly between the spring and fall photo is an active problem, and it’s the kind of finding that changes a contractor’s recommendation before anyone picks up a tool.
Roof and Window Warning Signs
The roof and windows are where hidden water damage costs the most, and they give a homeowner plenty of early signals. Walk around the house after a big rain and look up; then walk inside and look at the ceilings.
- Brown or yellow ceiling rings: Water is getting through. A ring near a valley or a penetration (chimney, skylight, vent) points at that spot. A ring in the center of a room where there’s no roof feature above it needs a professional eye.
- Granules in the gutter or on the ground below downspouts: Asphalt shingle roofing sheds granules as it ages; a handful near the downspout every season is normal, a visible wash of them is a roof that’s near the end of its life.
- Curling or lifted shingle edges: Visible from the ground with binoculars. Curling shingles are failing shingles, and the next windstorm wins.
- Fogging between window panes: A double-pane window with a cloudy haze between the glass has lost its seal. The glass has failed; the window has to be replaced or re-glazed. This is common around San Jose homes with strong western sun exposure and can move fast once it starts.
- Daylight visible around a closed window or door, or a draft you can feel: The seal has failed. Small gaps grow into drafts, water intrusion, and higher bills.
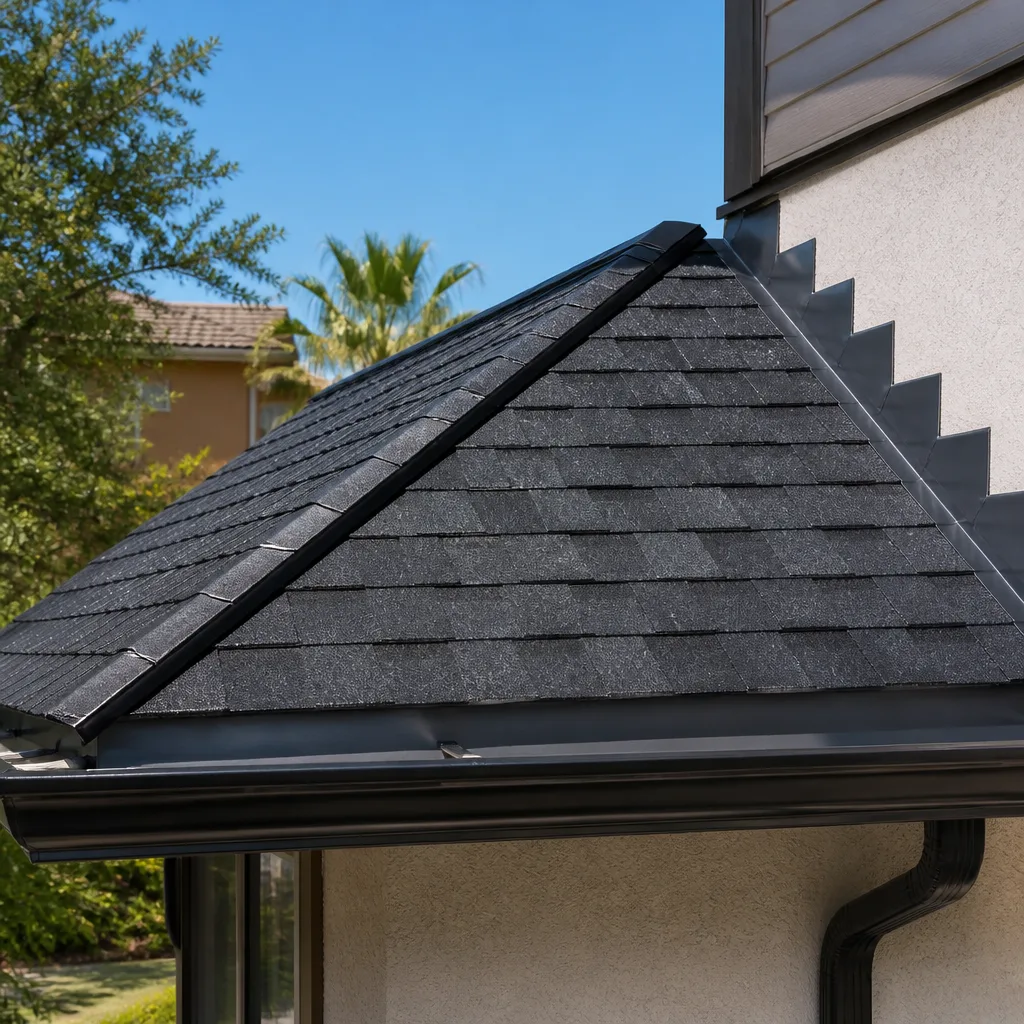
When it’s time to replace rather than patch, the difference in the material and the installation matters more than the label. That’s why we install from a small set of known brands (GAF and CertainTeed on roofs, Andersen and Marvin on windows) rather than whatever is cheapest that week. You can look the brand up. That’s the point.
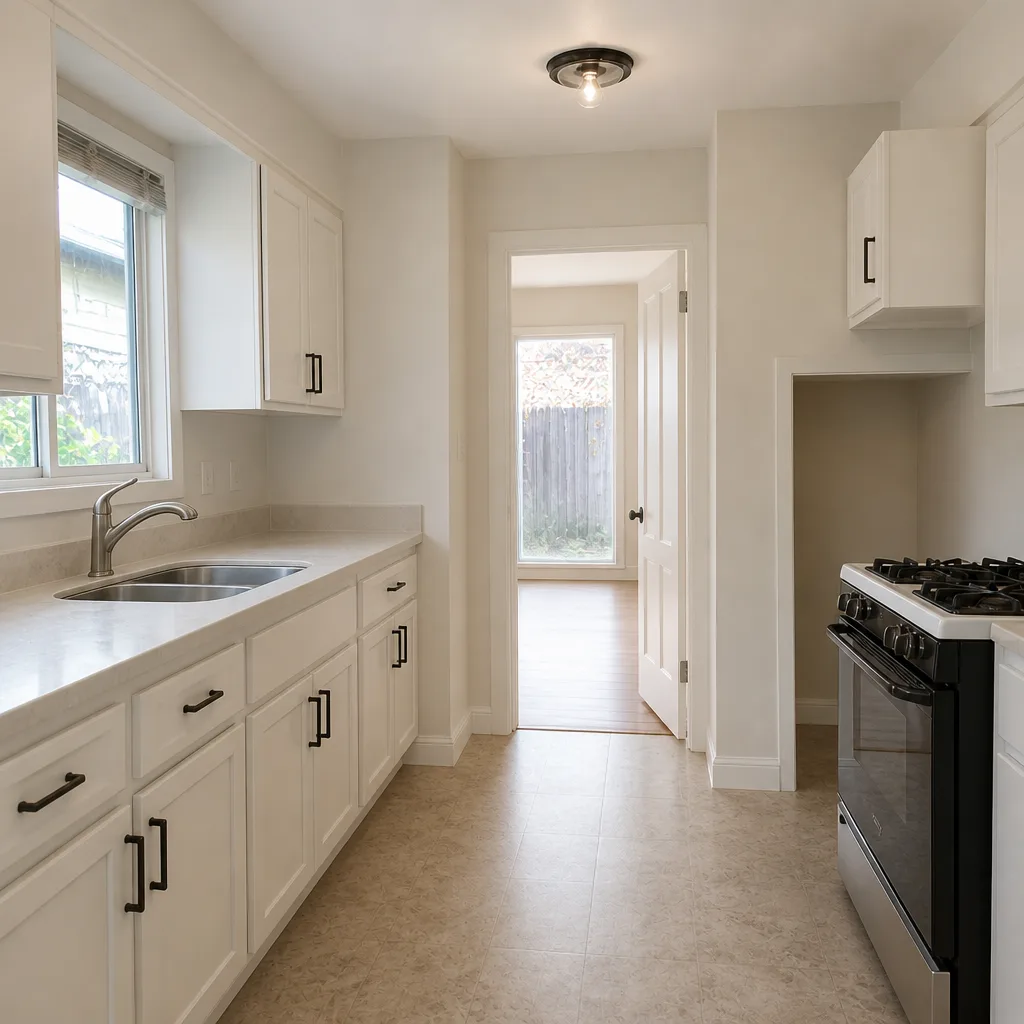
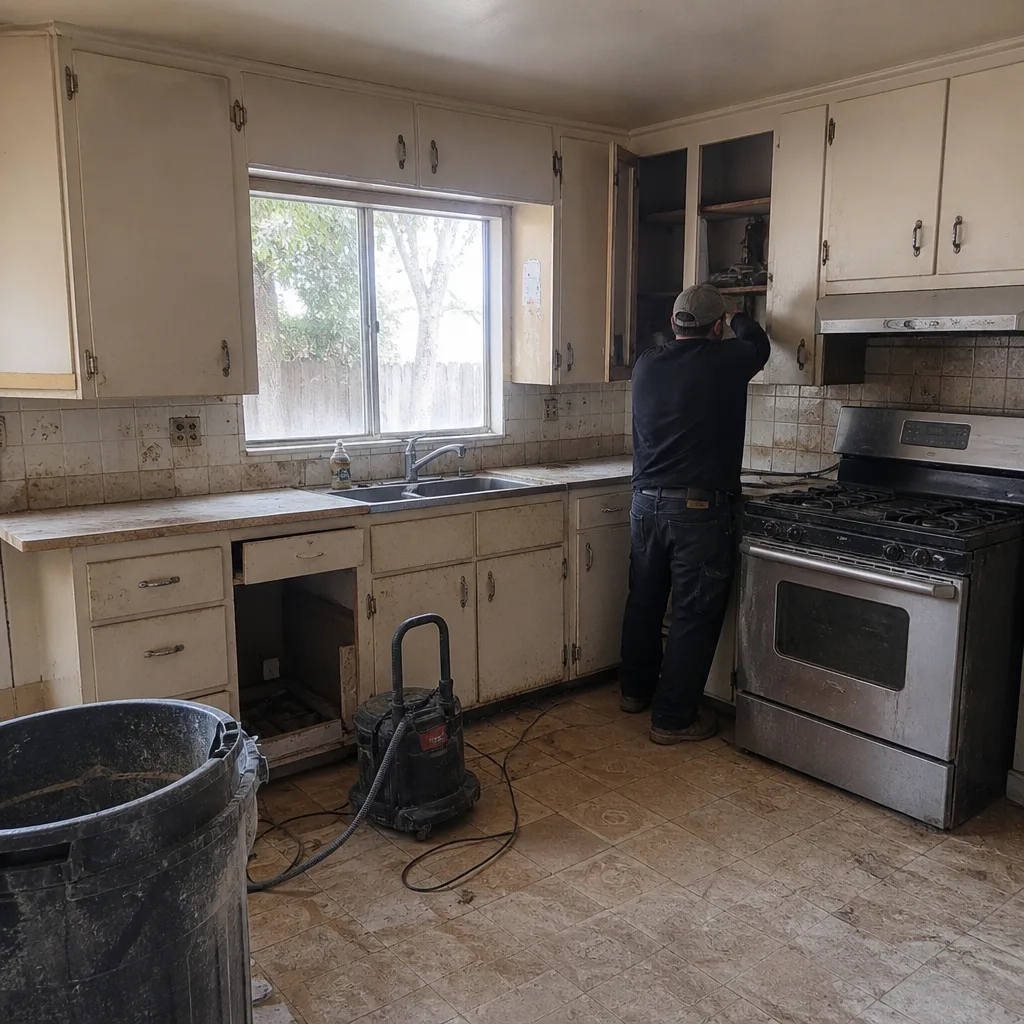
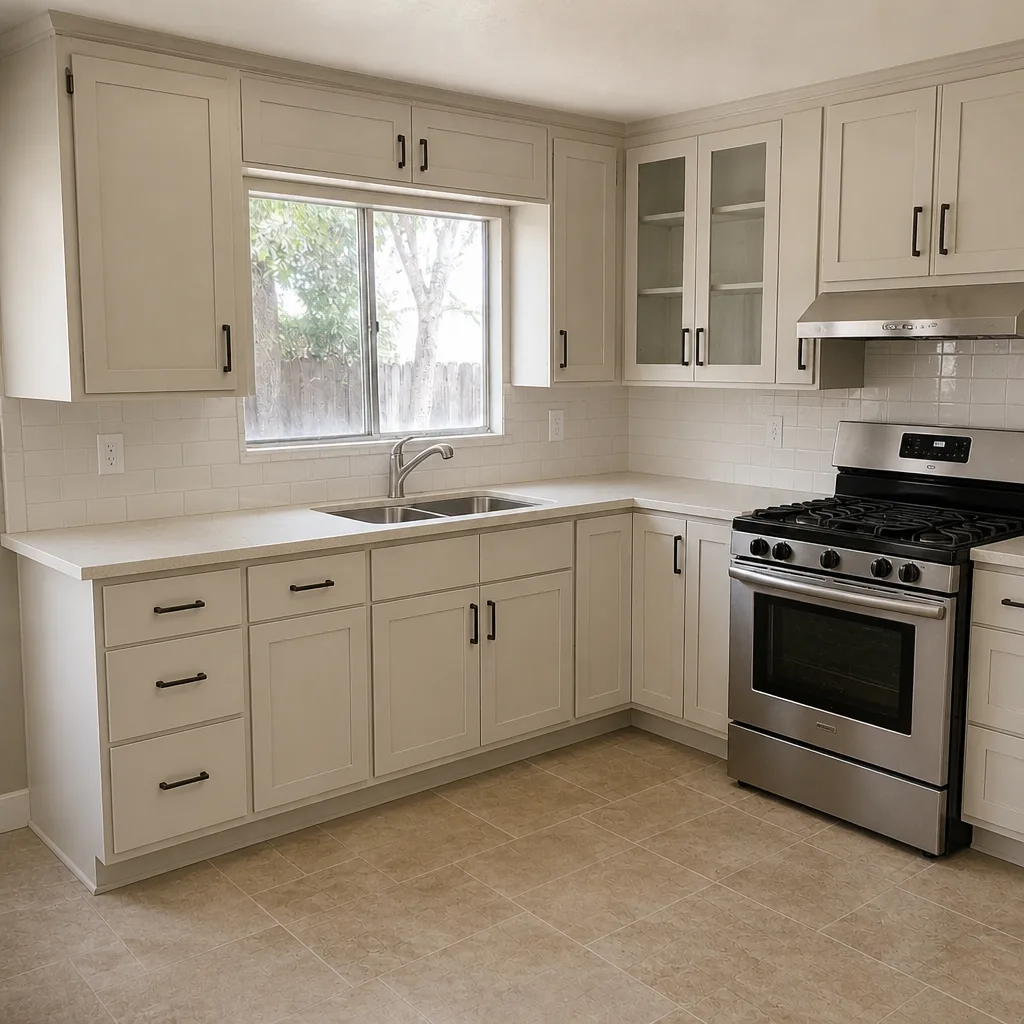
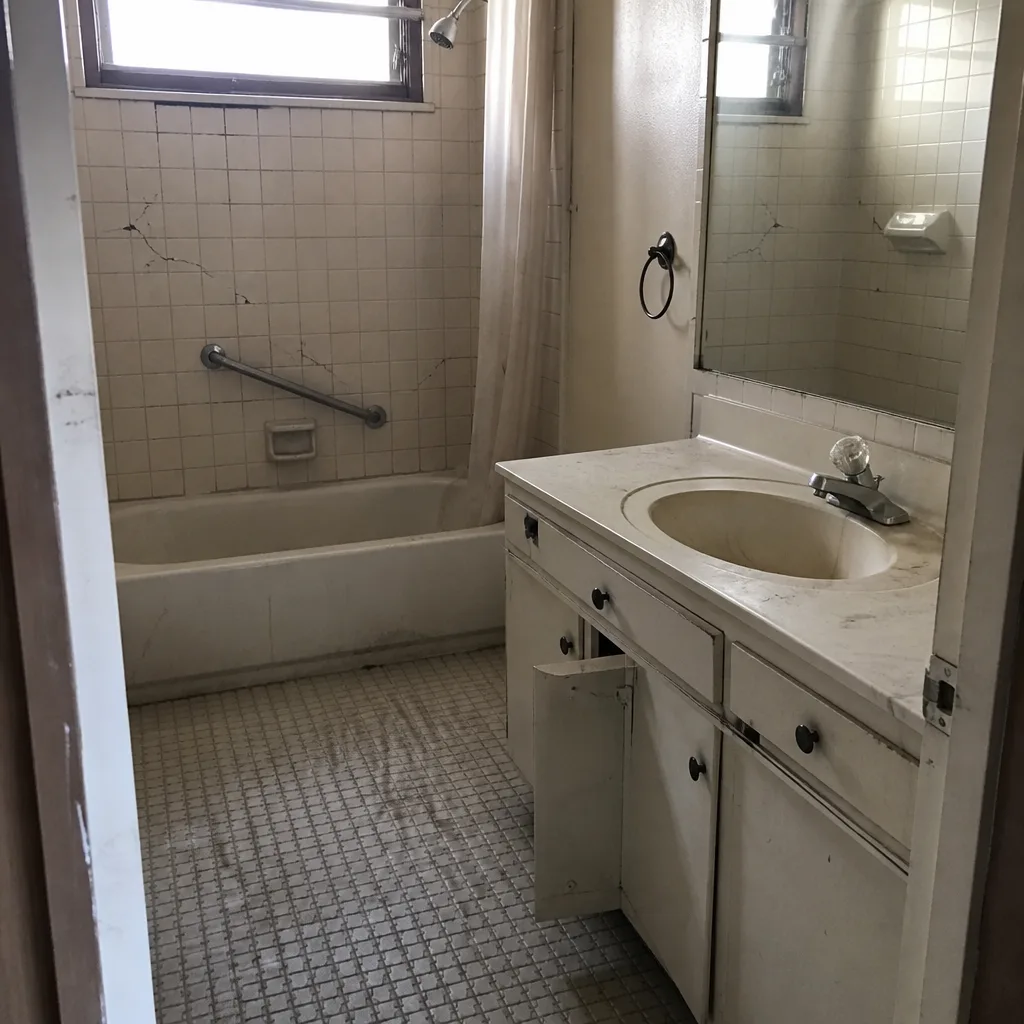
See the difference
 Before
 After
 Before
 After
 Before
 After
Common Mistakes to Avoid
- Caulking a crack and calling it fixed. Caulk hides a crack without addressing why it opened. You lose your early warning signal and the movement continues underneath. Find the cause first.
- Painting over efflorescence. Sealing the surface traps the moisture inside and forces it to spall the concrete or brick later. Fix the water, then paint.
- Pulling and resetting pavers over a failed base. A new surface over a bad base reproduces the problem within a season or two. The base has to be corrected first.
- Skipping the permit because the last contractor said they were optional. In San Jose, structural changes, additions, and several trades require permits and inspection. An open permit history can complicate a future sale.
- Treating a stair-step crack as cosmetic. It’s the single most-missed warning sign in masonry. A stair-step crack means a footing has moved, and it needs eyes.
- Waiting for the first fall rain to deal with drainage. Once the rain arrives, you’re watching water pour into the same gap you should have filled in September. Handle grading and downspouts in the dry months.
- Taking a verbal quote and never getting it in writing. An allowance that isn’t on paper is a surprise waiting for a date. Get the scope, allowances, and any change orders in writing before work starts.
When to Call a Professional
Some things are yours to monitor. Others need a professional this week. Call someone if you have a stair-step crack in masonry, a horizontal crack in a foundation wall, a crack that’s been visibly growing, a retaining wall that’s leaning or bulging, efflorescence on the inside of a garage or basement wall, water pooling against the foundation that won’t drain, or fogging windows and a ceiling stain that haven’t been looked at. If you’re planning a larger project, this is also the moment to establish the scope, allowances, and pricing in writing up front, which is the whole point of a line-item estimate. For a properly engineered addition or a structure where the settling has become a design question, look at how a Home Additions & ADU in San Jose project is scoped from the foundation up.
Barrett & Sons Construction San Jose offers free estimates in San Jose. We pull permits and have inspections signed on every eligible job because the permit inspector works for you. Call (844) 320-5918 to schedule yours.
Frequently Asked Questions
Measure the width and read the direction. A crack under 1/8 inch, straight or random, is usually cosmetic settlement or shrinkage. A crack over 1/4 inch, a stair-step crack through brick or block, a horizontal crack in a foundation wall, or any crack that’s growing is structural until a professional says otherwise. When in doubt, photograph it with a coin for scale and call us for a free second opinion on any written estimate.
Efflorescence means water is moving through the wall, which is a problem even though the white powder itself is harmless. Light bloom that washes off and stays gone is usually fine, but bloom that comes back in the same spot every year is telling you water is regularly reaching the wall. Find the water source before you paint or seal anything. If it’s a retaining wall, this often signals a drainage problem behind it.
Costs vary widely with the cause and the scale, so the only honest answer is a line-item written estimate after someone has looked at the property. Small drainage corrections, downspout extensions, and regrading are the low end; foundation repair and retaining wall reconstruction are the high end. Get the scope and pricing in writing before anything starts. Call (844) 320-5918 for a free estimate; estimates are free and no trip charge applies inside the county.
Rocking and center sinking mean the base under the surface has failed, not the pavers themselves. A paver loses contact with the base and tips. Resetting pavers over a bad base reproduces the problem within a season. The base has to be corrected and the water directed before the surface goes back down. Edge separation, if it’s just the restraint, is often a homeowner fix.
Some, yes. Monitoring cracks, extending downspouts, regrading a low spot, resetting loose paver edge restraint, and keeping a photo log are all reasonable homeowner tasks. Structural cracks, foundation movement, retaining wall repairs, and any change to load-bearing or footings are not DIY. Call a professional for anything that points to movement or a failed base.
It depends on the scope. Like-for-like cosmetic repairs usually don’t need one; structural changes, additions, some window and roof replacements, and several trades do. If a contractor tells you permits are optional, get a second opinion. On every eligible job we pull the permit and have inspections signed, and we tell you up front which jobs need what. Call (844) 320-5918 to talk through your specific project.
The Bottom Line

Your property is talking to you all the time. A stair-step crack, a chalky white stain, a downspout dumping at the corner, a paver rocking underfoot, a fogging window: each is a sentence in the same conversation about water and movement. Read the width and direction of a crack. Follow the water. Photograph what you see twice a year with a coin for scale. Handle the small stuff in the dry months, and call someone when the signs point to movement or a failed base. That habit of attention is the whole difference between a small repair and a five-figure emergency in San Jose.
If something you’ve found has you worried, don’t sit on it. Barrett & Sons Construction San Jose is owner-operated, we pull the permits, and every price change arrives in writing before work starts. Call (844) 320-5918 for a free estimate. A live person answers the phone 24 hours a day, and a free second opinion on any written estimate is always standing. Start from our Barrett & Sons Construction San Jose home page if you’d like to see everything we do.
Written by the team at Barrett & Sons Construction San Jose.