Last updated November 18, 2026


Free written scope consultation - allowances, timeline, and change-order rules on paper before a single trade is scheduled
Driveway & Pavers Troubleshooting: Common Problems and How to Fix Them
A single sunken paver usually isn’t about that paver. It’s about what the crew did, or didn’t do, six inches below it. We’ve pulled up plenty of interlocking pavers around San Jose where the surface looked fine two summers ago and now dips like a shallow bowl after every rain. Chasing the symptom with a bag of sand is how homeowners end up paying for the same repair twice. What follows is how to read the failure, name the cause, and decide what you can fix on a Saturday and what needs a crew.
Quick Answer
Sunken or uneven driveway pavers are almost always caused by one of four installation failures: a shallow, uncompacted base, missing edge restraint, poor drainage grading, or bedding sand that was never properly screeded. Isolated rocking is usually a bedding set issue; widespread progressive sinking is a base failure. Fix the cause, not the paver, or it will sink again within one season.
Styles & brands we work with
- Kitchen remodeling
- Bathroom remodeling
- Home additions & ADU
- Roofing
- Windows & doors
- Driveway & pavers
- Fence
Table of Contents
- How to Diagnose Which of the Four Failures You Have
- Efflorescence: The White Powder That Scares Homeowners
- How to Lift, Re-Set, and Re-Sand a Single Paver
- Tree Roots vs. Soil Settlement: Two Different Repairs
- Edge Sinking and the Drainage Problem Nobody Notices
- What a Real Warranty Covers (and What It Shouldn’t)
- Why San Jose Pavers Fail Differently Than in Other Markets
How to Diagnose Which of the Four Failures You Have
Before you buy anything, walk the driveway with a 4-foot level and a hose. The pattern of the failure tells you almost everything. We do this on every Driveway & Pavers in San Jose estimate because the diagnosis changes the price by a factor of ten.
Base failure looks like this: a wide, saucer-shaped depression that has deepened over two or more seasons, often with pavers separating at the joints. Push a screwdriver into an open joint – if it drops four to six inches with little resistance, the aggregate base is too thin, wasn’t compacted in lifts, or was laid over topsoil. Surface fixes will not hold.
Bedding sand failure is isolated and shallow. One or two pavers rock, the dip is under half an inch, and the surrounding field is level. This is a one-afternoon fix.
Drainage failure follows a pattern. Water pools at the garage apron, or the pavers along the low edge of the driveway stay wet two days after rain and begin to settle in a line. Efflorescence and moss will cluster there. Grading or drainage correction comes first, then re-set.
Edge restraint failure shows up as the outer row bulging outward or splaying toward the street. Without a properly spiked edge restraint, pavers migrate with every car that rolls over them. San Jose driveways on sloped lots in the Almaden Valley are especially prone to this.
- Widespread + progressive + soft base = base failure
- Isolated + shallow + level field around it = bedding issue
- Patterned along edges or low spots = drainage or restraint failure
- Bulging outer row = edge restraint failure
Efflorescence: The White Powder That Scares Homeowners
That chalky white film creeping across your pavers looks alarming and is almost always cosmetic. Efflorescence is mineral salts carried to the surface by water moving through the concrete. It sits on top of the paver, not inside it, and it does not weaken the driveway. Nine times out of ten, in our experience, it appears after the first wet season on a new install and fades on its own within a year.
What actually removes it: a diluted white vinegar wash (one part vinegar to three parts water), a stiff nylon brush, and a dry, sunny afternoon. Scrub, rinse, let it dry, wait a week. Repeat if needed. A paver sealer applied to a wet surface, or any pressure washing above about 1,200 PSI, does the opposite of what you want – pressure washing drives moisture deeper and pushes out more salts. A high-pressure blast also strips the joint sand that keeps the field locked together, which is how a cosmetic problem turns into a rocking-paver problem.
What just spreads it: muriatic acid without neutralizing afterward, and sealer applied too soon after installation. If efflorescence returns within weeks, every time, that’s a moisture signature, not a cleaning problem. Water is getting under the field from somewhere. Track the source – a downspout dumping onto the pavers, a negative grade against the garage, or a sprinkler head pointed straight at the driveway – before you clean again.
How to Lift, Re-Set, and Re-Sand a Single Paver
You can re-set one or two isolated pavers without disturbing the field. The trick is patience and the right tools. Here’s the exact sequence:
- Tools first: two flat pry bars or paver pullers, a rubber mallet, a margin trowel, a 4-foot level, a stiff broom, a bag of polymeric joint sand, and a utility knife to score the joint seam.
- Score the joint with the knife along all four sides of the paver so you don’t drag neighbors up with it.
- Lift slowly. Work the pry bars into the seam and lift evenly. Set the paver aside face-up on cardboard so you don’t chip a corner.
- Inspect the sand bed. If the bedding is less than an inch and looks loose or contaminated with soil, scoop it out and add fresh washed concrete sand.
- Check the base below the sand. Compacted base should feel like a hard parking lot under the trowel. If it’s soft or you can push the trowel in three inches, stop – this is a base issue and you’re wasting your afternoon.
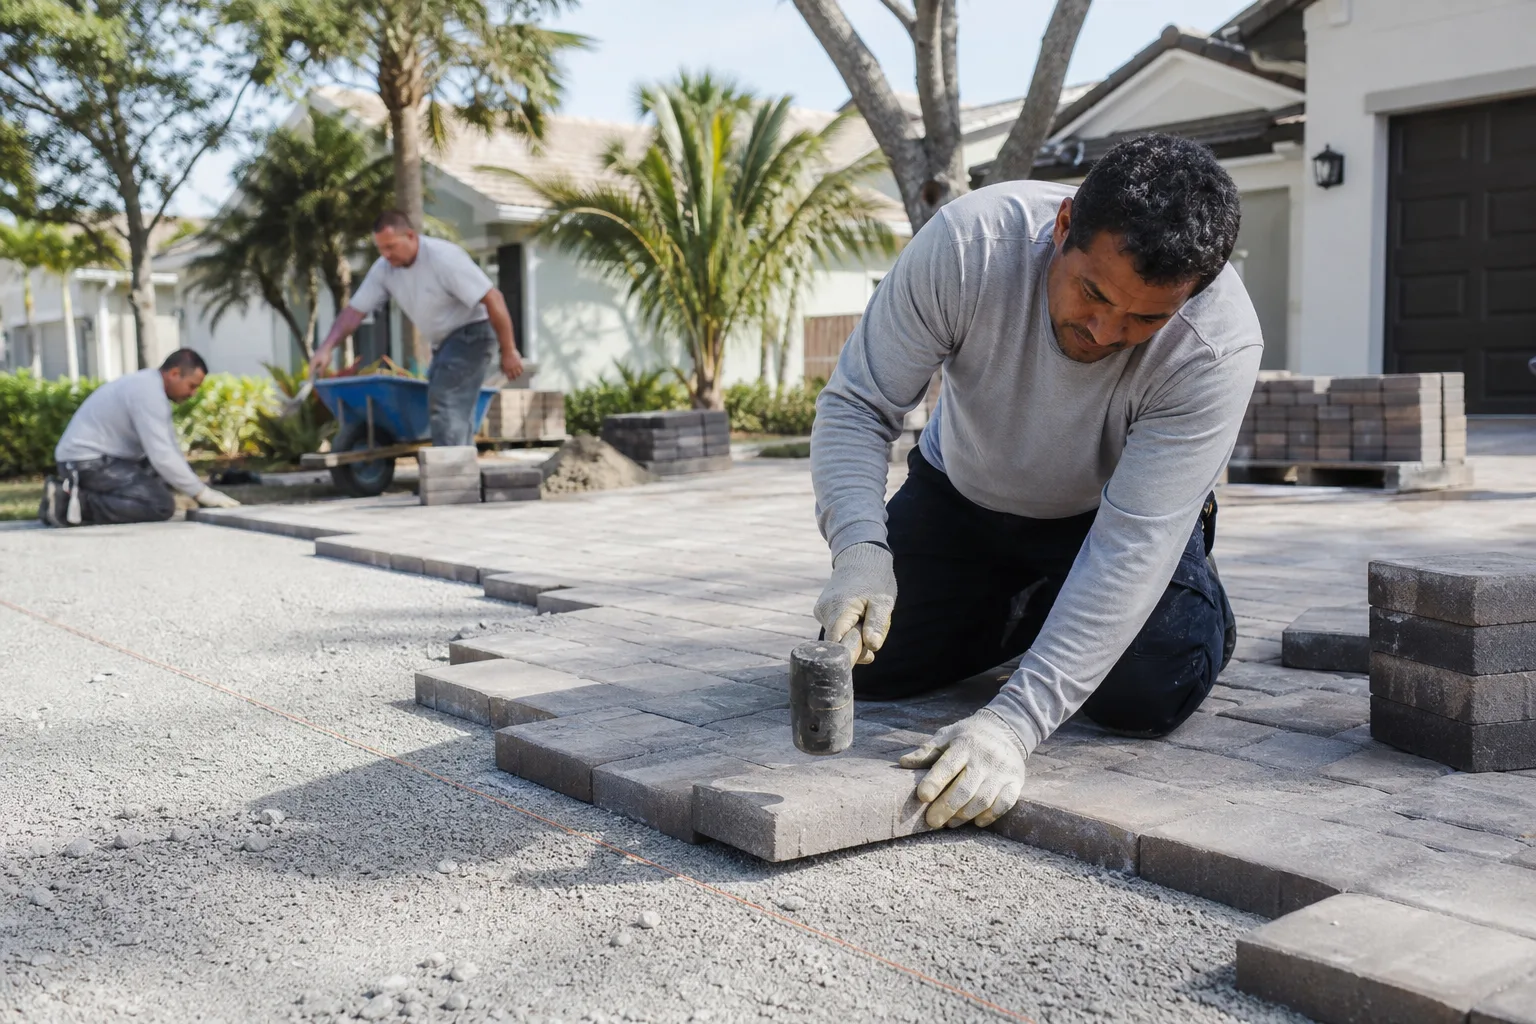
- Set and screed the sand to a half-inch bed, drop the paver in, and tap it flush with the mallet through a scrap of 2×4. Level across to the adjacent pavers in both directions.
- Re-sand the joint with polymeric sand, sweep it in, mist gently, and leave it alone for 24 hours.
One caveat the surface doesn’t show: most of what’s under a driveway paver is aggregate, sand, compaction, and edge restraint. Get any of those wrong on a re-set and you’ll be back at it next spring. That’s the point where the do-it-yourself math usually flips. If you decide you want the whole job done once, we pull a permit where the scope requires it and walk you through the steps on a free estimate.
Tree Roots vs. Soil Settlement: Two Different Repairs
Root heave and soil settlement both lift or drop pavers. They look similar from the driver’s seat and are completely different problems to fix. Getting this wrong is the single most expensive mistake we see on San Jose properties.
Tree roots are the culprit if: the lift is localized and follows a line rather than a bowl, the heaved pavers sit in the drip line of a mature tree (sweetgum, liquidambar, and Chinese elm are frequent offenders in San Jose), and the pattern returns after rain. Roots keep growing. Grinding the root out and re-setting the pavers fixes the symptom for a couple of years, then it comes back. A root barrier along that edge of the driveway is the durable answer, and that’s a job for a crew with a plate compactor and a diamond blade – not a pry bar.
Soil settlement is the culprit if: the dip is bowl-shaped, spreads over a broader area, and concentrates near the garage apron or along a low edge where water runs. San Jose’s clay-heavy soils in neighborhoods like Willow Glen and the Cambrian area shrink and swell with our wet-dry cycle, and a driveway that was never compacted in lifts will settle unevenly for years. This repair means rebuilding the base in that section, not chasing paver by paver.
If you aren’t sure, cut a small root sample from under the lifted edge and look at the wood grain. Root heave leaves a lived-in, fibrous base. Settlement leaves dry, crumbly soil.
Edge Sinking and the Drainage Problem Nobody Notices
Pavers along the outside edge of a driveway are the first thing to fail, and the visual symptom is misleading. The pavers themselves look fine; it’s the row that meets the street or the lawn that dips by a half inch, then an inch, then a full paver. That’s almost never a paver quality issue. It’s water running off the field, digging under the edge restraint, and washing away the bedding sand.
San Jose homeowners in older neighborhoods like Rose Garden and Naglee Park deal with this more than newer builds, because a lot of those driveways were originally poured concrete cut down to pavers during a remodel, and the drainage was never re-designed for the new surface. The paver field sheds water faster than asphalt or concrete in the first minutes of a storm, so the volume hitting the edge restraint is higher than the old plan accounted for.
The right fix has three parts:
- Replace the edge restraint with a properly spiked aluminum or plastic edge, not a buried 2×4 that rotted out a decade ago.
- Re-establish a 1-2% slope away from the structure, so the water leaves the field in a defined direction rather than sheeting off every edge.
- Add a channel drain or French drain at the low point if the driveway meets the garage apron with nowhere to go. On sloped lots, this is non-negotiable.
If your yard has been re-graded for a new Home Additions & ADU in San Jose, re-check the driveway slope afterward. Soil that was moved for the addition changes where runoff lands, and the pavers are the first to tell you.
What a Real Warranty Covers (and What It Shouldn’t)
You’ll have a much better conversation with any contractor if you know what a legitimate paver warranty looks like before the estimate. Here’s the honest split.
Reasonable to expect under warranty: base and bedding failures within the warranty period on a driveway the contractor installed – sinking, rocking, or widespread pooling that wasn’t caused by a gutter, drainage change, or tree growth the homeowner added after the job. Efflorescence is often excluded, and that’s standard, because it’s cosmetic and weather-dependent. A written warranty should be attached to your contract, not promised on the phone.
Not reasonable to claim: damage from a root heave caused by a tree that matured after installation, damage from a changed grader or French drain added around the driveway, damage from a vehicle heavier than a passenger truck (dumpsters, cement trucks, loaded trailers), or settlement in an area the homeowner asked to leave off-scope. Any warranty claim that requires the contractor to rebuild something they didn’t install is a conversation, not a legal right.
What you should demand in writing: the length of the workmanship warranty, whether it’s transferable to a new owner, what materials are covered by the manufacturer (Belgard and Techo-Bloc, for example, publish specific product warranties that run far longer than any labor warranty), and what triggers a service call. Barrett & Sons backs every completed driveway with a written 90-Day Done Right Promise – if something we set isn’t right, one call brings us back.
Why San Jose Pavers Fail Differently Than in Other Markets
San Jose’s climate is a strange one for pavers. Our wet-dry cycle runs from bone-dry summers to soaking winter storms in a matter of weeks, and the clay-heavy soil under a lot of the older parts of the city doesn’t drain like the loam you’d see in other regions. That combination punishes a shallow base harder than a wetter climate would.
What we see in San Jose more than anywhere else we’ve worked:
- Winter heave on unpinned edges. All that water hits the field fast, and a poorly spiked edge restraint lets the whole outer row migrate toward the street.
- Efflorescence flares in February and March. The winter rain pulls salts up, then the first dry week leaves a white film that wasn’t there in October.
- Summer shrinkage on clay. The same soil that swells in winter shrinks in August, and any paver sitting on a thin bed will start to rock by Labor Day.
A 4-inch compacted aggregate base is the bare minimum in San Jose. If a bid quotes less, ask why. The savings shows up on the invoice; the failure shows up in your driveway two winters later.
Common Mistakes to Avoid
- Filling a sunken paver without checking the base. A bag of sand hides the dip for one season and then the whole field starts to sink. Diagnose first.
- Pressure washing to clean efflorescence. High pressure drives salts deeper and strips joint sand. Vinegar and a stiff brush, every time.
- Re-setting pavers over wet bedding sand. The sand compacts unevenly once it dries, and you get a new dip within a month.
- Skipping the edge restraint during a repair. The outer row is the first thing to go, and every repair without a proper edge fails again. Almaden Valley and Evergreen sloped driveways show this the fastest.
- Assuming a contractor pulls permits for hardscape work. Not every paver job needs one, but any driveway tied to a new structure, drainage change, or grade change does. Ask on the estimate – the last contractor most San Jose homeowners used told them permits were optional.
- Accepting a verbal change order. When the crew hits an old concrete footing under the base and the price “needs to go up a little,” that number should arrive in writing before anyone touches the pavers. No exceptions.
- Choosing pavers on color alone. Boral and Techo-Bloc both publish load ratings and freeze-thaw data; a driveway that carries a full-size truck needs a different paver than a garden path.
See the difference
 Before
 After
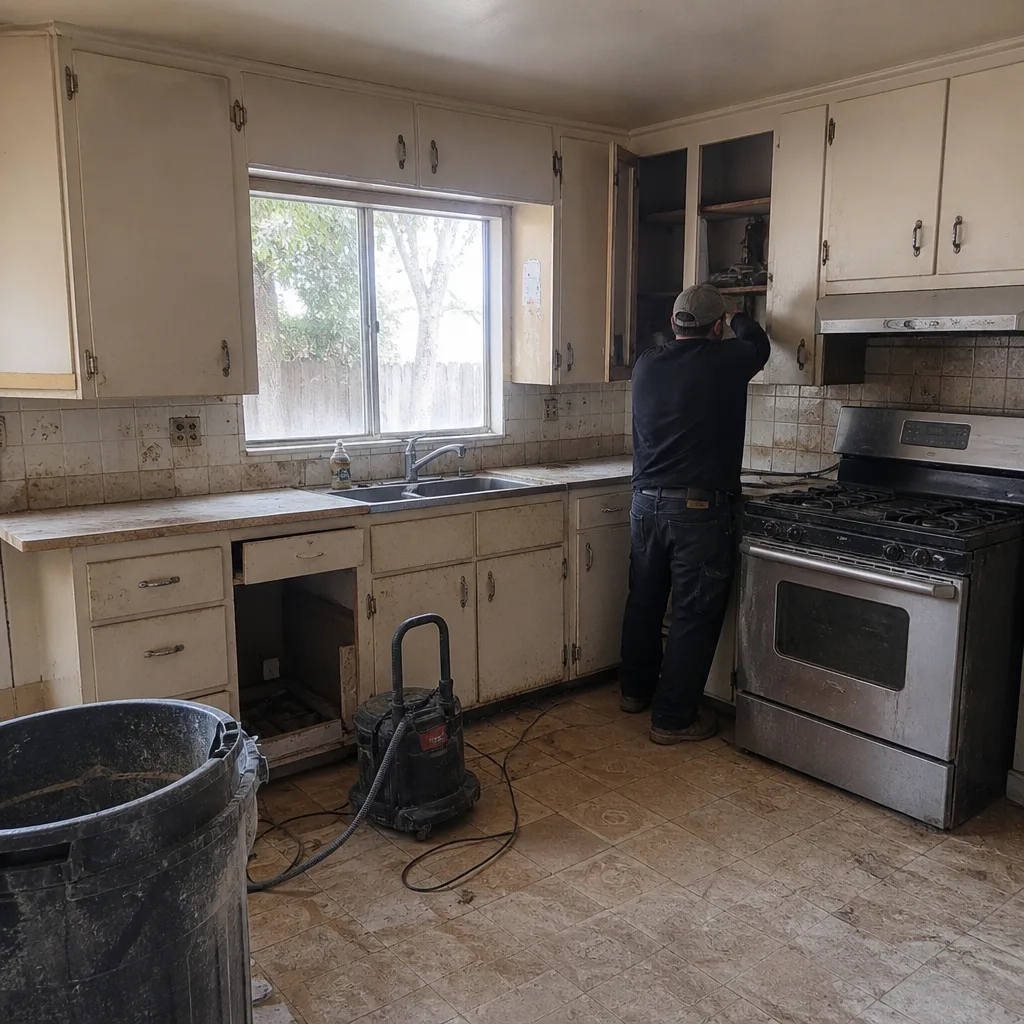 Before
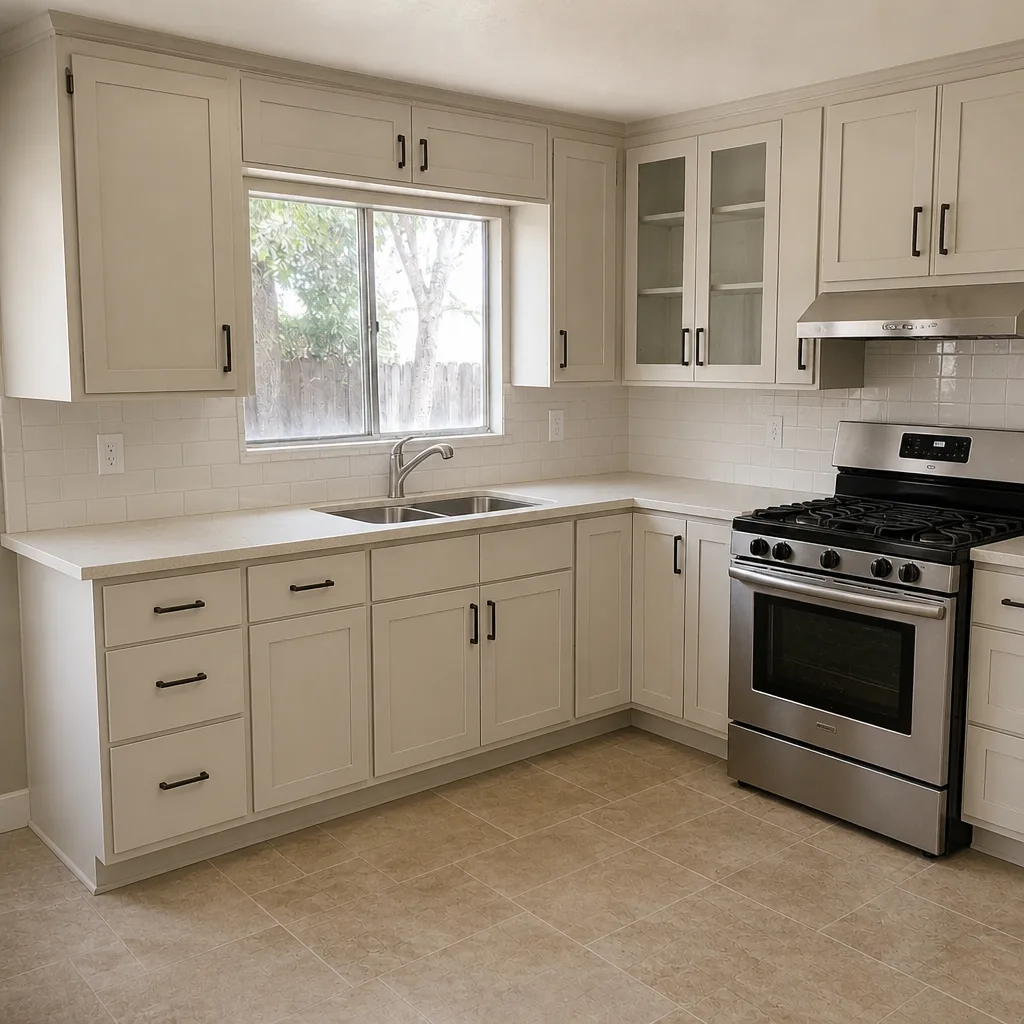 After
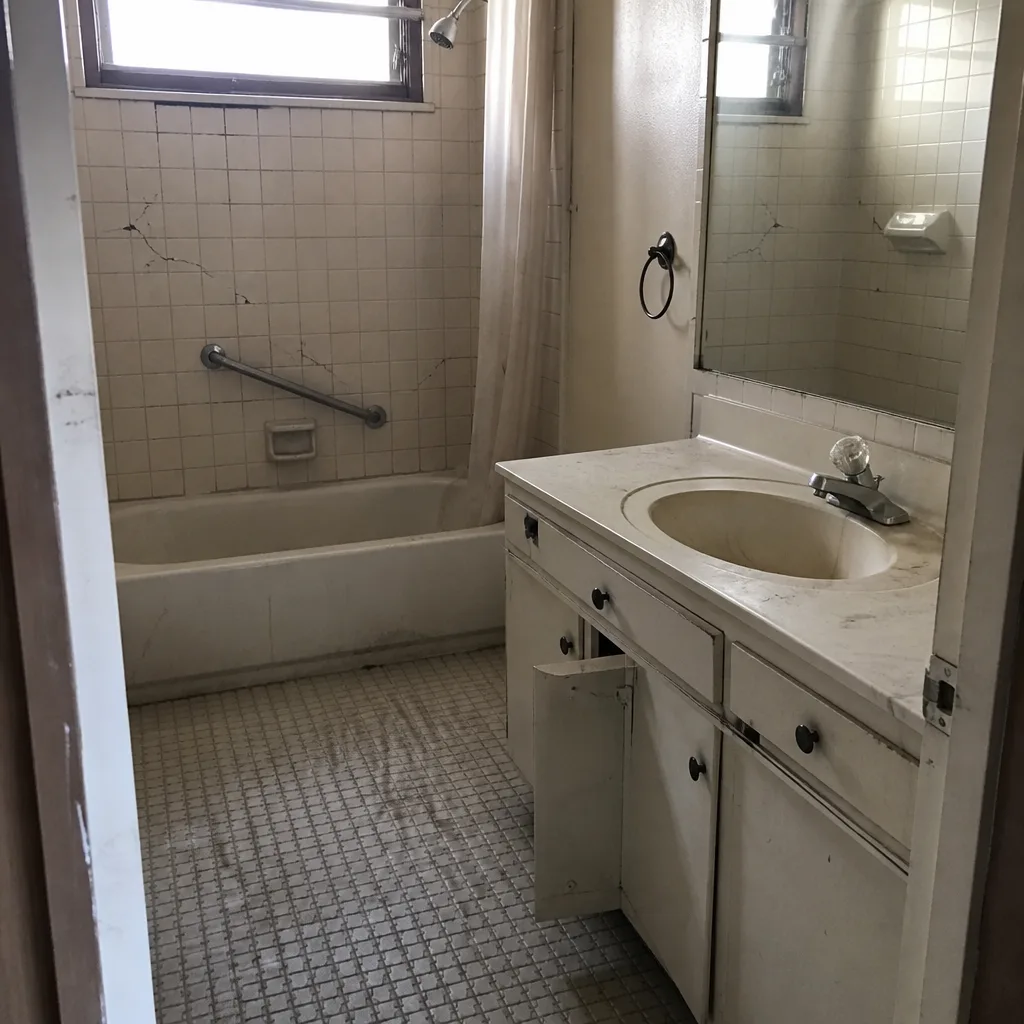 Before
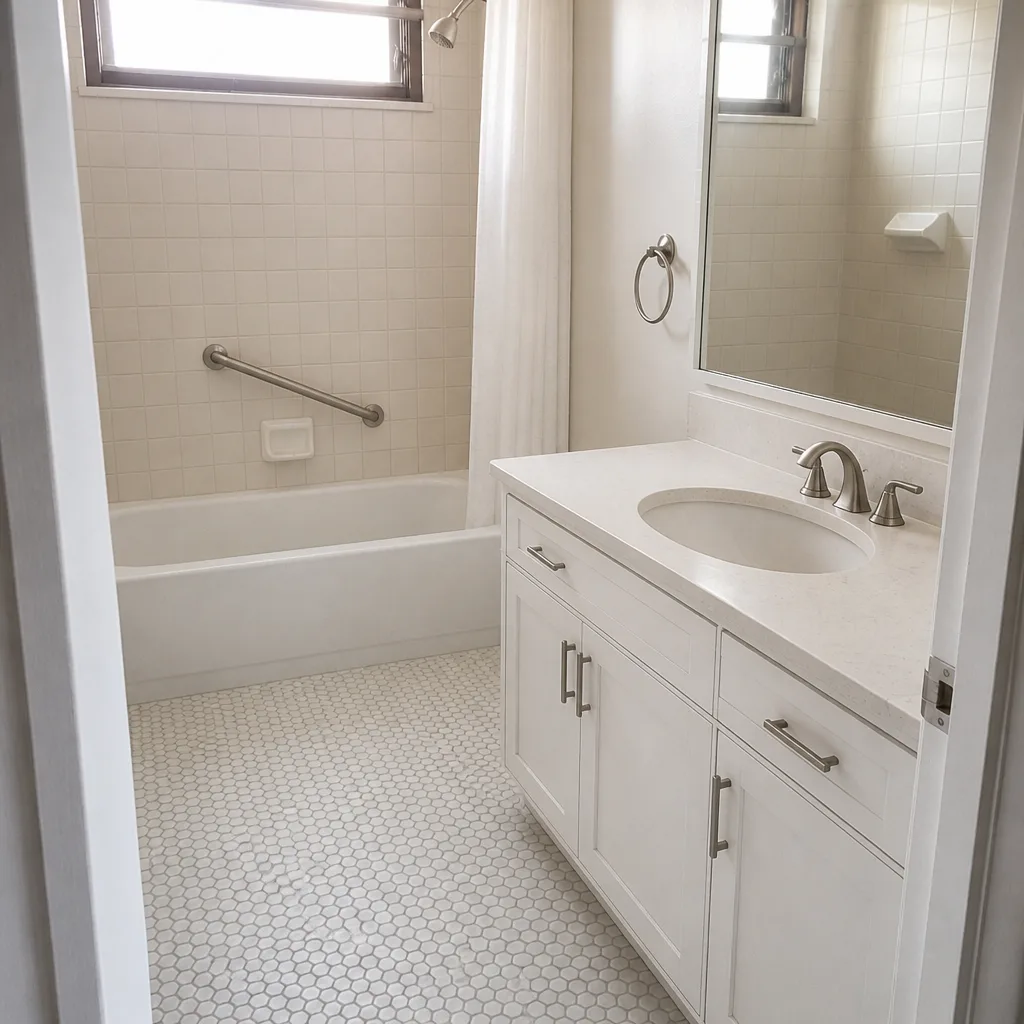 After
When to Call a Professional
Call a crew when the failure is widespread (more than three or four pavers in a pattern), when the base fails the screwdriver test, when water is pooling near your foundation or garage apron, or when a mature tree is the likely culprit. Those are the four scenarios where a homeowner re-set tends to compound the problem instead of solving it. A driveway that’s sinking along the edge restraint – the outer row bulging or dropping – is a base and drainage job, not a paver swap. And anything tied to a re-graded yard from a new addition or Fence Installation in San Jose project needs a fresh look at the drainage plan before it’s re-paved. Barrett & Sons Construction San Jose offers free estimates in San Jose – call (844) 320-5918.
Frequently Asked Questions
A single-paver re-set is typically a small repair in the low hundreds of dollars, and a full base-and-drainage correction on a failing section runs considerably more because it involves demolition, new aggregate, and re-sanding. Call (844) 320-5918 for an exact quote – estimates are free, and the four published offers apply: $40 Off Any Repair Over $200, Free Second Opinion on Any Written Estimate, No Trip Charge Inside the County, and the permanent 10% Senior & Veteran discount.
Not without your signature. Every scope, every allowance, and every price change on a Barrett & Sons job arrives as a written change order before work happens. No surprise invoices at the end – the allowance that isn’t on paper is a surprise waiting for a date.
Yes, whenever the job is eligible. Permits get pulled and inspections get signed on every job that requires them. The permit inspector works for you, not for us – that’s why we like him. If a bid you’re comparing quotes a price and doesn’t mention permits, ask directly.
No. Efflorescence is cosmetic mineral salt on the surface of the concrete paver and does not weaken the driveway. A diluted vinegar wash and a stiff brush removes it. If it returns within weeks every time, that’s a moisture signature and worth a professional look at your drainage.
Usually, yes. A root barrier along the affected edge and a targeted re-set of the heaved pavers can solve it for the long term. Grinding the root out without a barrier is a patch that fails within a couple of years, and we don’t recommend it. Call (844) 320-5918 and we’ll walk the driveway with you to identify whether it’s roots or settlement before quoting the repair.
Every completed job is backed by the written 90-Day Done Right Promise – if it isn’t right, one call brings us back. Base and bedding failures on a driveway we built are on us. Root heave from a tree that matured after the install, damage from a vehicle heavier than a passenger truck, or settlement in an area the homeowner asked to leave off-scope are not, and we’ll tell you that honestly before you sign. Our crew members have up to 28 years of experience on paver installs, and we’d rather turn down a job than quote one we know will fail.
The Bottom Line
Pavers don’t fail randomly. They fail in predictable patterns that point back to four installation decisions: base compaction, bedding sand, edge restraint, and drainage. Read the pattern before you buy anything, and you’ll know whether it’s a Saturday afternoon or a crew job. Efflorescence is almost always cosmetic. A bulging outer row or a bowl-shaped dip that keeps deepening is a base problem, and no surface patch will hold it. When you’re ready for an honest look and a written estimate rather than a phone number, call Barrett & Sons Construction San Jose at (844) 320-5918 – Tom’s name, address, and license number are published, and one call brings us back if something isn’t right. You can also start with the Barrett & Sons Construction San Jose home page for the full scope of what we do.
Written by the team at Barrett & Sons Construction San Jose.