Last updated November 18, 2026


Free written scope consultation - allowances, timeline, and change-order rules on paper before a single trade is scheduled
Driveway & Pavers Maintenance Checklist for San Jose Homeowners
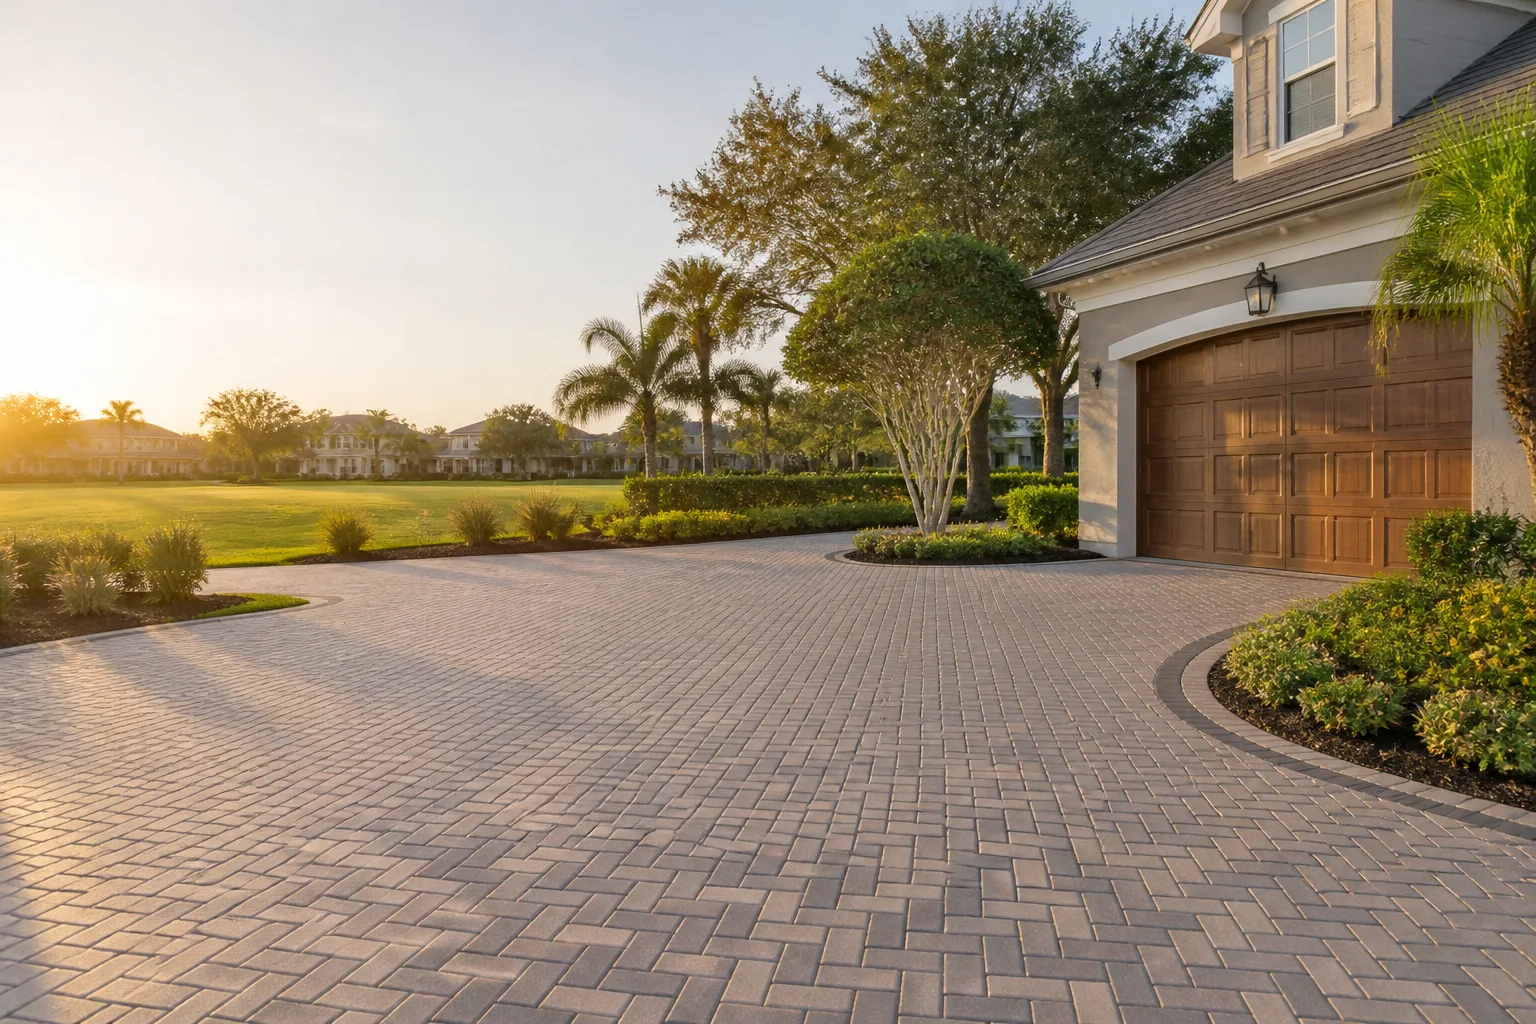
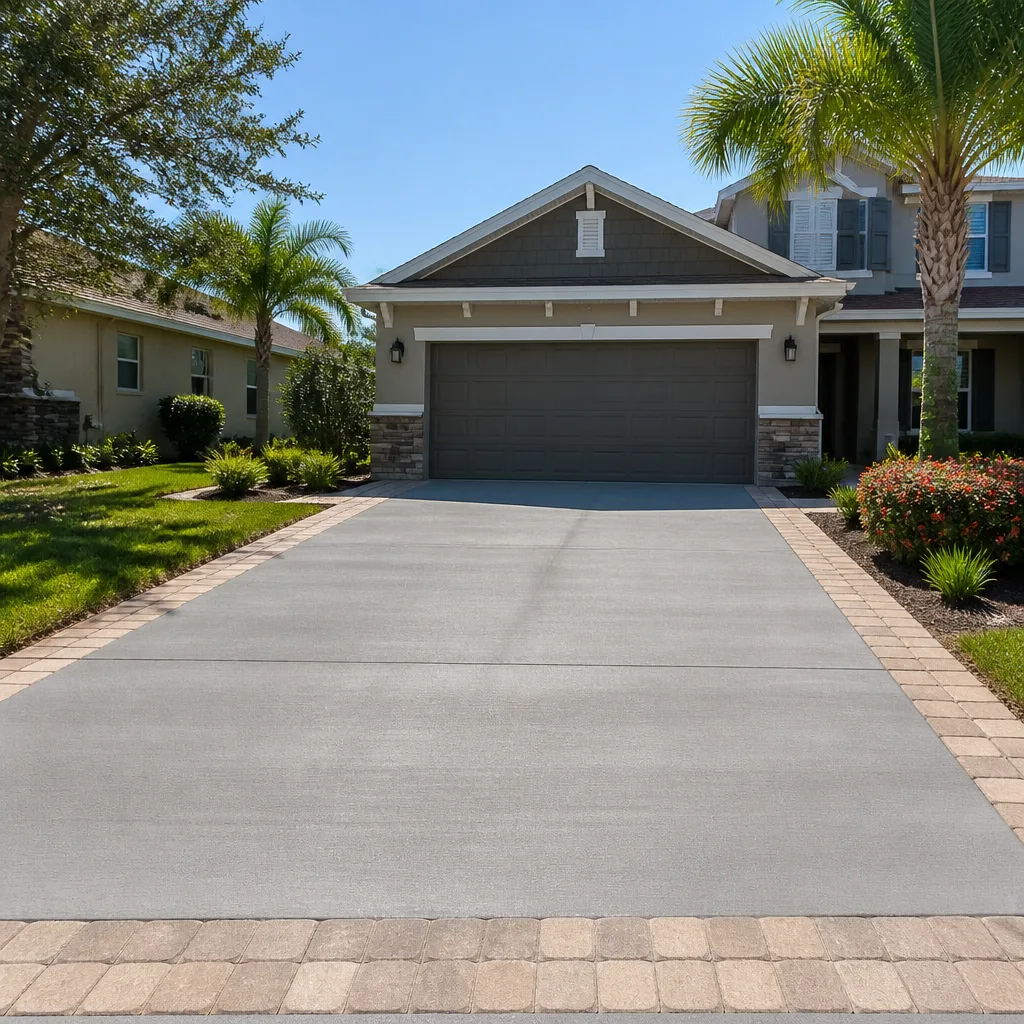
Here’s a number that surprises almost every homeowner we talk to: a paver driveway that cost $18,000 to $30,000 in San Jose can lose half its useful life in five years if nobody tends the joints. It happens quietly. Polymeric sand washes out of the seams, water slips under the surface, and the base starts working loose. You won’t see it from the street. You’ll feel it the first time a paver rocks under your shoe. The good news is that a focused maintenance routine, timed to our two weather windows, keeps that investment intact for decades. Below is the checklist we walk San Jose homeowners through.
Quick Answer
Maintain a San Jose paver driveway with two seasonal passes: a pre-rain inspection in October (refill joint sand, clear drains, reseal every two to four years) and a post-rain cleanup in April (pull weeds, remove stains, reset any rocking pavers). Between those two dates, a five-minute monthly check for rocking pavers, washed-out joints, and standing water prevents the expensive repairs. The Bay Area’s mild but wet winters do more damage to pavers than the dry summers do, and most failures trace back to water getting where it shouldn’t.
Styles & brands we work with
- Kitchen remodeling
- Bathroom remodeling
- Home additions & ADU
- Roofing
- Windows & doors
- Driveway & pavers
- Fence
Table of Contents
- Why San Jose’s Climate Is Hard on Pavers
- Your Annual San Jose Paver Maintenance Calendar
- How to Test Whether Your Sealer Still Works
- Joint Sand: Why Standard Sand Fails and What Polymeric Sand Does
- Stain Removal by Type: Oil, Rust, and Oak Tannin
- Rocking or Sunken Pavers: Re-Set or Call a Pro?
- Drainage, Weeds, and the Small Stuff
- Common Mistakes to Avoid
Why San Jose’s Climate Is Hard on Pavers
San Jose sits in a rain-shadow valley. We get most of our annual rain between November and March, and the ground swings from saturated to bone dry on a schedule that loosens things up over time. It isn’t a true freeze-thaw cycle like you’d see in the Sierra, but it acts like a mild version of one: water seeps into joints and hairline cracks, the soil beneath swells, then the summer sun bakes it back down. Repeat that 20 times and a paver that was tight at installation starts to move.
Two local factors make it worse. First, our clay-heavy soils in neighborhoods like Willow Glen and Cambrian hold water longer than sandy soil does, so the base stays wet for days after a storm. Second, the summer sun here is genuinely intense. UV exposure oxidizes sealer faster in San Jose than in cooler coastal towns like Santa Cruz or Pacifica, which is why we tell homeowners to expect a reseal every two to four years rather than the five to seven some manufacturers quote.
The consequence is predictable. In our experience across San Jose, the most common paver failure we see isn’t cracked stone. It’s a washed-out joint that let water under the surface and undermined the base. Joint sand is your first line of defense, and it’s the thing most homeowners never check.
Your Annual San Jose Paver Maintenance Calendar
The single most useful habit for a San Jose driveway is to do your maintenance around the rain, not around a random weekend. Two windows matter.
October: the pre-rain pass. Before the first real storm, get the driveway ready. This is when you refill joint sand, clear debris from drains and channel drains, check that water still runs away from the house, and reseal if it’s due.
April: the post-rain pass. Once the wet season ends, assess the damage. This is when you pull weeds that sprouted in the joints, treat stains from winter runoff, and inspect for any pavers that moved.
Here’s the full checklist, in order:
- Walk the surface and feel for movement. Every paver should feel solid underfoot. A rocking paver is a warning sign.
- Look at the joints. The sand should sit roughly flush with the top of the pavers. If you can see deep gaps, it washed out.
- Check the edges. The perimeter where pavers meet soil or a retaining edge is where they move first.
- Hose-test the low spots. Pour water where it usually puddles and watch where it goes. It should drain within a few minutes.
- Inspect the sealer. See the hose test below.
- Spot-clean stains before they cure into the surface.
- Refill joint sand where needed and re-sweep.
- Note anything that needs a closer look for the spring pass or a call to a pro.
That whole routine takes maybe an hour for a typical San Jose driveway. It’s the cheapest insurance you’ll ever buy for a hardscape that cost five figures.
How to Test Whether Your Sealer Still Works (Garden Hose Method)
You don’t need a moisture meter or a specialty test kit. A garden hose tells you almost everything. Here’s the method we use.
- Let the driveway dry for at least 48 hours.
- Pour a cup of water on a representative section and watch it for two minutes.
- If the water beads up and rolls off, the sealer is still protecting the surface.
- If the water soaks in and darkens the pavers, the sealer is gone or nearly so.
- If the water soaks in unevenly, you have a failing seal in some areas and intact seal in others. That patchwork is common in San Jose because sun exposure varies across a driveway that gets shade from a valley oak or a neighbor’s fence line.
One caveat: a darkening effect on first wetting doesn’t always mean the sealer is dead. Some sealers are penetrating rather than film-forming, and they behave differently. If you aren’t sure what was originally applied, a contractor can tell you in a few minutes. Sealing is also one of the easier jobs to get wrong – too much product, too little, or applying in the wrong temperature range can trap moisture or leave a milky haze. When it’s time, it’s worth having someone who does it every week handle the application.
Joint Sand: Why Standard Sand Fails and What Polymeric Sand Does
Most San Jose driveways are built with joint sand between the pavers. That sand isn’t decorative. It locks the pavers together, keeps their edges from chipping, and blocks water from getting under the surface. When it washes out, everything else follows.
Standard silica sand, the kind that comes in bags from the hardware store, does fine for the first year. After that, rain, wind, and vehicle traffic push it out of the joints slowly and steadily. Homeowners who top it off with standard sand every spring are fighting a losing battle. It washes out again.
Polymeric sand behaves differently. It contains a polymer binder that activates with water and sets into a firm, semi-flexible joint filler. Once it cures, it resists washing out, resists weeds, and stays put longer. That matters in San Jose because our wet winters hit the joints hard.
Here’s how the refill works when it’s needed:
- Clean the joints first. Old sand, dirt, and weeds have to come out. Use a screwdriver or a pressure washer on a low setting. Compressed air works well.
- Refill with polymeric sand to roughly 1/8 inch below the paver surface. Don’t overfill.
- Sweep it into the joints with a broom, working in small sections.
- Activate with water per the product directions, usually a light misting that saturates the joint but doesn’t puddle.
- Let it cure for the time on the bag before you drive on it.
Polymeric sand isn’t a fix for everything. It won’t hold if the base is failing, and it performs poorly if it’s applied when the joints are wet. If you’re not comfortable with the application, a contractor can do the full refill in an afternoon.
Stain Removal by Type: Oil, Rust, and Oak Tannin
Pavers aren’t invincible, especially in San Jose, where valley oak leaves pile up every fall and irrigation water carries minerals that leave marks. The key is matching the treatment to the stain. Generic “paver cleaner” won’t always do it.
Motor oil and grease. Oil is the most common driveway stain and the hardest to pull out once it’s cured. Blot up as much as you can immediately, then cover the spot with an absorbent powder like kitty litter or baking soda for 24 hours. Sweep it up and treat the remaining stain with a degreaser made for concrete and pavers. Rinse thoroughly. Repeat as needed. If it’s old and set, it may need a poultice – a paste of solvent and absorbent powder left on the stain for hours.
Rust from irrigation or fertilizer. San Jose’s irrigation water can carry iron, and the orange-brown streaks are common along the edges where sprinklers hit. A weak acid cleaner, mixed and applied per the product directions, will lift rust from most pavers. Don’t leave it on too long. Rinse well.
Tannin from valley oak leaves. If you have a valley oak – and a lot of San Jose yards do – you know the brown-black leaf litter that stains the pavers every fall. Wet leaves sitting on the surface for a day or two will leave a tea-colored mark. Rinse the leaves off promptly, and use an oxygen-bleach cleaner designed for hardscape for existing marks. Pressure washing on a gentle setting helps, but too much pressure will pit the surface and erode the joint sand.
The bottom line: treat stains fast, match the cleaner to the stain, and never use straight muriatic acid on colored pavers without testing a hidden spot first – it can strip the pigment.
Rocking or Sunken Pavers: Re-Set or Call a Pro?
One rocking paver is a small job. A field of them is a warning. Here’s how to tell the difference.
Re-set candidate (usually a DIY-friendly job). A single paver is rocking or a corner is slightly higher than its neighbors. There’s no wide-scale movement and no visible sinking. Pop the paver out, clear and level the bedding sand underneath, reset, and re-sand the joint. That’s a 15-minute job.
Base failure candidate (call a pro). A whole section of pavers is sinking together. The surface is uneven across multiple rows. Water pools in the same spot every winter. Edge restraint is failing. You can see pavers shifting laterally or the joints widening. These are signs the base – the compacted gravel and sand that everything sits on – has failed. Re-setting pavers on a failed base is like putting new tires on a bent axle. The pavers will move again within a season.
In our experience, the pavers that fail earliest in San Jose are those installed over un-compacted or poorly drained soil, which is common in older neighborhoods where driveways were built over what was once a yard. A pro can assess the base with a probe or by pulling a couple of pavers, and if the base needs rebuilding, that’s the moment to do it – before more surface pavers are lost.
If you’re looking at a failing base or a big reseal, the crew that handles Driveway & Pavers in San Jose can give you a written assessment and line-item quote. We pull permits on eligible jobs and issue a written change order for any scope change before work moves. The 90-Day Done Right Promise is on every job, too.
Drainage, Weeds, and the Small Stuff
Water is the enemy of pavers, and San Jose has two things working against clean drainage: our soil type and the way most driveways were graded when they were installed. A driveway that was graded correctly for a Los Gatos lot won’t necessarily drain right if the original builder cut corners on slope.
A few checks matter:
- Channel drains and grates. Make sure they’re clear of leaves and debris going into the rain season. A clogged drain on a paver driveway is a puddle in waiting.
- Downspouts. If a gutter spills water onto the paver surface, the water finds a joint. Redirect it away from the driveway.
- Weeds. Weeds in the joints are the least scary problem but the most visible. Pull them by hand and consider a post-emergent on tough ones. Don’t use a torch – it can damage the polymeric sand and the paver surface.
- Efflorescence. That white chalky film that sometimes appears on new pavers is efflorescence, and it’s not a defect – it’s a sign of moisture moving through the stone. Usually it fades on its own. A specialty cleaner speeds the process.
- Edges and retaining strips. The edge restraint holds the whole field together. If it’s loose or broken, pavers move outward. Fix it if it’s cracking.
If your driveway shares a border with a fence line, that’s another spot to check. A loose fence post can heave the pavers near it, and a leaning fence is often a sign the ground underneath has shifted. That’s a job for the team that does Fence Installation in San Jose. We install fences in brands like Bufftech and Ameristar, and we treat the paver-fence junction as part of the job.
If you’re planning a larger project that involves the driveway or a detached structure, like a Home Additions & ADU in San Jose, the driveway layout and drainage are part of the plan from the start. We handle the whole scope as one project so the driveway doesn’t get torn up twice.
Common Mistakes to Avoid
- Skipping the pre-rain inspection. Most San Jose paver damage happens in the first storm of the season, when a washed-out joint lets water into the base. Checking the joints in October is the single highest-value thing you can do all year.
- Refilling joints with plain silica sand. It’ll wash out again by spring. Polymeric sand holds up to our wet winters and does a better job of blocking weeds.
- Power-washing at full pressure. High pressure strips joint sand, pits the paver surface, and can even break sealers loose. Keep the nozzle at a low setting and a wide fan.
- Sealing over a wet driveway. If the pavers hold moisture when you seal, you trap it inside, and the sealer will peel or haze. Wait at least 48 hours of dry weather before sealing, and check the forecast.
- Ignoring one rocking paver. One rock is small. Two rocks and an uneven edge are usually the start of base failure. Fix the warning signs early.
- Using muriatic acid on colored pavers. It strips pigment and dulls the finish. Test any cleaner on a hidden paver first.
- Letting oak leaves sit. Wet valley oak leaves stain pavers, attract moisture, and encourage weeds. Rake them promptly in fall.
When to Call a Professional
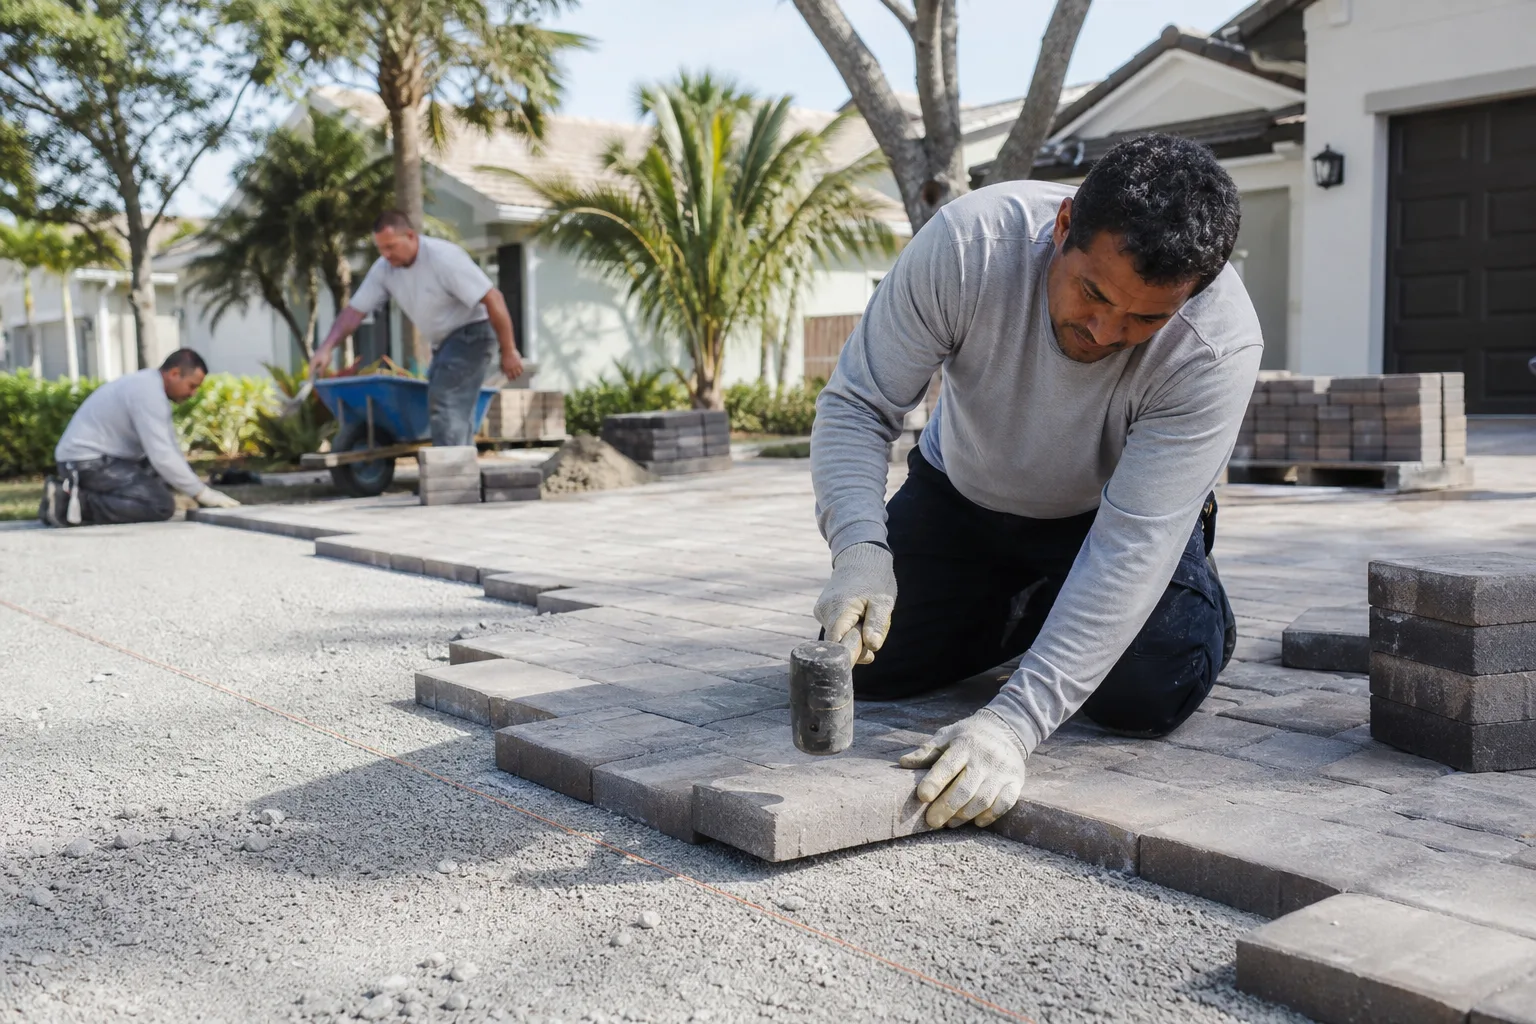
Most paver maintenance is homeowner-friendly. There are a few cases where we’d recommend calling in a crew. If you’re seeing any of these, it’s worth getting an assessment before the problem spreads:
- A whole section of pavers is sinking or rocking together.
- Water pools in the same low spot every winter, no matter what you do.
- The edge restraint is broken or the pavers are spreading.
- The sealer is failing across the whole driveway, not just in one patch.
- You’re not sure the base is sound and a reseal is being scheduled.
- The driveway is part of a larger project where drainage or grade needs rework.
Barrett & Sons Construction San Jose offers free estimates in San Jose – call (844) 320-5918. We’ll give you a written line-item quote, no pressure, and a written change order if anything changes once work starts.
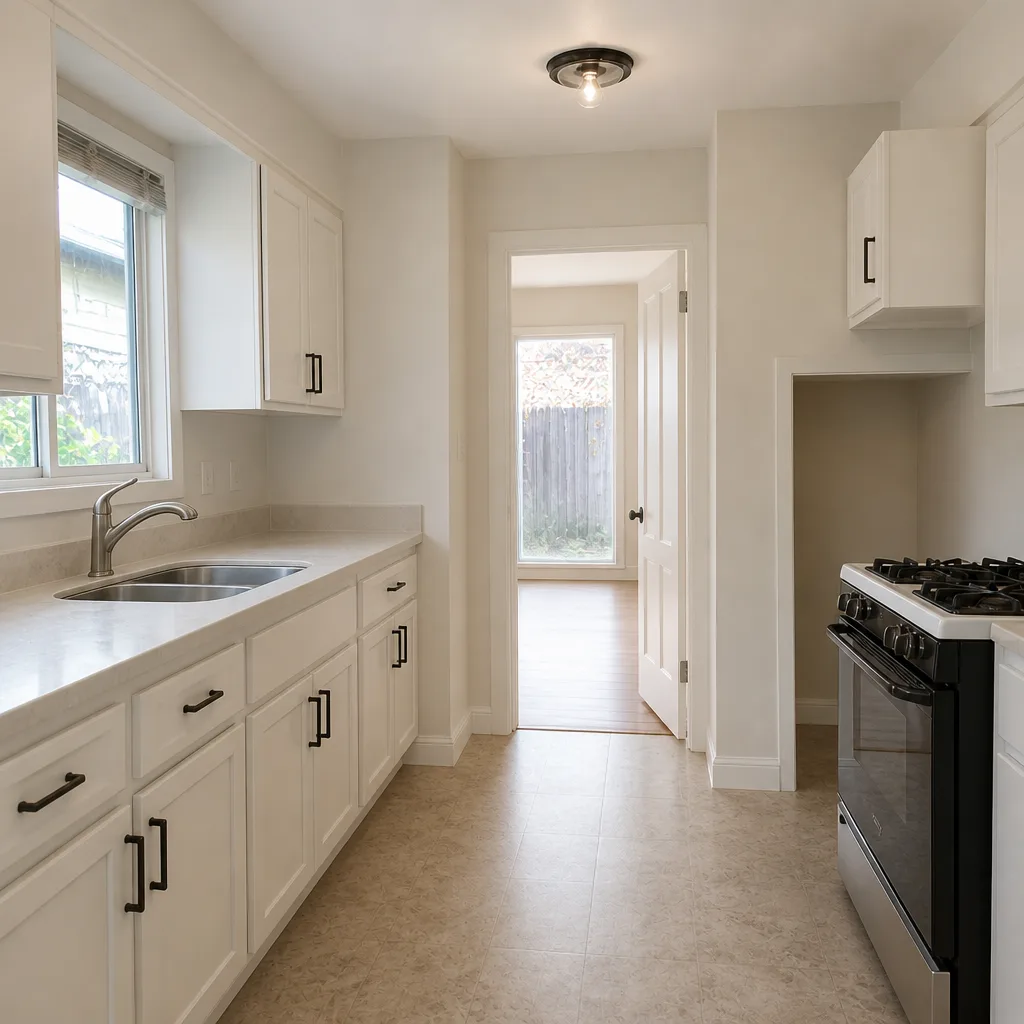
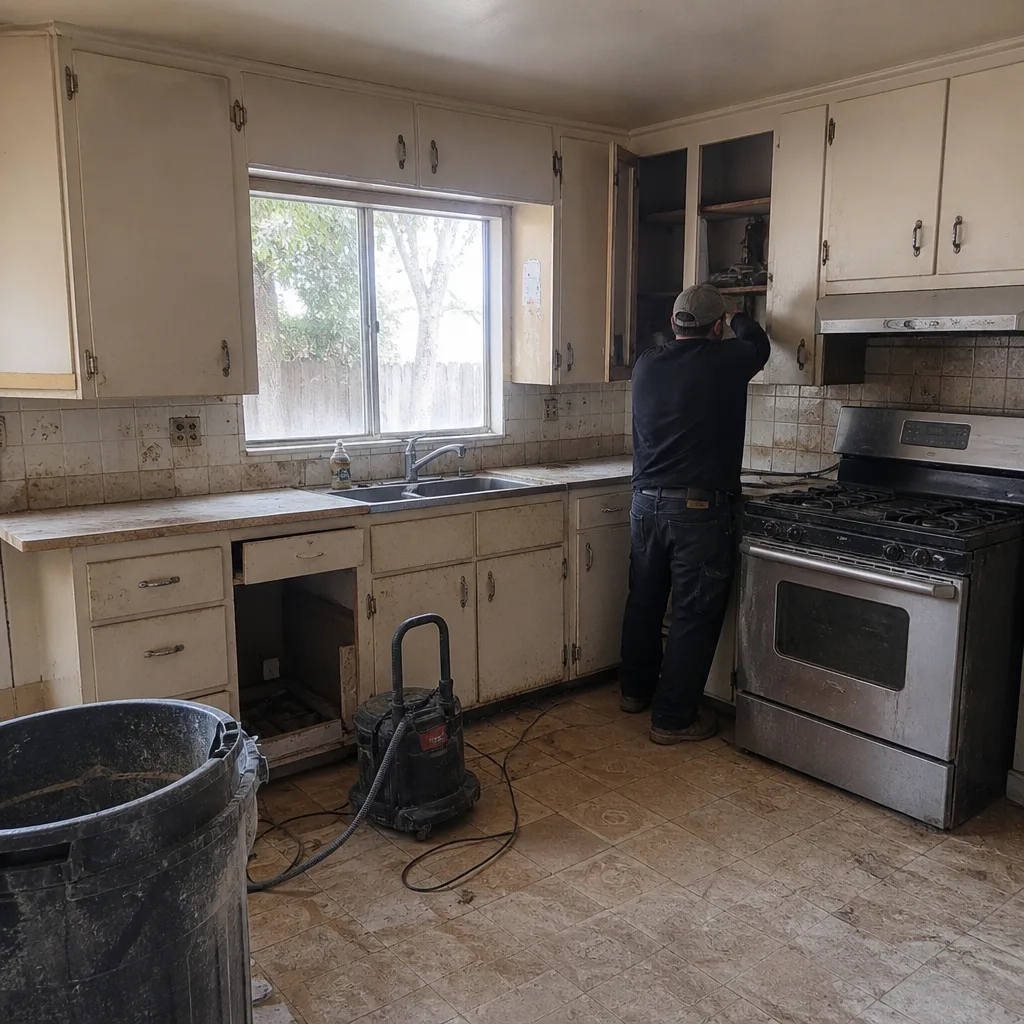
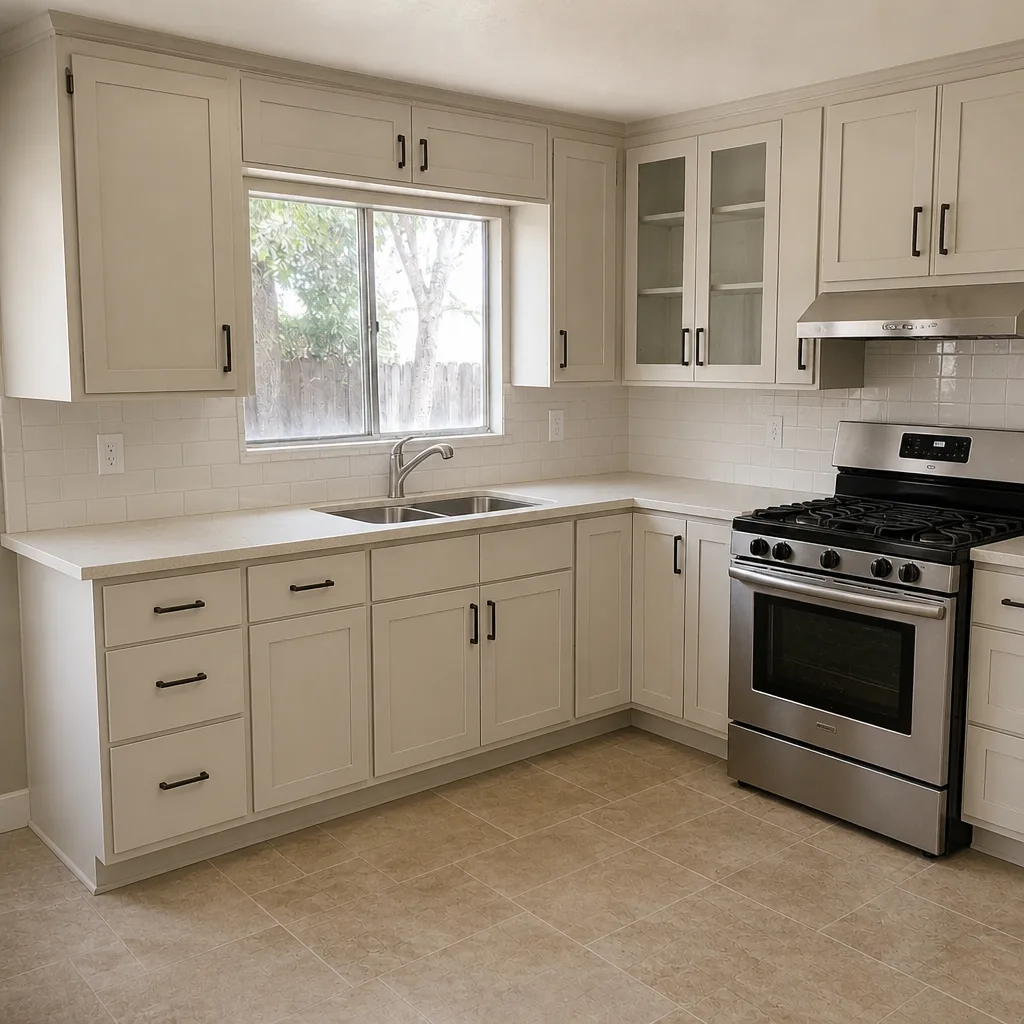
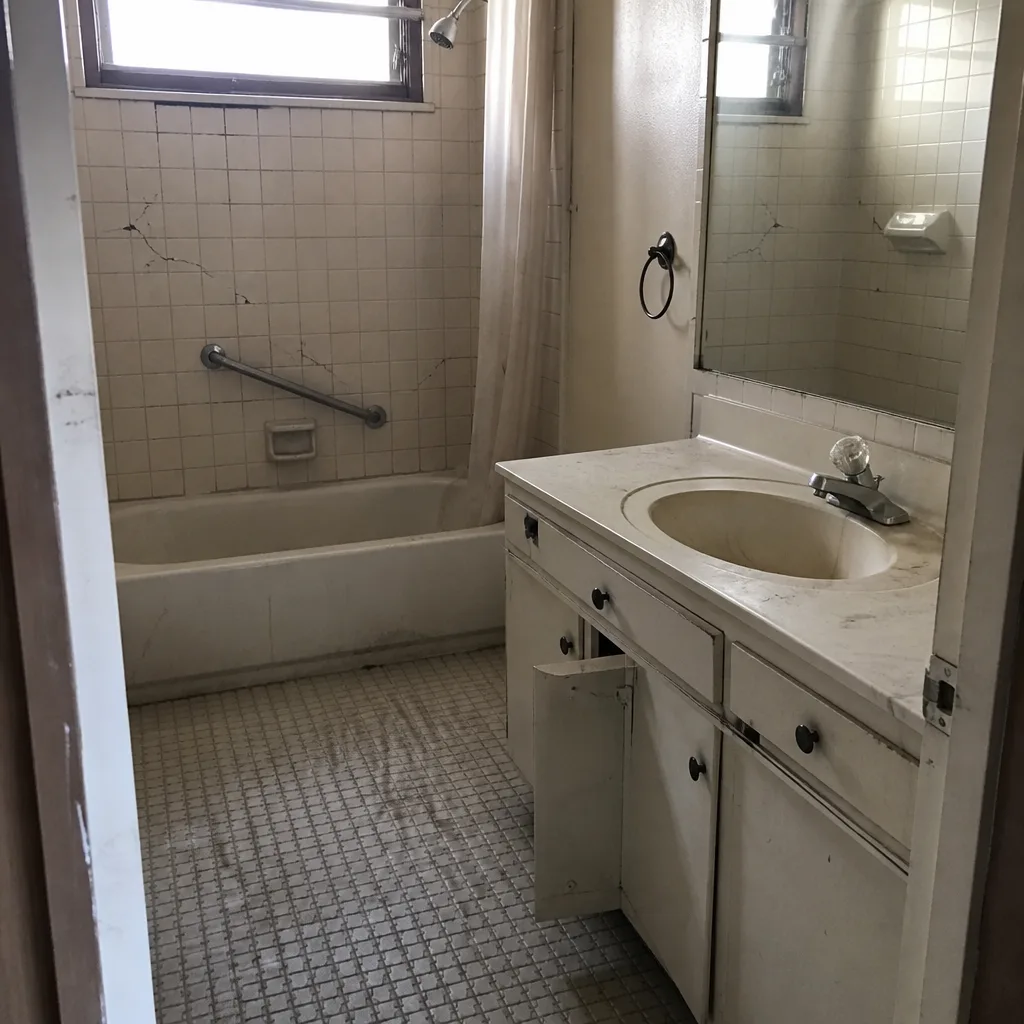
See the difference
 Before
 After
 Before
 After
 Before
 After
Frequently Asked Questions
Expect to reseal every two to four years in San Jose. Our intense summer sun oxidizes sealer faster than coastal climates do, and our wet winters push water into joints that wear sealer down. Test with the garden hose method each spring, and reseal when the water no longer beads.
You can do the refill yourself for a small area – a few loose joints, a corner, a spot near the edge. For a full driveway, polymeric sand is worth the attention: cleaning, filling, and activating correctly makes a difference between a joint that holds and one that washes out. If you’re not sure of the process, have someone do it. Call (844) 320-5918 for a free estimate.
Blot fresh oil immediately with absorbent powder, sweep it up after 24 hours, and follow with a degreaser made for hardscape. For old, set stains, a poultice is often needed. Don’t use a high-pressure washer directly on the oil – it can push it deeper into the surface.
That’s likely efflorescence, a white mineral film that appears when moisture moves through the paver and evaporates on the surface. It’s not a defect. It usually fades on its own in a few weeks. If it’s persistent, a specialty efflorescence cleaner speeds the process.
One rocking paver is usually a simple re-set. If multiple pavers in the same area rock or sink together, or if the surface is uneven across several rows, the base underneath has probably failed. In that case, re-setting the surface pavers won’t last – the base needs to be repacked or rebuilt, and a pro can tell you which in a few minutes.
No. Weeds in pavers are a normal maintenance matter, not a structural issue. Pull them by hand and refill the joints with polymeric sand. Pulling them is far better than torching them, which can damage the paver surface and the polymeric sand.
Yes, if the joints are maintained and the base was built correctly. Water is what damages pavers, not rain itself – a driveway with good joint sand, working drainage, and edges intact handles San Jose winters for decades. The damage comes when a joint washes out and nobody refills it.
If you’d like a second opinion on your driveway or a full assessment before a reseal, our team at Barrett & Sons Construction San Jose home will take a look. Estimates are free, and the second opinion on any written estimate is free, too.
The Bottom Line
A paver driveway in San Jose doesn’t need much, but it does need attention twice a year. Hit it in October, before the rain, and again in April, after the rain. Refill joint sand with polymeric sand, not silica, and test the sealer with a garden hose every spring. Clean stains by type – oil, rust, tannin – before they set. Address a single rocking paver quickly, because it’s a warning, not just an annoyance. If a section sinks, if the base has failed, or if the driveway needs a full reseal or reset, that’s the moment to get a written quote from a crew that will stand behind the work. We back every job with our 90-Day Done Right Promise and pull permits on eligible work. If you have a larger plan that touches the driveway, like a new garage or ADU, plan it as one project so you don’t tear up the driveway twice.
Get a Free Estimate from Barrett & Sons Construction
If your paver driveway needs a professional assessment, a full reseal, a joint sand refill, or a base rebuild – or you’re just not sure whether that rocking paver is a DIY job – call Barrett & Sons Construction San Jose at (844) 320-5918. We offer free estimates, written line-item quotes, written change orders before any scope change, and the 90-Day Done Right Promise on every job. Our crews have up to 28 years of experience, every eligible job is permitted and inspected, and we install brands you can look up, like Belgard and Techo-Bloc pavers. If you’re a senior or veteran, the 10% discount applies, and there’s no trip charge inside the county. A live person answers the phone 24 hours a day, 7 days a week.
Written by the team at Barrett & Sons Construction San Jose.