Last updated November 18, 2026

Free written scope consultation - allowances, timeline, and change-order rules on paper before a single trade is scheduled
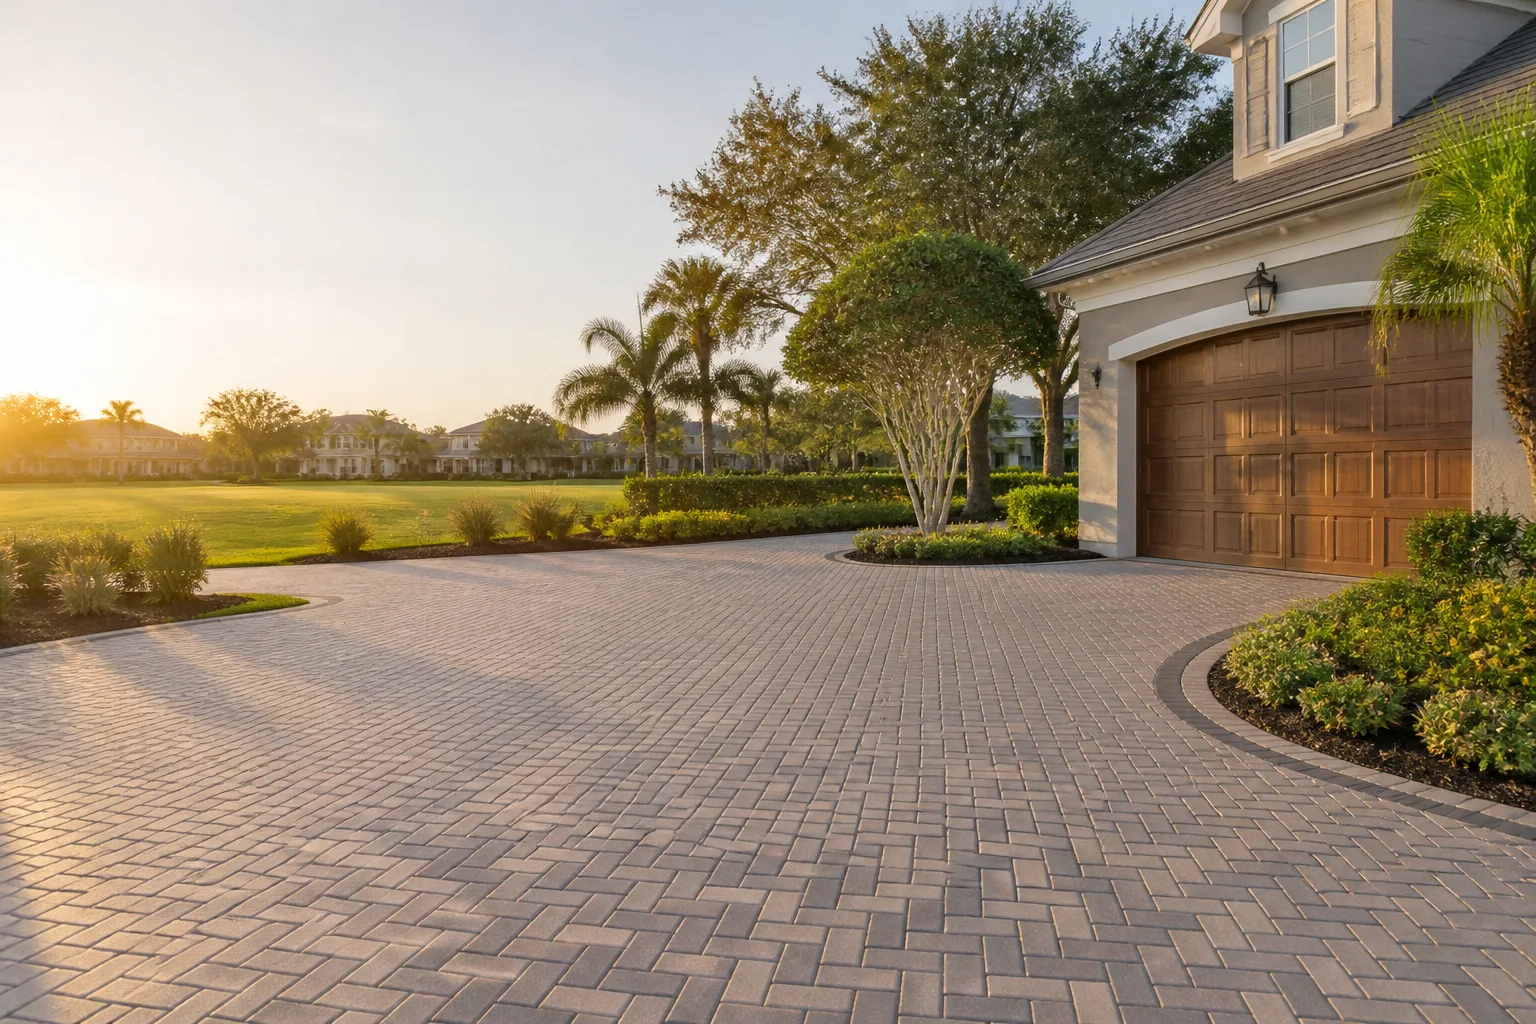
Driveway & Pavers Maintenance Schedule: What to Do and When
Pressure washing your pavers every spring feels like good maintenance. It’s actually one of the fastest ways to destroy the polymeric sand in the joints, the only thing keeping weeds out and the surface locked together. We’ve watched a San Jose homeowner strip the joints out of a five-year-old Belgard driveway in two Saturday afternoons with a rented 4,000 PSI unit. The pavers were fine. The driveway wasn’t. What follows is the calendar we’d hand a neighbor: what to do each season in the Bay Area climate, how to wash without wrecking the sand, when to reseal, and the five-minute inspection that catches small problems before they cost real money.
Quick Answer
A paver driveway needs four tasks on a consistent schedule: joint sand top-off every 2 to 3 years, a full wash and re-sand every 4 to 6 years, penetrating sealer reapplied every 3 to 5 years, and a five-minute visual inspection every spring. Skipping the inspection is what turns a $200 sand top-off into a $3,000 edge restraint rebuild. In San Jose’s mild, dry climate, the heaviest work happens in fall before the rains and again in early spring after them.
Styles & brands we work with
- Kitchen remodeling
- Bathroom remodeling
- Home additions & ADU
- Roofing
- Windows & doors
- Driveway & pavers
- Fence
Table of Contents
- Why a Maintenance Schedule Beats Reactive Repairs
- The Month-by-Month Calendar for San Jose
- How to Wash Pavers Without Dislodging the Sand
- Polymeric Sand: Topping Off vs. Full Replacement
- Sealer Selection for San Jose’s UV Exposure
- The Five-Minute Annual Inspection Checklist
- Drainage, Efflorescence, and Edge Restraint
- Common Mistakes to Avoid
Why a Maintenance Schedule Beats Reactive Repairs
Pavers don’t fail suddenly. They fail slowly, in a sequence that’s predictable once you’ve seen it a hundred times. First the joint sand washes out at the low end of the driveway. Then weeds find the open joints and their roots push the pavers apart. Then water gets under the pavers at the edge, the edge restraint loosens, and the last three courses start to migrate. By the time most homeowners call, they’re pricing a rebuild of the bottom fifteen feet instead of a $200 top-off.
The math is unforgiving. A paver driveway that gets four tasks done on schedule will outlast a neglected one by fifteen or twenty years. That’s not a sales pitch, it’s what the surfaces themselves tell us. Pavers are a thirty-to-forty-year surface when the joints stay full and the base stays dry. When they don’t, you’re looking at real trouble at year twelve.
A licensed, insured crew installing Belgard or Techo-Bloc pavers does the base work right. The schedule you keep afterward decides whether that base work matters. The two systems work together: a good installation buys you time between maintenance tasks, and good maintenance protects the installation. That’s the whole relationship in a sentence.
If your driveway is due for replacement or a full rebuild rather than maintenance, our Driveway & Pavers in San Jose page covers installation, base prep, and material options.
The Month-by-Month Calendar for San Jose
San Jose’s climate is the reason a generic national calendar doesn’t work. Our rainy season runs roughly November through March. Summers are dry and hot with intense UV. The transition months matter more than anything else on the calendar because they’re where you prevent damage rather than repair it. Here’s the schedule we’d write down for a San Jose driveway.
- Late September to mid-October (before the rains): Do your heavy lifting now. Top off joint sand where it’s low. Check the edge restraint. Clear the drainage channels and the swale at the driveway apron. If you’re going to reseal, this is the window.
- November through February (rainy season): Watch, don’t work. Look for standing water after a storm and note the low spots. Don’t wash pavers in wet weather, since the sand won’t set and you’ll just move it around.
- March to April (after the rains): This is the inspection month. Walk the perimeter. Check joints at the bottom of the driveway where water concentrates. Re-sand anything that washed out over the winter.
- May through August (dry season): Light maintenance only. Sweep, spot clean, pull weeds by hand. Don’t pressure wash in the hottest weeks; the heat and pressure together are hardest on the joints and the sealer.
- Every 3 to 5 years (any time of year): Reapply penetrating sealer in dry, moderate weather. Spring and fall are best in San Jose.
- Every 4 to 6 years (any time of year after a good wash): Full re-sand with fresh polymeric sand. Do this after a wash and before a seal, in that order.
On a hot San Jose afternoon, that schedule looks different from doing the same tasks in a cooler climate. A sealer applied in 95-degree heat can tack up too fast and leave lap marks. Same sealer in October goes on smooth. This is why the seasonal timing matters more than the task itself.
How to Wash Pavers Without Dislodging the Sand
Most paver damage in San Jose homes doesn’t come from weather. It comes from a well-meaning homeowner with a rented pressure washer and no idea what pressure does to polymeric sand. The sand is the joint. Strip the sand and you’ve stripped the driveway’s protection. So here’s the honest answer: sometimes a broom and a garden hose are genuinely better than a pressure washer.
When a broom and hose win:
- Dry, dusty surface with light dirt (a push broom and a hose rinse handle this in ten minutes)
- Freshly installed pavers in the first twelve months
- Any paver with visible loose sand in the joints
- Routine seasonal cleaning without a specific stain to remove
When a pressure washer wins, and how to use it:
- Pressure: Stay at 1,200 to 1,500 PSI at the nozzle. Anything over 2,000 PSI is a joint-sand removal tool disguised as a cleaning tool.
- Tip: A 25-degree green tip is the widest you should use on pavers. A 0-degree red tip or a turbo nozzle will carve grooves in the surface.
- Distance: Keep the wand at least 12 inches off the surface. Closer than that and the fan pattern digs into the joints even at lower pressure.
- Angle: Sweep at a shallow angle, moving with the joint lines, not across them. You want to push dirt off the surface, not drive it into the joints.
- Direction: Work downhill and toward the street so you’re not washing dirt and sand back into the driveway.
- Dry time: Let the surface dry 24 to 48 hours before re-sanding, and re-sand bare spots before anyone walks or drives on the driveway.
For a paver driveway that’s showing real wear, a professional wash and re-sand is a small job done right. If you’re scheduling that alongside other work, our team handles pavers as part of the broader exterior scope. You can reach a live person at (844) 320-5918 any hour, and every price change is a written change order before any work begins.
Polymeric Sand: Topping Off vs. Full Replacement
The number one question we get on a paver driveway that’s five years old: is this a top-off or a full re-sand? The answer comes down to how much sand is actually missing.
Top-off (partial re-sand) is right when: joint sand is 1/8 to 1/4 inch below the paver surface in a few spots, the sand that’s there is still solid, and there’s no weed growth in the majority of joints. Top-off costs roughly $150 to $400 for a typical residential driveway.
Full replacement is right when: joints are mostly open, weeds and ants have moved in, the sand is gritty and loose to the touch, or the surface has visible gaps wider than 1/4 inch. Full re-sand runs roughly $400 to $1,200 for a typical residential driveway in the San Jose market, depending on square footage and how much old sand needs removal.
The cost of getting this wrong is the real story. A top-off over loose, failing sand traps dust and moisture under a thin new layer, and within a season you’ve got weed roots pushed up through the fresh sand. Ant colonies love the void underneath. A full re-sand when the joints are failing fixes the fence-line problem the top-off just disguised. Our crews get this call a lot in San Jose homes built in the 1990s and 2000s, where the original installation is now at the age the joints start to open.
Get the diagnosis right before you buy sand. If you’re not sure which situation you’re in, a professional inspection for $40 off any repair over $200 is a cheap way to skip a wrong guess.
Sealer Selection for San Jose’s UV Exposure
San Jose gets serious UV. From May to October the sun alone will degrade a cheap sealer in a couple of seasons. That’s why the sealer matters as much as the schedule. There are two categories, and they’re not interchangeable.
Penetrating sealer soaks into the paver and leaves no surface film. It doesn’t shine. It doesn’t change color. It protects from moisture and slows UV fading. The re-application interval in San Jose is roughly 3 to 5 years, often closer to 3 on west- and south-facing driveways that get full afternoon sun. Re-application costs roughly $300 to $700 for a typical residential driveway.
Film-forming sealer sits on the surface and gives that wet-look finish a lot of homeowners want. It shows clearer color and a slight gloss. The re-application interval is roughly 2 to 4 years, shorter in high-traffic areas and on driveways exposed to the afternoon sun. It requires more surface preparation, since peeling film has to be stripped before a fresh coat. Re-application costs roughly $400 to $900 for a typical driveway.
A few things we’ve learned about San Jose sealer jobs:
- Don’t apply either type if rain is in the forecast within 24 hours. Our rainy season makes this a real risk between November and March.
- Don’t apply film-forming sealer over a wet driveway. Trapped moisture is the single biggest cause of cloudy finish.
- Don’t apply in full afternoon sun on a 90-degree day; work mornings in spring and fall instead.
- Do check the expiration date on the sealer can. It has one, and it matters.
For paver driveways installed with a premium brand like Belgard or Techo-Bloc, the sealer you choose should be matched to the surface type. Natural stone and concrete pavers respond differently to the same sealer, and a good crew will tell you which is which before you buy anything.
The Five-Minute Annual Inspection Checklist
This is the whole trick. Five minutes every spring, and you’ll catch edge restraint loosening, drainage blockage, and early efflorescence while they’re still cheap. Walk the driveway in March after the rains and check these seven things in this order.
- Walk the edge: Look at the edge restraint along the sides and the apron. If pavers at the perimeter are loose or shifting, the restraint has failed and the last courses will migrate. This is a fix-now item, not a fix-later item.
- Check the joint depth: Push a finger into joints at three or four spots. If the sand is more than 1/8 inch below the surface, plan a top-off.
- Look for weeds: Weeds in isolated joints mean dirt in open sand. Weeds across the whole driveway mean the sand is failing throughout, and you’re looking at a full re-sand.
- Check the drainage: Pour a bucket of water at the top of the driveway and watch where it goes. Water that pools and doesn’t reach the street or the swale means a blocked channel or a settled low spot. In San Jose, drainage problems show up fast during the first real rain of the season.
- Scan for efflorescence: That white, chalky haze is salt migrating out of the concrete. Early efflorescence wipes off with a stiff broom or a mild efflorescence cleaner. Late efflorescence means water is getting under the pavers from somewhere, and that’s a base problem.
- Look at the base edge: At the apron and along the sides, check whether the base is washing out or the pavers are settling below grade. A settled apron is a safety and drainage issue, not just cosmetic.
- Note the sealer wear: Water that beads on the surface means sealer is still active. Water that soaks straight in means you’re due within the next season.
Write down what you see in March. It’s a boring habit that will save you thousands over the life of the surface.
Drainage, Efflorescence, and Edge Restraint
Three things that look like maintenance problems but are actually installation problems showing up late. Drainage is the most important. Water has to leave the driveway, and in a San Jose climate with a dry-season/wet-season split, the first good rain of November is your annual test. If water pools at the bottom of the driveway after an hour, the grade is off or a channel is blocked, and you’ll want to fix it before the winter rains turn it into a base failure under the settling pavers.
Efflorescence is concrete discharging salts when water passes through it. Early haze that wipes off is cosmetic. Persistent efflorescence returning every season means moisture is getting in from below. That could be a drainage issue, a missing or failed sealer, or a base problem under the pavers. If you see it come back three seasons running, call someone to look at the base, not the surface.
Edge restraint is the runner holding the whole driveway together. In San Jose, we see it fail most often on driveways where the base was built shallow and the freeze-thaw (rare here, but real along the hillsides) combined with normal traffic has pushed the edge out. Once the restraint goes, the last three or four courses move, and no amount of sand will hold what a broken edge won’t.
One more San Jose note: if you’re planning a fence, a paver pad, or a low garden wall near the driveway edge, get the drainage plan settled before pouring anything. Our Fence Installation in San Jose crew coordinates with the driveway work more often than you’d think, and it’s always cheaper to plan it together than to re-dig a footing next to finished pavers.
Common Mistakes to Avoid
- Pressure-washing off the joint sand every spring. The most common mistake we see. Rent a 4,000 PSI unit and you’ll strip years of polymeric sand in an afternoon. Stay under 1,500 PSI at the nozzle and keep the wand 12 inches away.
- Topping off failing sand without removing the loose layer first. Fresh sand over failing sand looks good for six weeks, then weeds and ants push through. If the joints are failing, do the full re-sand.
- Sealing before the surface is fully dry. In San Jose’s rainy season, it’s easy to seal on a day that looked dry but has moisture still in the pavers. Cloudy film is the result, and it doesn’t come out with a wash.
- Ignoring a loose edge restraint for a season. The cost goes from a small repair to a multi-course rebuild once the pavers have moved. Fix it the season you notice it.
- Choosing film-forming sealer for a heavily shaded driveway. Film sealer on a driveway that doesn’t dry well traps moisture and turns milky. Penetrating sealer is the safer call there.
- Skipping the spring inspection. Five minutes in March catches every problem this guide has covered while it’s still a small line item.
- Buying pavement sealer from a national chain without checking weather. A cool, wet application is worse than no application. Timing matters more than brand.
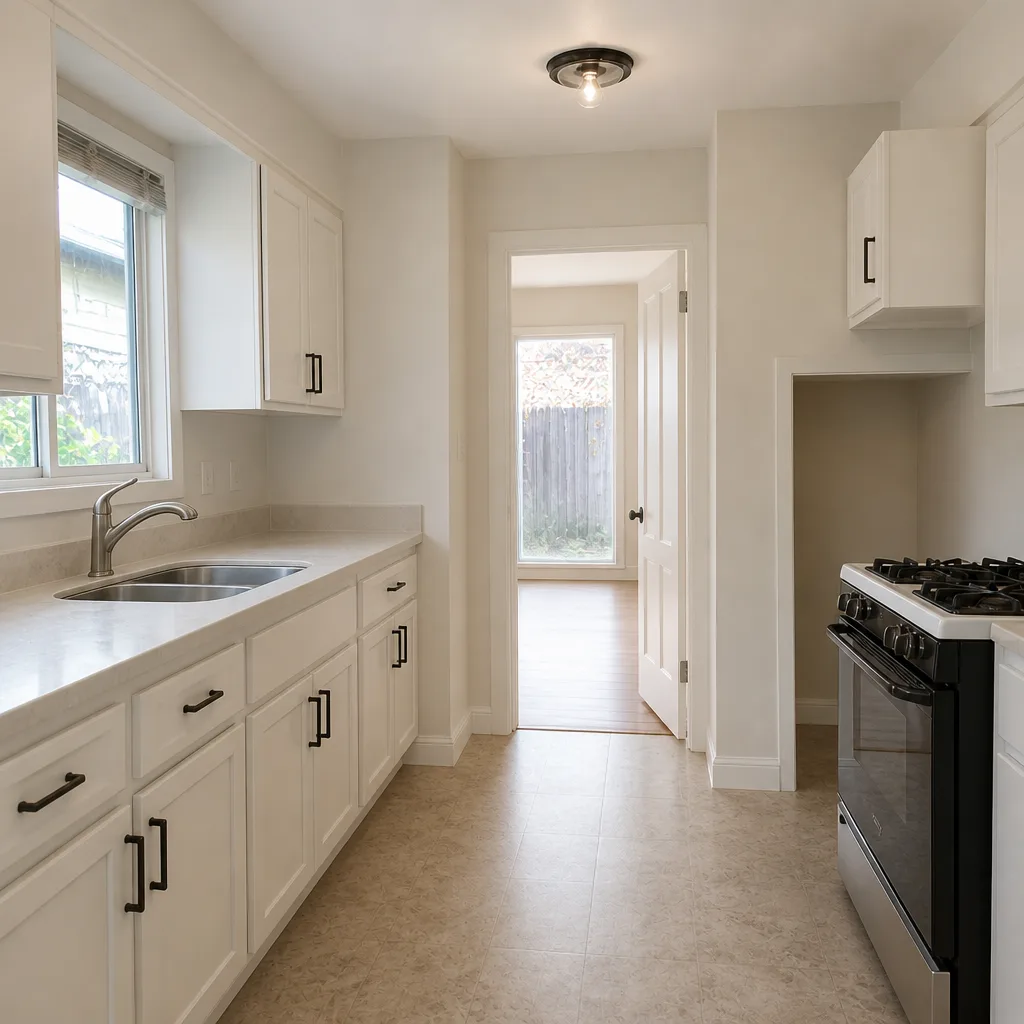
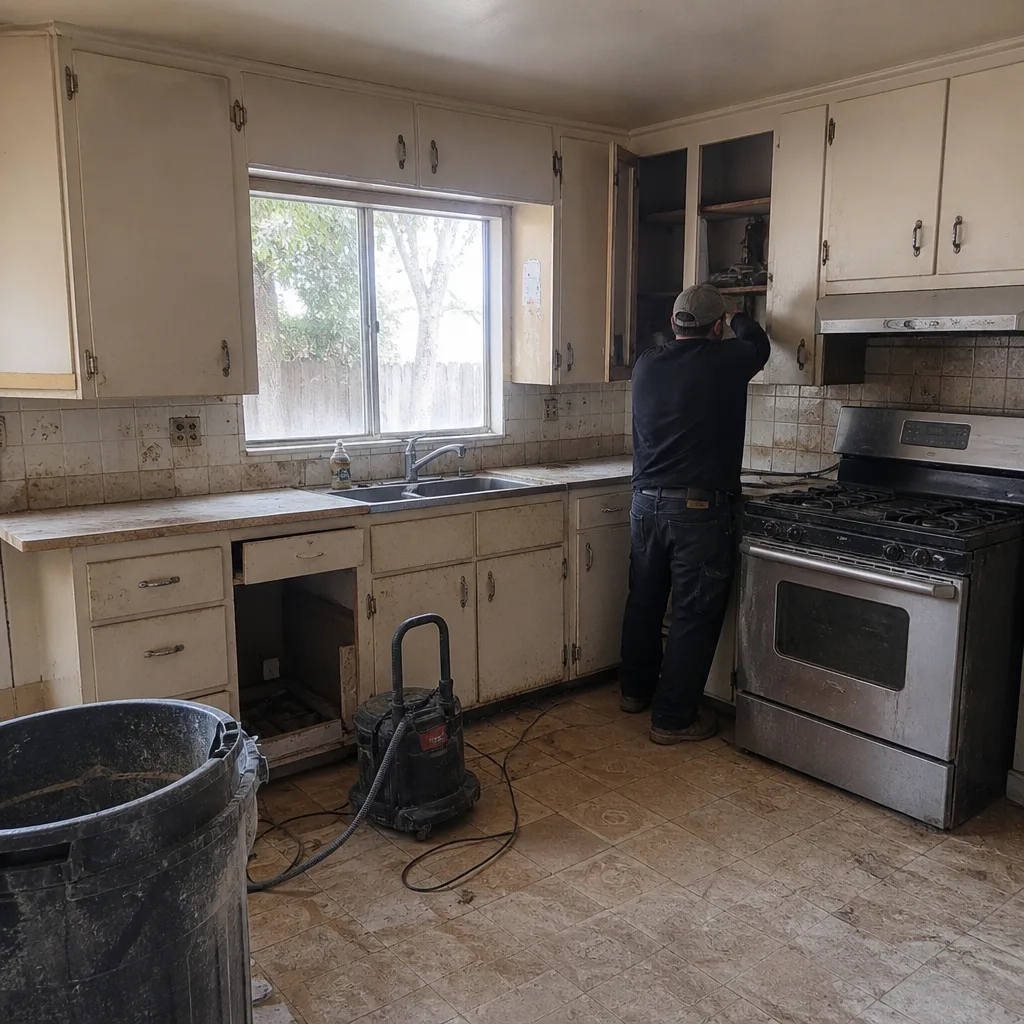
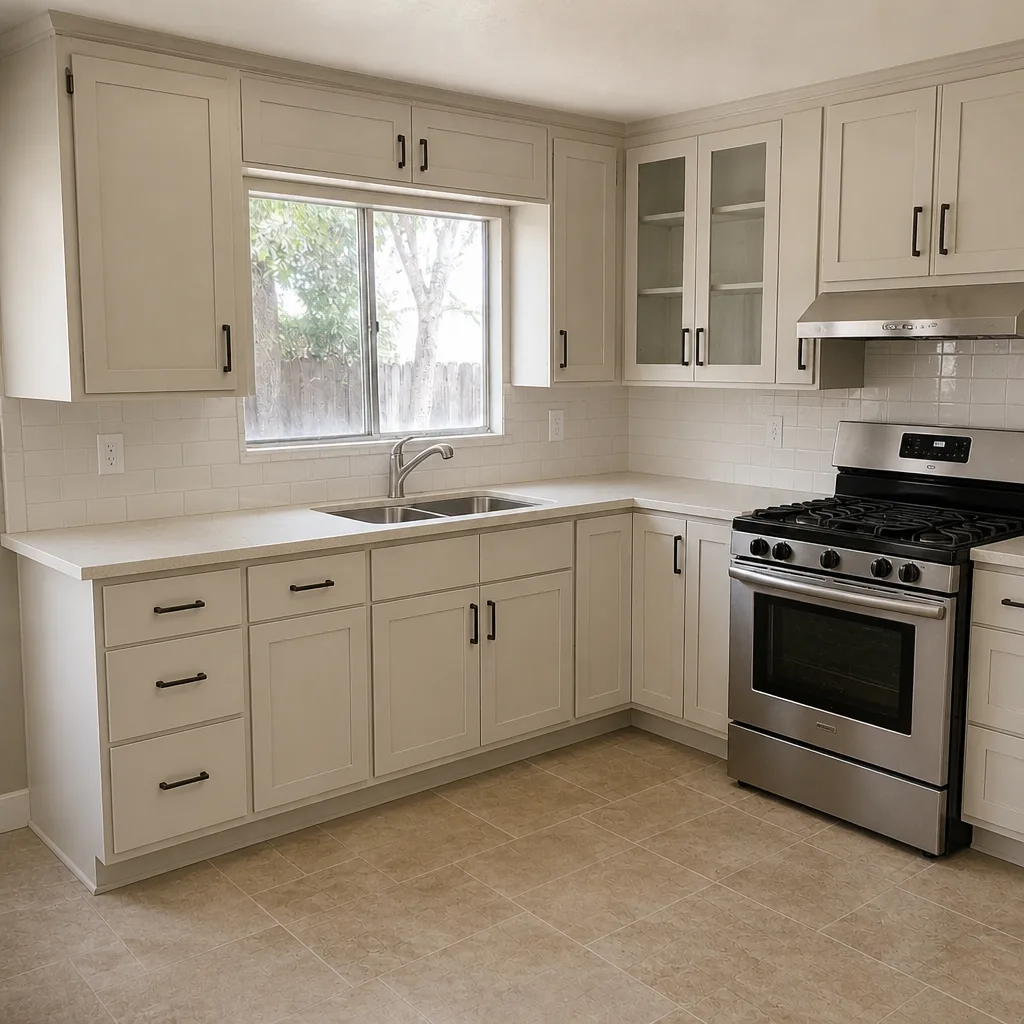
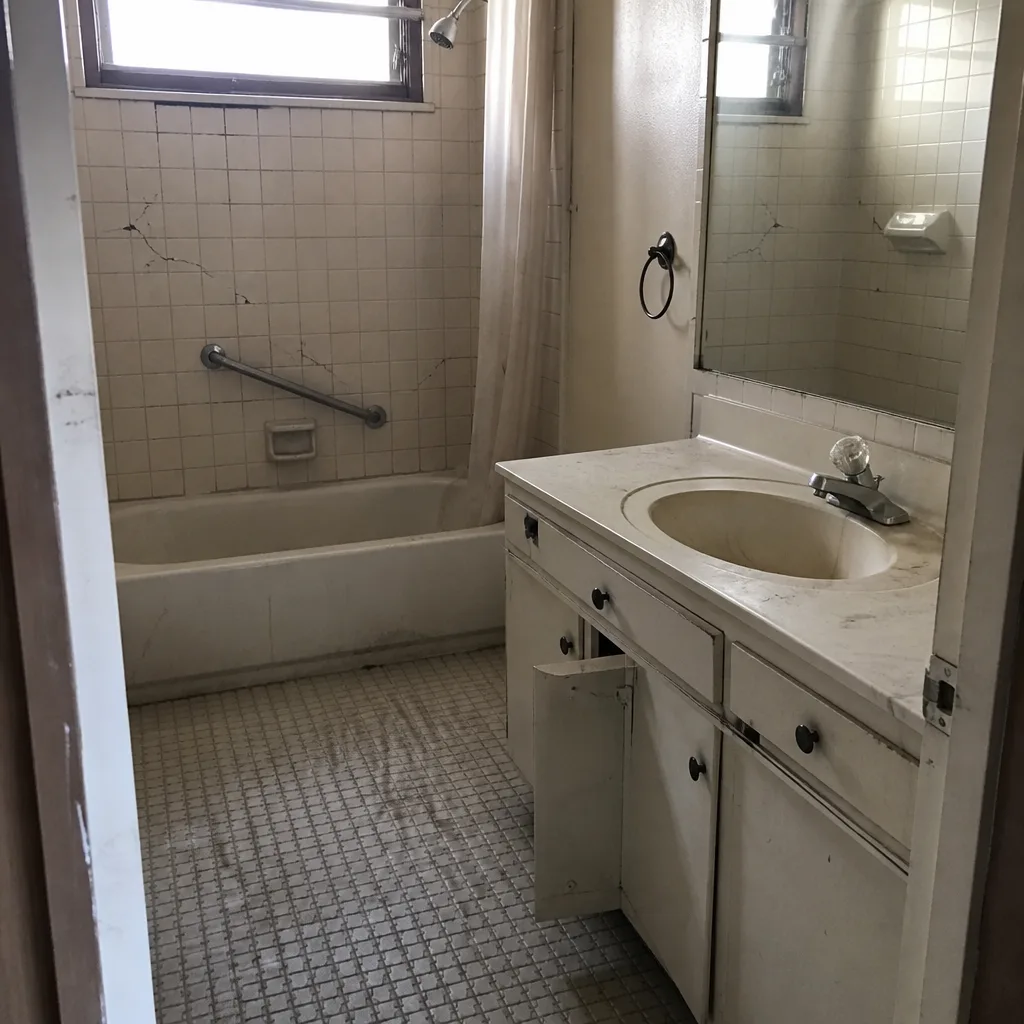
See the difference
 Before
 After
 Before
 After
 Before
 After
When to Call a Professional
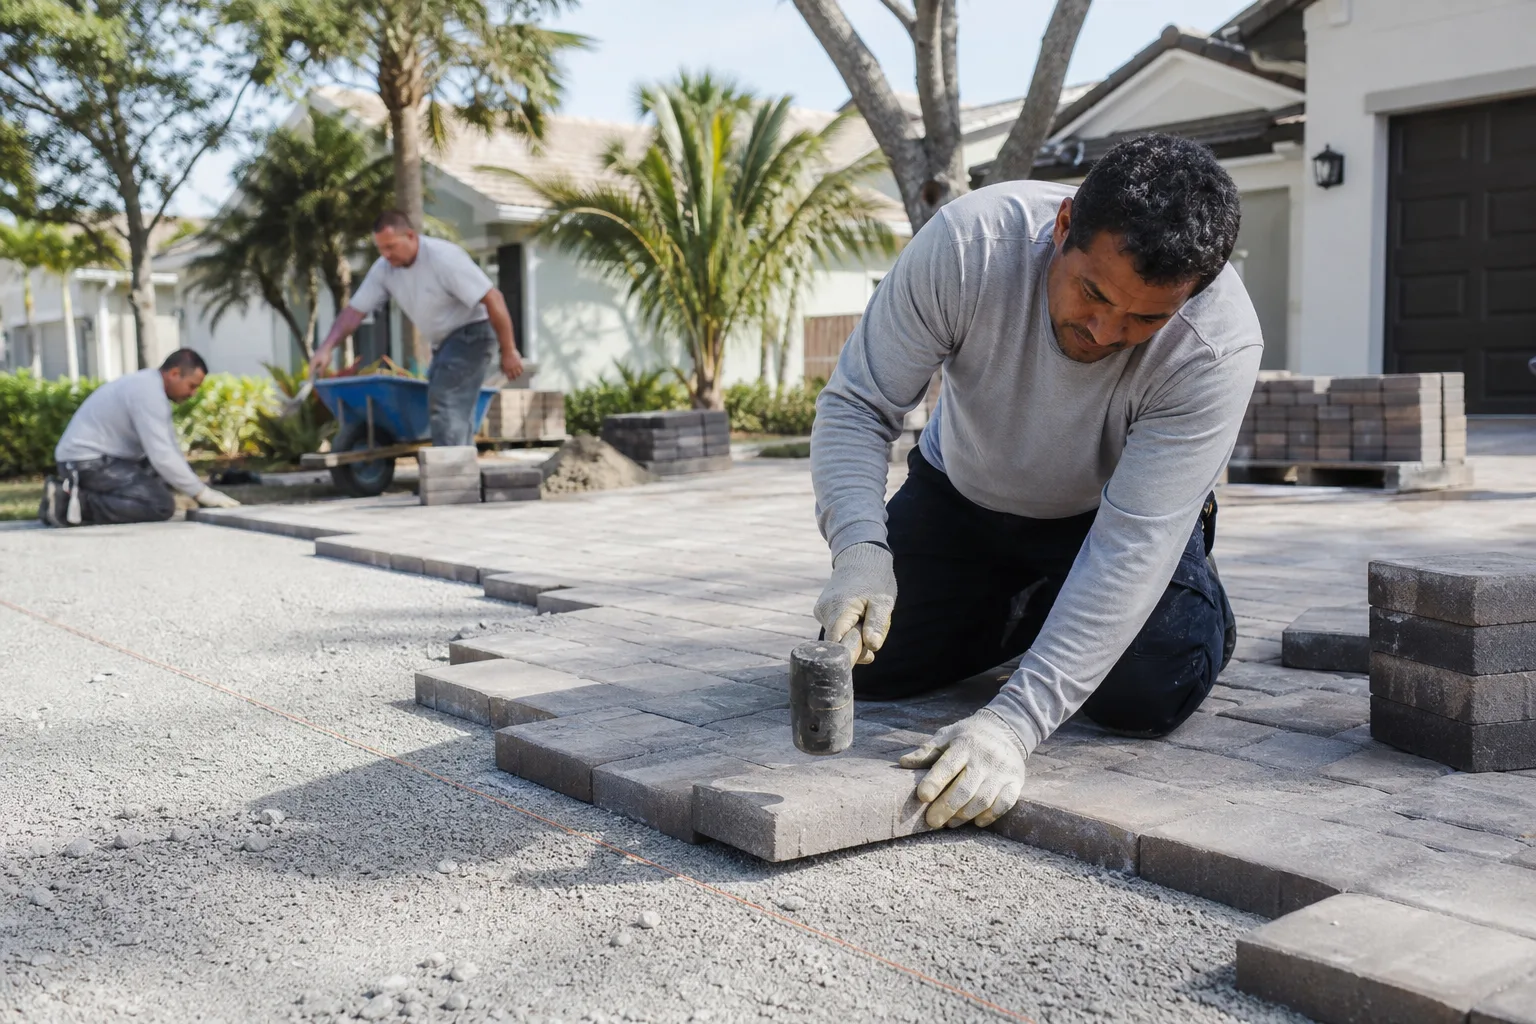
Most of this guide is DIY-friendly. A broom, a hose, a bag of polymeric sand and a Saturday morning will handle the routine. Call a professional when the problem is structural rather than cosmetic:
- The edge restraint has loosened and pavers at the perimeter are moving
- Pavers are settling in a way that creates a pooling low spot or a trip hazard
- Efflorescence returns every season and won’t wipe off
- You’re re-sanding a large driveway and want the job done with the right sand and proper compaction
- The driveway is 15+ years old and never resealed, and you’re deciding between maintenance and replacement
Barrett & Sons Construction San Jose offers free estimates on paver repairs and re-installations across San Jose. Call (844) 320-5918 to schedule. A live person answers, any hour, and every scope change arrives in writing before work starts, backed by the 90-Day Done Right Promise. If you’re planning a larger exterior project, our Home Additions & ADU in San Jose team coordinates driveways, hardscape, and site work so the schedule holds.
Frequently Asked Questions
Penetrating sealer needs re-application every 3 to 5 years in San Jose, usually closer to 3 on a west- or south-facing driveway with full afternoon sun. Film-forming sealer runs 2 to 4 years. If water stops beading on the surface, you’re due. Call (844) 320-5918 for a free assessment before the dry season ends.
Yes, if you keep the pressure at 1,200 to 1,500 PSI, use a 25-degree tip, and keep the wand at least 12 inches off the surface. Anything above 2,000 PSI is what strips the joint sand and starts the failure cycle. For a spring wash after a rainy season, a broom and hose often do less harm and almost as much good.
Top off if the sand is 1/8 to 1/4 inch below the paver surface in a few spots and the existing sand is still firm to the touch. Full re-sand if joints are open across the driveway, weeds or ants have moved in, or the sand crumbles between your fingers. When in doubt, have a professional look at it; the wrong call costs you a season of doing it twice.
Weeds come back when the sand underneath the fresh layer is already failing, or when the joint is open wider than 1/4 inch and the sand doesn’t fully fill it. Pull the old sand out, compact the fresh polymeric sand in two passes, and don’t walk or drive on it for 24 hours. Weed roots under the pavers need a full re-sand and a good joint cleaning, not another top-off.
Early efflorescence is cosmetic and wipes off with a stiff broom or a mild efflorescence cleaner. Efflorescence that returns every season is a sign that water is getting under or through the pavers, which points to a base, drainage, or sealer issue worth diagnosing rather than cleaning again. Call (844) 320-5918 for a free second opinion if it keeps returning.
Typical line items run roughly $150 to $400 for a joint-sand top-off, $400 to $1,200 for a full re-sand, $300 to $700 for penetrating sealer re-application, and $400 to $900 for film-forming sealer. Fire-wise, a repair to a failed edge restraint is usually a small line item compared with the multi-course rebuild that follows a season of delay. Call (844) 320-5918 for an exact quote; estimates are free.
The Bottom Line

A paver driveway outlasts a neglected one by fifteen or twenty years when four tasks happen on schedule: top off joint sand every 2 to 3 years, full re-sand every 4 to 6 years, reseal every 3 to 5 years, and walk the whole driveway once every spring. In San Jose, the calendar is shaped by our rainy season, which means the real work happens in fall before the rains and inspection happens in March after them. The single biggest mistake is pressure-washing off the joint sand every spring. The single cheapest habit is the five-minute inspection. Get both right and the driveway holds for decades. Barrett & Sons Construction San Jose is here when you need a hand or a free estimate. Start at the Barrett & Sons Construction San Jose home page, or call (844) 320-5918.
Written by the team at Barrett & Sons Construction San Jose.