Last updated November 18, 2026






Free written scope consultation - allowances, timeline, and change-order rules on paper before a single trade is scheduled
Construction Emergency Preparedness Guide for San Jose Homes
After the 5.1 Milpitas earthquake in 2024, dozens of homeowners noticed new cracks in their retaining walls and concrete. Most waited to see if anything got worse. Some of them are still waiting, and the walls kept moving. That pattern repeats across San Jose every time the ground shakes or a winter storm dumps three inches in an afternoon. Damage that looks cosmetic on day one becomes structural by month six. This guide walks you through the actual first-response sequence for San Jose construction emergencies: what to inspect in the first 48 hours, how to stop water that’s pooling against your foundation right now, how to brace a failing wall without making it worse, and the two-call order that protects your insurance claim.
Quick Answer
The first step after any construction emergency in San Jose is to document everything with dated photos before you touch a thing, then stop ongoing damage with a temporary fix, then call your insurance company before you call a contractor for anything you plan to claim. Inspect retaining walls, flatwork, and foundations within 48 hours of an earthquake or major storm. Photograph every crack with a coin or ruler for scale, save receipts, and get a written estimate that separates emergency stabilization from permanent repair.
Styles & brands we work with
- Kitchen remodeling
- Bathroom remodeling
- Home additions & ADU
- Roofing
- Windows & doors
- Driveway & pavers
- Fence
Table of Contents
- Post-Earthquake Inspection Protocol for Retaining Walls, Flatwork, and Foundations
- What to Photograph in the First 48 Hours
- Winter Storm Response: When Water Is Pooling Against Your Foundation
- How to Temporarily Shore a Failed Retaining Wall Section
- The Two-Call Sequence: Insurance Before Contractor, and Why the Order Matters
- What to Document, Photograph, and Save for a Claim or Dispute
- Building a Year-Round Emergency Kit for Your Property
- San Jose-Specific Risk Factors Most Homeowners Miss
Post-Earthquake Inspection Protocol for Retaining Walls, Flatwork, and Foundations
San Jose sits between the Calaveras, Hayward, and San Andreas fault systems. The Milpitas quake was moderate, but it moved soil and opened joints across the Santa Clara Valley in ways that showed up weeks later. The inspection window matters. If you catch displacement in the first two days, you’re usually looking at cosmetic repair. If you catch it at month six, you’re looking at replacement.
Here’s the sequence we recommend walking through after any quake you felt while standing up:
- Retaining walls. Look for new vertical cracks wider than a quarter inch, sections that have leaned more than two inches out of plumb, or soil slumping at the base. A wall that’s bulging is under pressure. Don’t stand below it while you look.
- Driveways and flatwork. Hairline cracks in a 20-year-old driveway are normal. New cracks that step up at a joint, or cracks wider than a pencil, are not. Mark the ends with chalk and date them so you can see whether they’re growing.
- Foundation perimeter. Walk the exterior and interior perimeter. Look for new stair-step cracks in the stucco, doors that suddenly stick, or gaps where the wall meets the slab. Any of those mean the soil moved and the foundation followed.
- Pool decks and patios. Separation between the deck and the coping means the soil under the deck settled differently than the pool shell.
- Roof and chimney. Cracked chimney mortar is common after a shaker. Look for broken tiles and separated flashing.
If any retaining wall is more than four feet tall and shows displacement, call a licensed structural or geotechnical professional before you do anything else. San Jose has hillside areas where a failing wall can take a slope with it, and that’s a different scale of problem than a leaning fence.
What to Photograph in the First 48 Hours
Insurance adjusters work off documentation, not memory. The photos you take in the first two days are often the difference between a claim that gets paid and one that gets denied for “pre-existing condition.” Here’s exactly what we tell homeowners to capture:
- Wide shots first. Every wall, every crack, every area of pooling water, shot from enough distance that the adjuster can see where in the property it lives.
- Close-ups with a scale reference. Set a quarter or a tape measure next to every crack. Phone cameras distort scale without a reference object.
- Video walkthroughs with narration. Walk the property slowly, describing what you see and saying the date out loud. This takes two minutes and often replaces hours of back-and-forth later.
- Soil movement. Photograph any soil that’s slipped away from a wall or foundation, any new settlement under a downspout, any erosion at a slope.
- The date stamp. Turn on your phone’s timestamp feature. If you can’t, hold a newspaper or phone screen showing the date in the frame.
Save those files to a cloud folder the same day and email the folder link to yourself. Phones get dropped, and the one photo of the wall before it moved another inch is the one you’ll wish you had.
Winter Storm Response: When Water Is Pooling Against Your Foundation
San Jose’s rainy season runs roughly November through March, and the storms that cause actual damage here aren’t the long soaking ones. They’re the atmospheric river events that drop two inches in a few hours onto clay soil that’s already saturated. When that happens, water finds the low spot, and the low spot is usually against a foundation.
If you’re watching water pool against your house right now, do this in order:
- Get the source, not the water. Clear the downspout outlet first. Nine times out of ten, the downspout is dumping water at the base of the foundation because the splash block washed out or the extension came off. Reconnect it and point it four feet away from the house.
- Clear the area drains. San Jose properties often have area drains at the low corner of a lot. If you can safely reach the grate, clear the leaves. Don’t pull a drain cover off a slope you can’t stand on.
- Sandbag the low spot. A simple dam of bags, filled with soil from your own yard, redirects water away from the foundation without trapping it against the wall.
- Document before you empty it. Photograph the water depth against the foundation and any water that’s entered the house or crawl space. That photo is your claim evidence.
- Don’t pump water out of a crawl space too fast. If a crawl space has flooded, pumping it dry in one hour while the soil around the foundation is still saturated can actually pull the foundation inward. Slow is safer.
Call us at (844) 320-5918 if the water is over the foundation sill or entering the house. If your fence line came down in the same storm, our guide to Fence Installation in San Jose covers how we handle wind-toppled sections and post damage.
How to Temporarily Shore a Failed Retaining Wall Section
We need to be direct about this: a retaining wall that has failed structurally is a serious hazard, and the safest move is usually to stay clear of it and call a professional. A wall holding back saturated soil can weigh tens of thousands of pounds. It can move without warning. What follows is general information about how temporary shoring is typically approached, not a do-it-yourself instruction. Our technicians have up to 28 years of experience, and every one of them would tell you the same thing: don’t stand in the fall zone.
Here’s how a proper temporary shoring sequence works so you know what to expect when a crew arrives:
- Remove the load from the wall. Anything sitting on top of the wall, planters, fence posts, furniture, gets taken off and moved well back. The materials come off first, not the shoring.
- Install braces from the face side, not the soil side. Diagonal timber or steel braces are typically set against the wall face and anchored into undisturbed ground in front. Nobody digs into the soil side, because that’s what’s pushing the wall over.
- Distribute the load. A single point of pressure on a stressed wall will punch through. Shoring spreads the push across a wider footprint with a bearing plate or a runner.
- Protect the slope above. A tarp over the exposed soil above the wall keeps rain from adding water weight. That’s a real and common cause of overnight failure.
- Call in an engineer for permanent repair. Temporary shoring is a bridge, not a fix. The permanent repair has to be designed for the actual soil and slope conditions on your lot.
If your wall sits on a slope that borders a neighboring property in San Jose, the repair likely needs a permit and possibly a soils report. That’s a conversation for a licensed professional, not a weekend. See how we handle similar structural footing work in our Driveway & Pavers in San Jose service if your flatwork was part of the same failure.
The Two-Call Sequence: Insurance Before Contractor, and Why the Order Matters
This is the single most consequential decision after a construction emergency, and most homeowners get it backward. The correct order is insurance first, then contractor, with one exception. Here’s why.
Call #1: Your insurance company. The moment you suspect you’ll file a claim, call your insurer. The adjuster’s timeline matters, and most policies require you to report damage within a stated window. The important part is that you want the claim opened before anyone else documents the damage, and you want the adjuster to see the original condition of the property. Some policies also include a preferred-contractor provision, and you want to know that before you sign a contract.
Exception: an emergency that needs immediate stabilization. If a wall is actively falling or water is entering the house, stabilize first, documentation second, insurance third. Most policies cover “mitigation of further damage” separately from the claim itself. Save every receipt. Do the minimum required to prevent a bigger loss and no more.
Call #2: A licensed contractor with a written estimate. Once the claim is open, the contractor’s estimate gets submitted through the claim. A written, line-item estimate that separates emergency stabilization from permanent repair gives the adjuster what they need to approve. A single-number verbal quote without a breakdown gets a claim delayed.
One more thing most homeowners learn the hard way: your insurance company’s preferred-contractor referral isn’t a requirement. You can hire anyone you want, and in our experience, homeowners who use a contractor they chose and can verify get faster resolution on the claim side because the paperwork comes in complete. Our standing Free Second Opinion on Any Written Estimate is designed exactly for the moment after the adjuster hands you a scope you don’t fully understand.
What to Document, Photograph, and Save for a Claim or Dispute
Paperwork decides claims and it decides disputes. Here’s what we tell every San Jose homeowner to keep in a cloud folder labeled “Home Emergency” and never delete:
- Date-stamped photos of every condition. Before, during mitigation, and after mitigation. Every state matters to an adjuster.
- Every receipt, including the small ones. Sandbags, tarps, the handyman who cleared a drain on a Saturday, the shop-vac rental. All of it counts as mitigation expense.
- The written scope from your contractor. Line-item, in writing, with allowances and change orders on paper. A contractor who won’t put it in writing is telling you something.
- Inspection reports and permits. If the repair requires a permit, the permit and the signed inspection are part of your documentation and often required to sell the house later. Keep them.
- Correspondence with your insurer. Every email, every claim number, every phone call note with the rep’s name and the date.
- Previous photos of the property. Old photos of your retaining wall, driveway, or foundation can prove that the damage is post-event and not pre-existing. If you have pictures from a family BBQ last summer that show the wall in its original condition, that’s evidence.
For scope, allowance, and pricing documentation on any repair, we follow the principle that every scope arrives in writing before work begins and every price change arrives in writing before work moves forward. It’s the same paperwork discipline that protects you on the claim side.
Building a Year-Round Emergency Kit for Your Property
A construction emergency kit for a house is different from a household disaster kit. Most of it lives in a garage shelf, costs under $150 to assemble, and gets used at least twice a year once you own it. Here’s what we keep on hand at home:
- Two tarps, one small (10×12) and one large (20×30), plus a box of black plastic sheeting
- Two dozen canvas sandbags and a shovel (bag your own with soil from your yard)
- A roll of 6-mil plastic sheeting for covering exposed soil at a slope’s crest
- Work gloves, knee pads, a pair of work boots you don’t mind ruining
- A shop-vac or wet/dry vac
- A chalk marking pencil and a spray can of marking paint for documenting crack growth
- A cheap tape measure with inch markings, and a quarter sized object permanently in the kit for photo scale
- A printed one-page list of your insurance company’s claims phone line, your contractor’s number, and your plumber’s number
Check it every October before rainy season. The tarp you bought three years ago and left folded in a sunbaked garage often isn’t usable when you need it.
San Jose-Specific Risk Factors Most Homeowners Miss
San Jose homes have some local conditions that change how emergencies play out. Three of them matter most:
Clay soil on the valley floor. A large portion of San Jose sits on expansive clay soils that swell when wet and shrink when dry. That’s the mechanism behind most foundation movement we see, not earthquakes. A storm season followed by a dry summer is often worse for a foundation than a moderate shaker.
Hillside drainage. Properties on the east foothills and around Almaden and Los Gatos Creek face downhill water from uphill neighbors. A retaining wall that handles three normal storms a year can be overwhelmed by one atmospheric river event, and the wall isn’t necessarily the problem. The drainage is.
Older flatwork with no expansion joints. A lot of 1960s and 1970s San Jose driveways and patios were poured without modern expansion joint spacing. When the soil moves, that flatwork cracks in bigger sections. That’s not always a defect, but it does make earthquake damage harder to distinguish from age. Marking cracks and re-checking in two weeks tells you which is which.
Our full range of structural and exterior work across San Jose is laid out on the Barrett & Sons Construction San Jose home page. If your emergency turns out to be the start of a bigger project, we handle additions and ADUs too, and our Home Additions & ADU in San Jose page covers the permit and inspection path in detail.
Common Mistakes to Avoid
- Repairing before documenting. Fixing a crack before photographing it clears your evidence for the claim. Photograph first, then repair.
- Calling a contractor before the insurance company on anything you’ll claim. Doing it the other way around delays the claim and often ends up with the contractor’s estimate being treated as a negotiation point rather than documentation.
- Standing below a bulging retaining wall to inspect it. We mention this twice because it happens. Look from a safe distance, preferably from above at a slope’s crest, never from directly below a leaning wall.
- Pumping out a flooded crawl space all at once. Fast pumping while the surrounding soil is saturated can pull a foundation inward. Slow is safer.
- Adding soil to a settled area next to a foundation without fixing drainage. That just moves the water problem onto the new soil. Fix where the water is going first.
- Accepting a verbal “we’ll handle it” from anyone. If it isn’t in writing, it isn’t a scope, an allowance, or a price. On a claim, only the paper matters.
- Skipping the permit on a retaining wall repair over the local threshold. In San Jose, an unpermitted structural repair can come back to bite you at resale. Pull the permit and keep the signed inspection with your home documentation.
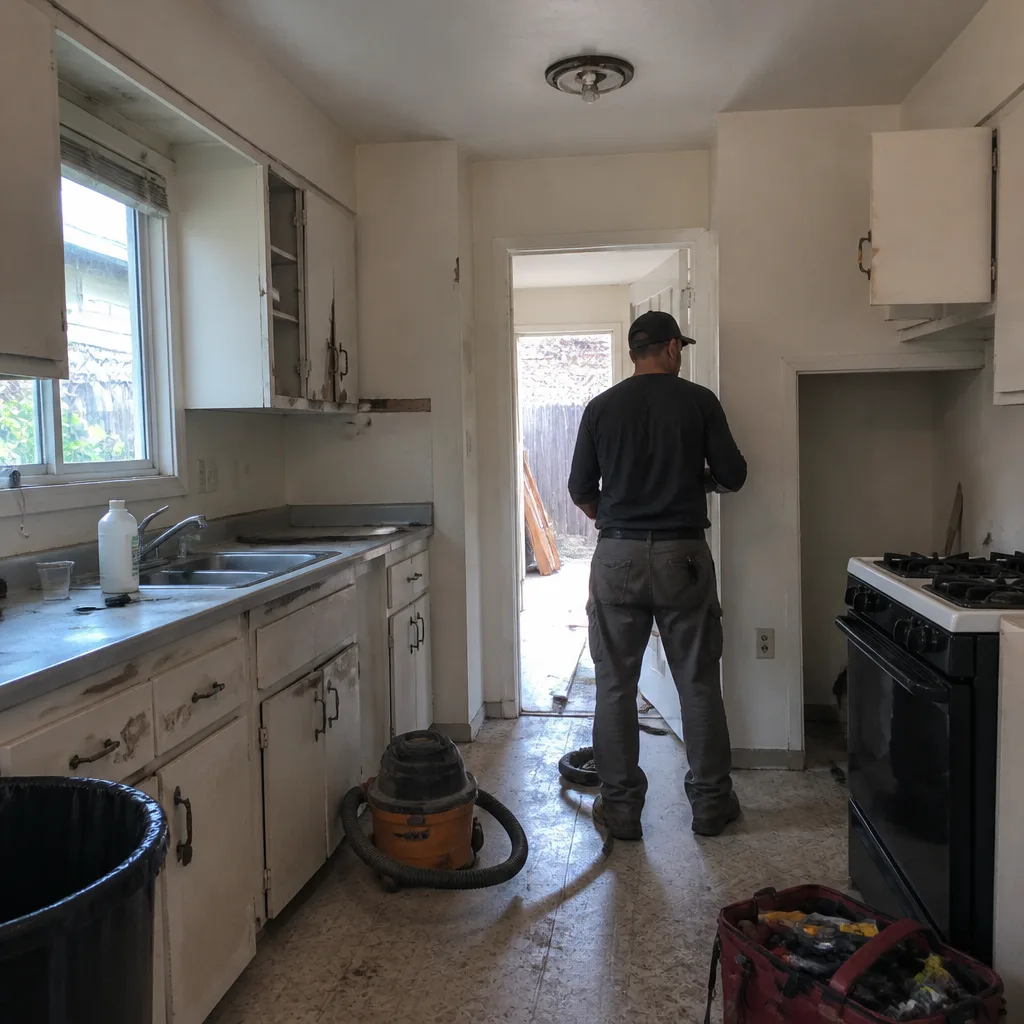
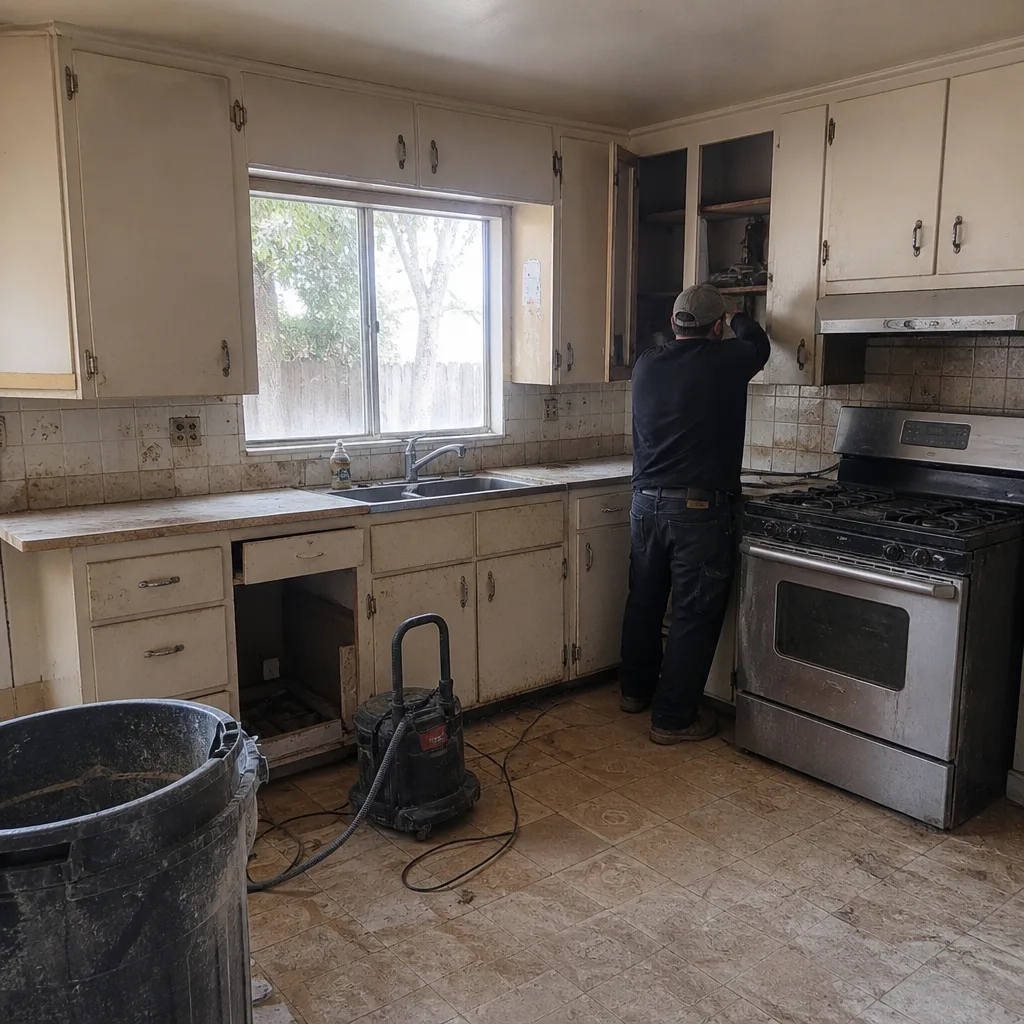
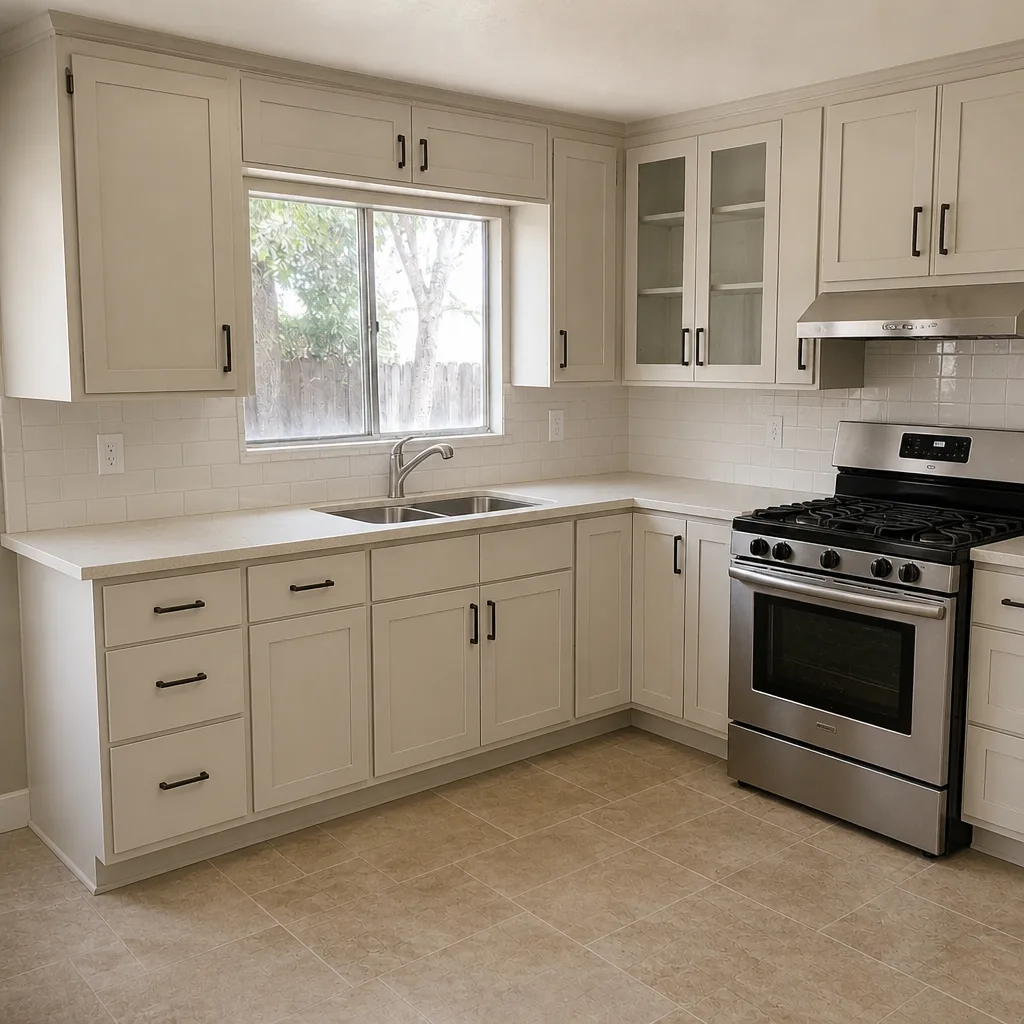
See the difference
 Before
 After
 Before
 After
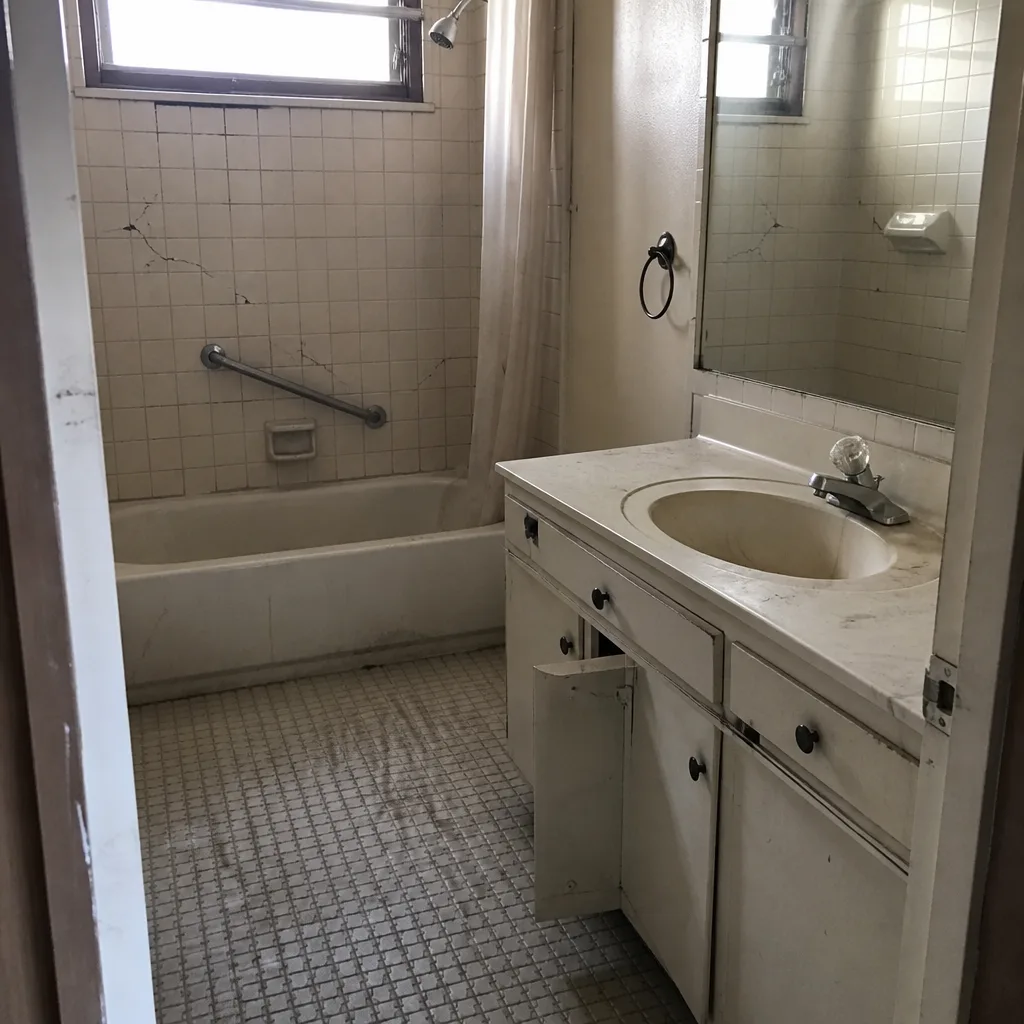 Before
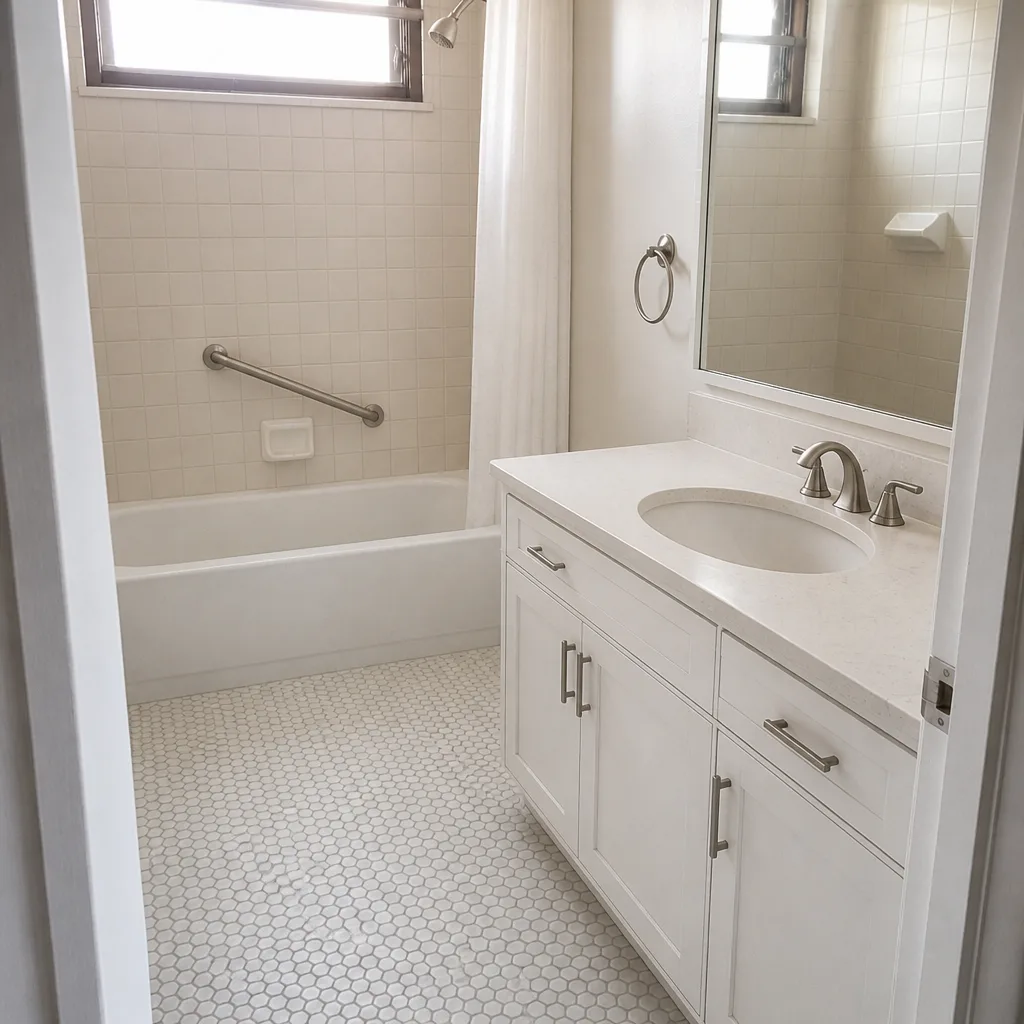 After
When to Call a Professional
Call a professional the moment any retaining wall shows displacement over two inches, any foundation crack is wider than a quarter inch and growing, any water is entering the house, or any structural element has moved under load. Call us at (844) 320-5918 if the problem is a failed retaining wall, a damaged driveway or patio, a storm-damaged roof, a toppled fence, or a foundation issue that needs a licensed contractor to stabilize and document for your insurer. Barrett & Sons Construction San Jose offers free estimates in San Jose, and we answer the phone with a live person 24 hours a day. We’ll tell you honestly whether the repair is emergency stabilization or a permanent fix, and we’ll put every scope in writing before work begins.
Frequently Asked Questions

Inspect within 48 hours of any quake you felt while standing, and re-inspect at the two-week and two-month mark. Hairline cracks that appear in the first 48 hours are often cosmetic. Cracks that grow between inspections mean the ground is still moving. Photograph with a scale reference each time so you can compare.
Standard California homeowner’s policies do not cover earthquake damage to retaining walls or foundations unless you carry a separate earthquake endorsement. Fire, wind, and water damage from storms is typically covered; ground movement from a seismic event usually isn’t. Check your declarations page and call your insurer’s claims line before you assume you’re covered. If you’re not covered, you still want the damage documented in writing so you have a record for any future sale or disclosure.
Reconnect or extend the downspout to move water four feet away from the house, then clear the nearest area drain if you can safely reach it. Sandbag the low spot to redirect water without trapping it. Photograph the water depth for your records. If water is already entering the house, call us at (844) 320-5918.
Often yes, if the failure is localized and the drainage issue that caused it gets fixed at the same time. A section replacement with new footing, proper drainage gravel, and a new drain pipe handles most localized failures. A wall that’s failing along its full length usually needs replacement. The determining factors are wall height, soil type, and whether the water source has been addressed.
Emergency stabilization typically runs $500 to $2,500 depending on scope. A retaining wall section replacement often runs $8,000 to $25,000 depending on height and access. Foundation repair ranges widely based on the type of failure. Those numbers are ballpark only. Call (844) 320-5918 for an exact quote in writing, and estimates are free.
Not without your written approval. On any job we take, every price change arrives as a written change order before work moves. That rule applies to emergencies too, and any honest contractor operates the same way. If a contractor won’t commit to written change orders on an emergency scope, don’t sign.
The Bottom Line
Construction emergencies in San Jose follow a predictable sequence, and knowing it in advance is what separates a manageable repair from a six-month headache. Photograph everything with a scale reference in the first 48 hours. Stop water at the source before you try to move it. Shore a failing wall from the face side and stay clear of the fall zone. Call insurance before contractor on anything you’ll claim, with the one exception of immediate stabilization, where the minimum necessary action comes first and receipts get saved. Keep your documentation in a cloud folder you never delete, and every scope, allowance, and price change in writing before work begins. If you’re staring at a wall that moved, a foundation that cracked, or water that’s already inside, call (844) 320-5918. Barrett & Sons Construction San Jose offers free estimates and answers the phone with a live person, day or night.
Written by the team at Barrett & Sons Construction San Jose.