Last updated November 18, 2026
Free written scope consultation - allowances, timeline, and change-order rules on paper before a single trade is scheduled
DIY vs Professional Driveway & Pavers: What’s Safe to Do Yourself
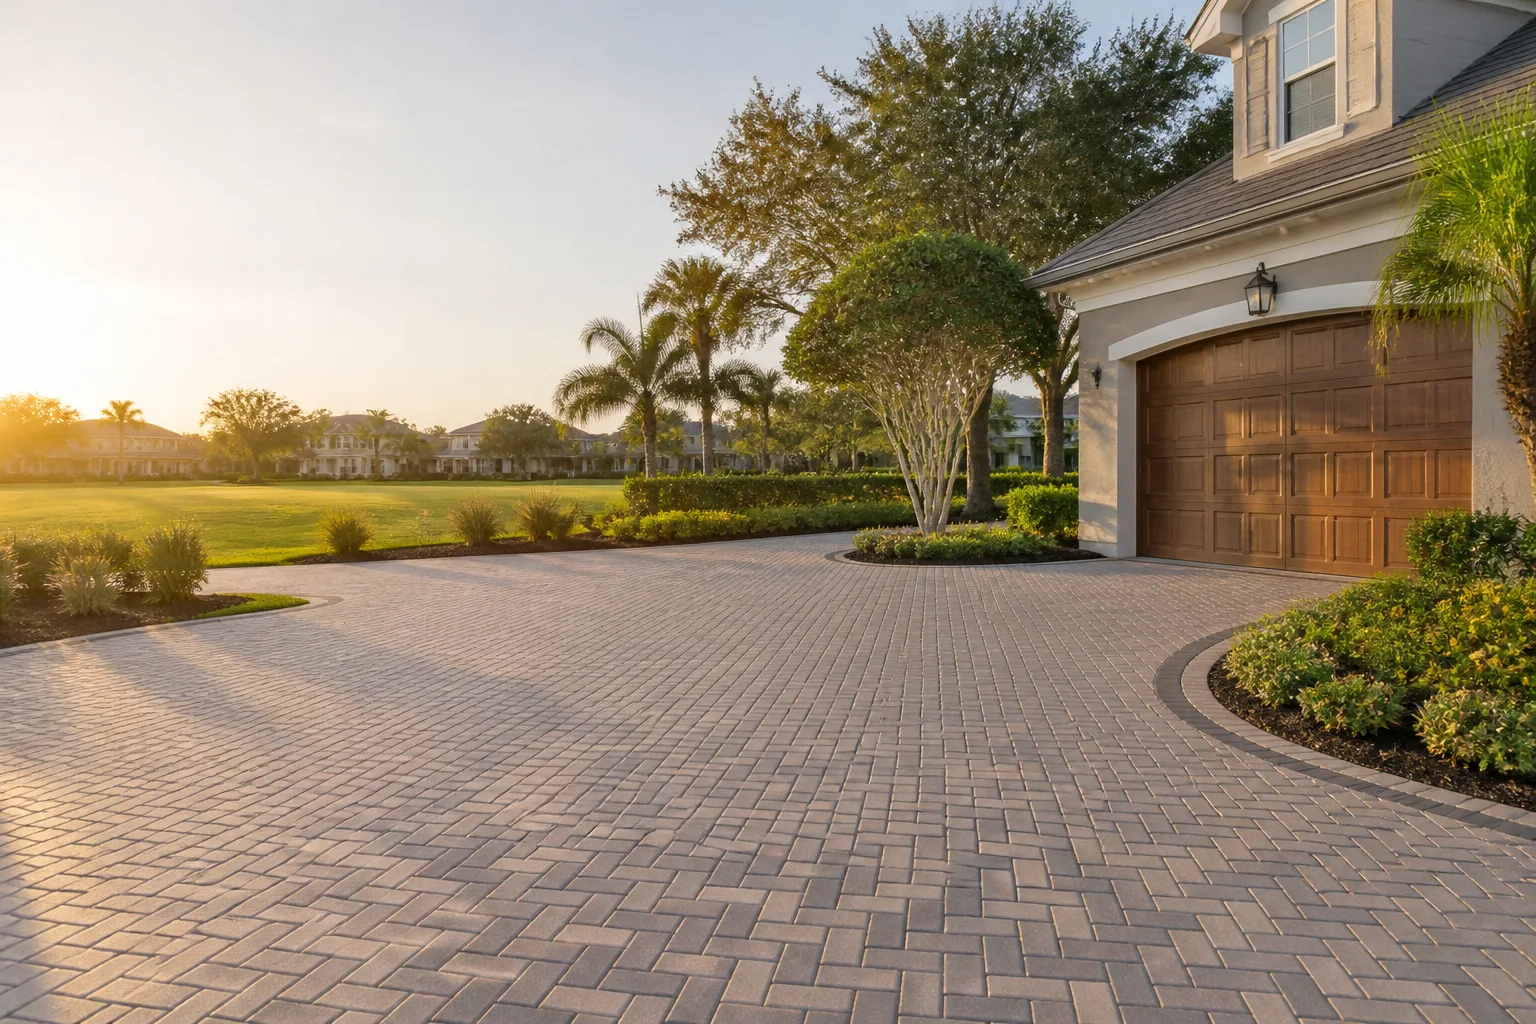
Plenty of homeowners have installed beautiful paver patios themselves. Far fewer have successfully installed a driveway. The difference isn’t skill or nerve. It’s that a driveway carries vehicle weight, and the base work required to hold two tons of truck on a slab of stone is a different category of physical labor and technical precision than a walkway. Before you rent a plate compactor and order a pallet of Belgard, it’s worth knowing which parts of a paver project you can genuinely handle and which parts will cost you twice if you get them wrong. This guide walks through the specifics from a San Jose construction crew’s point of view.
Quick Answer
It depends on three variables: project size, existing drainage, and soil type. Small walkways, garden paths, and pattern planning are genuinely DIY-safe. Driveways, sloped aprons, and anything touching a foundation or existing drainage are not, because base compaction and slope calculation are where amateur mistakes turn into structural failure. In San Jose, most residential driveways require permits – and anything affecting the public right-of-way requires a licensed contractor to pull them.
Styles & brands we work with
- Kitchen remodeling
- Bathroom remodeling
- Home additions & ADU
- Roofing
- Windows & doors
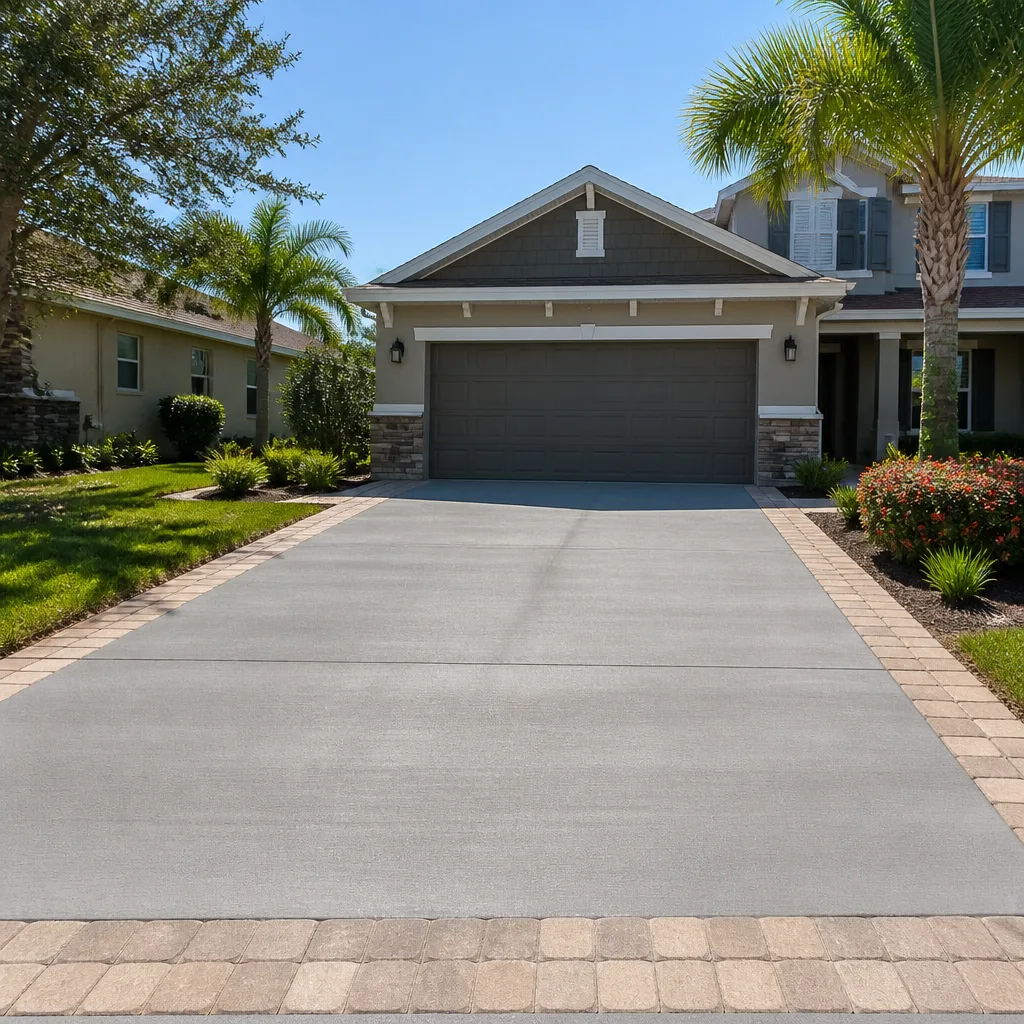
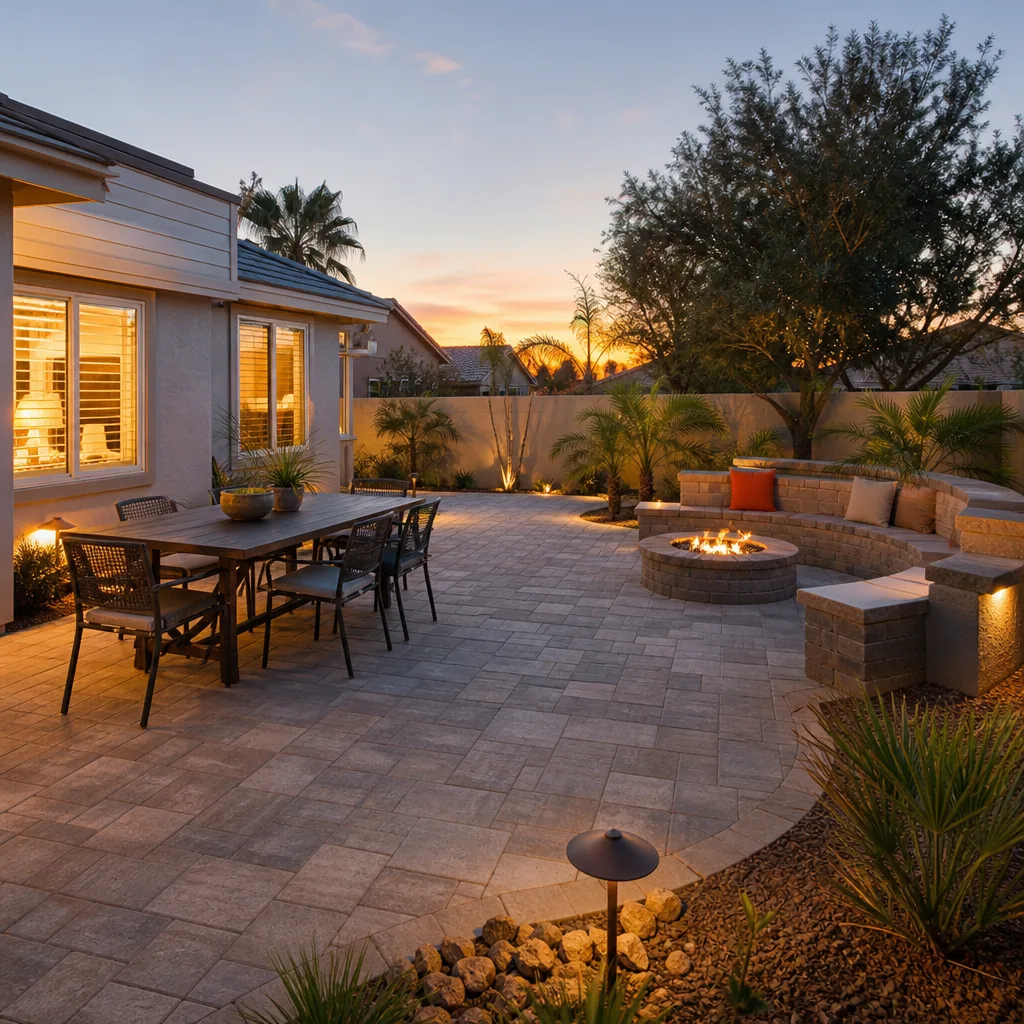
- Driveway & pavers
- Fence
Table of Contents
- The Three Variables That Decide Whether You Should DIY
- What’s Genuinely Safe to Do Yourself
- Where Amateur Mistakes Become Structural Failure
- Why a Plate Compactor Isn’t Just a Rental
- San Jose Permits: What You Can and Can’t Pull Yourself
- The Real Cost Comparison: DIY Done Right vs. a Professional Bid
- What a Botched DIY Driveway Actually Costs to Fix
- When to Call a Professional
The Three Variables That Decide Whether You Should DIY
The honest answer to “can I install pavers myself” isn’t yes or no. It’s a three-part checklist. Score your project on each of these before you break ground, and the decision usually makes itself.
Variable 1: Project size. Under 200 square feet, with no vehicle traffic and no slope, is a weekend project a motivated homeowner can handle. A two-car driveway runs 400 to 700 square feet minimum. That’s not a weekend – it’s two to three weeks of weekends, and the labor load is what breaks most DIY driveway attempts before the base is even compacted.
Variable 2: Existing drainage. Walk outside and watch where water pools after rain. If your driveway currently drains toward the street, that’s a good sign. If it drains toward the garage door, the house, or a neighbor’s lot, you have a drainage problem a paver install will make worse – not better – unless it’s corrected in the base. Correcting drainage is not a beginner task, and San Jose’s clay-heavy soils in neighborhoods like Willow Glen and Cambrian hold water long after a storm passes.
Variable 3: Soil type. The Santa Clara Valley has pockets of expansive clay and pockets of sandy loam, sometimes on the same block. Expansive clay swells and shrinks with the seasons, which means your base needs a geotextile separation layer and more aggregate depth. You can’t guess at this. A quick soil assessment – which any experienced paver crew does before quoting – tells you whether your subgrade needs 4 inches of compacted base or 8.
If your project scores poorly on any one of these – large footprint, drainage issue, or uncertain soil – that’s your answer. You can still save money on parts of the job without carrying the risk. For a full picture of what professional paver work in San Jose looks like, see our Driveway & Pavers in San Jose page.
What’s Genuinely Safe to Do Yourself
Here’s the good news, and it’s real. There are parts of a paver project where doing it yourself saves money without creating risk. These are the tasks where a mistake is cosmetic, fixable, or caught by inspection before anything is buried:
- Pattern planning. Herringbone, running bond, basketweave – all of this is arithmetic and taste. Draw it out, measure twice, order 10% extra material for cuts and waste, and you’ll do it as well as anyone.
- Paver selection and shopping. Walking a supplier yard and choosing between Belgard and Techo-Bloc options is genuinely fun and genuinely yours to do. Color, texture, and pattern are aesthetic calls, and no contractor should make them for you.
- Final edge cuts with a rented wet saw. Cutting the perimeter pavers to fit a straight edge is a muscle-memory skill. Watch a few videos, rent a saw for the day, and you’ll get clean cuts by your fifth pass.
- Demolition, if you’re careful. Breaking out an old concrete driveway with a rented jackhammer is labor-intensive but low-risk – provided you know where the gas line and irrigation lines run first. Call 811 before you swing anything.
- Filling joints with polymeric sand. Sweeping sand into the joints, compacting it in, and misting it is a chore, not a skill. Worth doing yourself after the base and pavers are set by a pro.
If your project is a garden path, a small patio, or a front walkway – under 200 square feet, no vehicles, no slope – these are all the tasks, and you can absolutely finish the job yourself.
Where Amateur Mistakes Become Structural Failure
Now the list where DIY stops being a savings plan and starts being a cost multiplier. These are the tasks where a mistake doesn’t show up next weekend – it shows up in the third or fourth winter, after the warranty window closes and after the driveway has settled into a shape your tires tell you about before your eyes do:
- Excavation to the correct subgrade depth. A driveway needs 8 to 12 inches excavated below finished grade, then filled with aggregate base in specific lifts. Not enough depth and the pavers telegraph every bump in the soil beneath them within two seasons.
- Base compaction in staged lifts. Base is compacted in 2- to 3-inch layers, with a plate compactor running 4 to 6 passes per lift at specific moisture levels. This is the single most important step in the whole project, and it’s where most DIY driveways fail silently.
- Slope calculation. Driveway pavers drain at 1-2% away from the structure, sometimes with a transition at the street apron for code compliance. A half-inch slope error over 40 feet is enough to send water into your garage for the next decade.
- Edge restraint installation. Pavers want to spread outward under vehicle weight. The edge restraint – spiked into the base, not the surface – is what holds the pattern together. A sloppy edge shows up as a spreading fan pattern within one summer.
- Geotextile separation fabric. On clay soils, a separation layer between subgrade and aggregate prevents the two from mixing under load. Skip it and your base loses structural integrity in a few wet seasons.
We’ve seen this pattern in San Jose neighborhoods like Almaden Valley and Evergreen where expansive clay is common – driveways installed over shallow base that look fine the first year and start shifting by the third. Getting these steps right is what separates paver installation from paver decorating.
Why a Plate Compactor Isn’t Just a Rental
Renting a plate compactor for a Saturday runs $80 to $150 in San Jose, and the rental is genuinely the easy part. Knowing how to use it correctly is where DIY driveway projects break down.
A plate compactor isn’t a “walk it around and call it done” tool. Correct base compaction requires:
- Running 4 to 6 passes per lift, in overlapping rows, at a walking pace slow enough to feel the plate engage the soil.
- Applying water at the right moisture level – too dry and the aggregate won’t bind, too wet and it squishes instead of compacts.
- Compacting in 2- to 3-inch lifts, which means excavating deeper, buying more aggregate, and running the plate more times than a first-timer expects.
- Using a heavy enough plate for the job – a light walk-behind won’t compact a driveway base regardless of how many passes you run.
We’ve been called out to San Jose homes where the homeowner rented a plate, ran two passes per lift, and called it compacted. Two years later the pavers were rocking underfoot and the base had settled unevenly by 3/4 inch in spots. Re-doing it meant pulling up every paver, re-excavating, and re-basing the entire driveway. The rental saved them $100 and cost them $4,000 in rework.
If you’re doing a walkway, run the plate carefully and you’ll be fine. If you’re doing a driveway, this is where the project tilts from savings to risk.
San Jose Permits: What You Can and Can’t Pull Yourself
Santa Clara County and City of San Jose permit requirements for driveway work trip up a lot of homeowners, and getting this wrong can retroactively invalidate a finished project. Here’s the lay of the land:
- Driveway replacement on private property – typically a city permit, which a homeowner can pull themselves in many cases. You’ll submit site plans, drainage details, and finished-grade specifications.
- Anything touching the public right-of-way – curb cuts, apron transitions, sidewalk modifications – generally requires a licensed contractor with an active San Jose business license to pull the encroachment permit. Homeowners usually can’t pull these.
- Grade changes affecting drainage onto neighboring properties – often require engineering review and can trigger neighbor notification requirements.
- Structural changes to garage or carport access – permit plus inspection at multiple stages, and in practice a licensed contractor’s involvement.
We pull permits and pass inspections on every eligible San Jose job. The permit inspector works for you, not for us – that’s the point. It’s also the reason when we finish a driveway, you have a signed inspection card to put next to your deed when you sell the house. DIY driveway work that skips the permit doesn’t disappear at resale; it becomes a disclosure item your buyer’s inspector will find.
If you’re doing a small patio or walkway – no right-of-way impact, no drainage change – permits often aren’t required at all, and you can skip this section entirely.
The Real Cost Comparison: DIY Done Right vs. a Professional Bid
The DIY-vs-pro calculator most homeowners use is wrong, because it compares material cost against a contractor’s total bid. That’s not the real comparison. The real comparison is DIY-done-right cost against a professional bid. Here’s what each looks like for a 500-square-foot driveway in San Jose:
DIY done right:
- Paver materials (Belgard or Techo-Bloc, 10% waste): $3,500 – $5,500
- Aggregate base, at correct depth: $600 – $900
- Geotextile separation fabric: $150 – $250
- Edge restraint and spikes: $200 – $350
- Plate compactor rental (needs 2-3 days, not one): $250 – $450
- Wet saw rental: $100 – $150
- Dumpster for demo debris: $400 – $600
- Permit fees (if homeowner can pull): $150 – $400
- Your own labor: 80-120 hours over 4-6 weekends
- DIY done-right total: $5,350 – $8,600 plus your entire summer
Professional bid (typical San Jose range):
- Full driveway replacement with pavers: $11,000 – $18,000
- Includes demo, excavation, base, compaction, edge, pavers, polymeric sand finish
- Includes permit pulled and inspection passed
- Includes written change orders and a workmanship warranty
So the honest savings on a correctly done DIY driveway is $3,000 to $9,000, minus six weekends of your life, minus the risk you carry if base compaction or slope calculation is off. For a homeowner in their 50s or 60s planning to stay in the house another 15 years, that math isn’t always as favorable as it looks on paper. For a smaller walkway or patio, it usually is.
What a Botched DIY Driveway Actually Costs to Fix
This is the number no one talks about, and it’s what we see most often when a homeowner calls us in to correct a driveway that was installed by the homeowner or by an unlicensed crew two or three years earlier:
- Full demo and re-install: $11,000 – $18,000, because re-using the existing pavers is rarely viable once they’ve shifted and settled unevenly.
- Base correction only (if pavers are salvageable): $6,000 – $9,000, but this is only possible if the original pavers are in good shape and can be lifted cleanly – which is rarely true after three winters of shifting.
- Drainage correction add-on: $1,500 – $3,500 if water intrusion into the garage or foundation has to be reversed.
- Damage from the water itself: foundation, siding, and interior moisture remediation often runs $5,000+ after a driveway slope has been pushing water at the house for two seasons.
The pattern we see most often in San Jose is this: the homeowner did the base work in too many rushed weekends, skimping on compaction time. The pavers looked fine for a year. By the second spring, in the wet season where clay soil holds moisture for weeks, the base started to settle unevenly. By the third year, the fanning at the edges was obvious and the driveway was visibly pooling water in the wrong spots. The remediation cost was roughly 1.8x the professional bid they’d originally considered.
That’s the risk you’re carrying if you’re doing a driveway yourself. It’s not the labor – it’s the deferral. The cost of an error doesn’t show up for 24 months, and by then you’ve disposed of the receipts.
When to Call a Professional
Call us for a professional paver installation when any of the following applies to your San Jose project: your footprint is over 300 square feet; your driveway carries vehicle weight; your existing drainage has any history of pooling, garage-door water intrusion, or draining toward the house; your soil is clay-heavy or you’re not sure; your project touches the public right-of-way or requires an encroachment permit; or your free hours are more valuable to you than the savings. None of those are failures – they’re just the natural dividing line. Also call if you’ve inherited a driveway that’s already shifting, pooling, or fanning at the edges – fixing someone else’s base work is a very different job than starting fresh. Barrett & Sons Construction San Jose offers free estimates in San Jose and the surrounding Santa Clara County area. Call (844) 320-5918 and we’ll walk your driveway, talk through the variables, and give you a written line-item quote with the scope in writing. If you’re also considering an adjacent project, our Fence Installation in San Jose page covers how we coordinate fence and driveway work in a single visit.
Common Mistakes to Avoid
- Skipping the 811 call. Before any excavation, call 811 to mark gas, water, and utility lines. Striking a line in San Jose is expensive and can be genuinely dangerous, and it’s a two-minute phone call.
- Buying pavers without the 10% waste factor. Cuts, breaks, and pattern edges will consume more material than you expect. Running short mid-project means a new order that may not match your original dye lot exactly.
- Compacting the base in one deep lift instead of multiple thin ones. We see this in about half the failed DIY driveways we’re called to. The base has to be compacted in 2- to 3-inch layers, full stop.
- Setting the edge restraint into the pavers instead of the base. The spikes belong in the compacted base, not in the sand bed. Restraint set wrong is why paver patterns fan and spread within one summer.
- Slope the wrong direction on a driveway that drains toward the street. San Jose’s older neighborhoods often have fixed street grades. If you don’t match them, water runs back into the garage or across the sidewalk.
- Ignoring the drainage on the low side of a sloped lot. Willow Glen, Cambrian, and parts of Almaden Valley have lots where the driveway drops below street grade. That requires positive drainage at the apron, which is a specific design detail, not a general slope.
- Not pulling the permit because it “doesn’t seem necessary.” A driveway permit is often required even when it looks optional. Unpermitted work becomes a disclosure item at sale, and the buyer’s inspector will find it.
See the difference
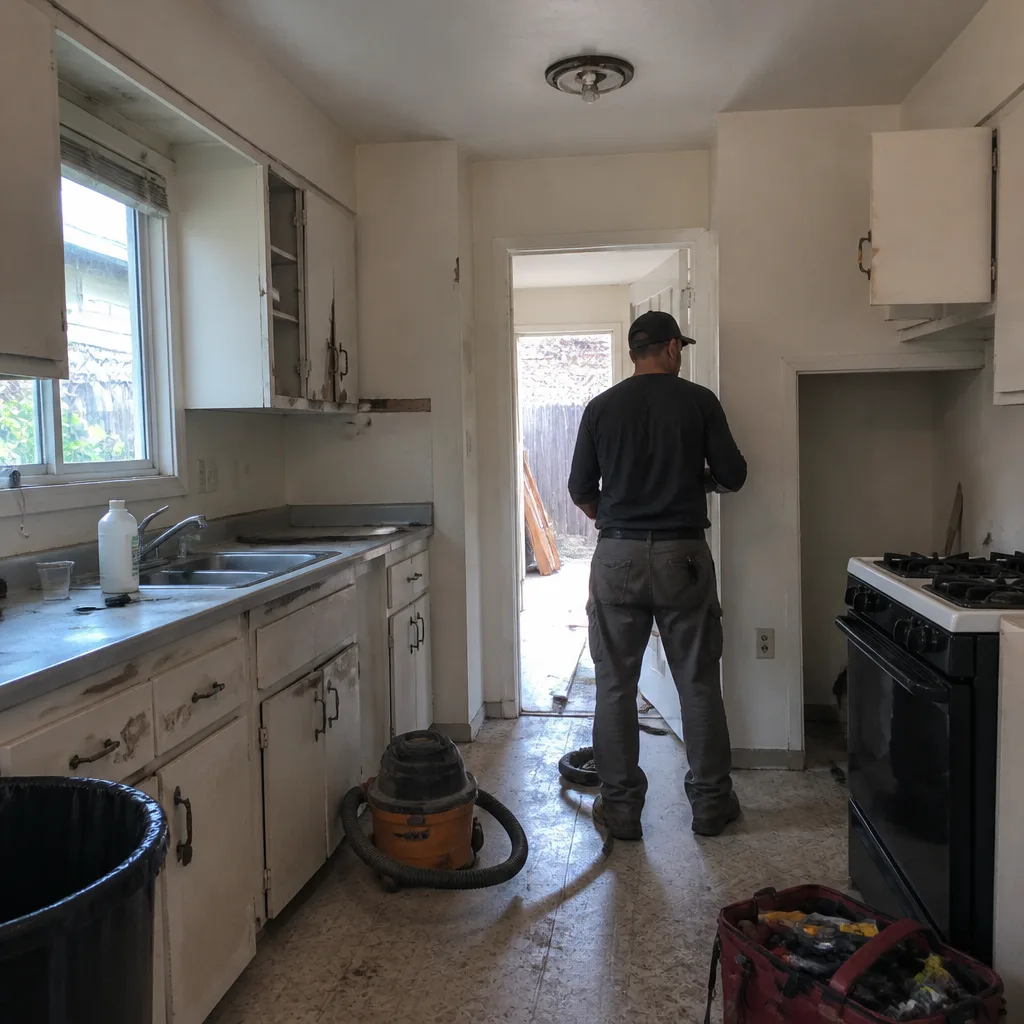 Before
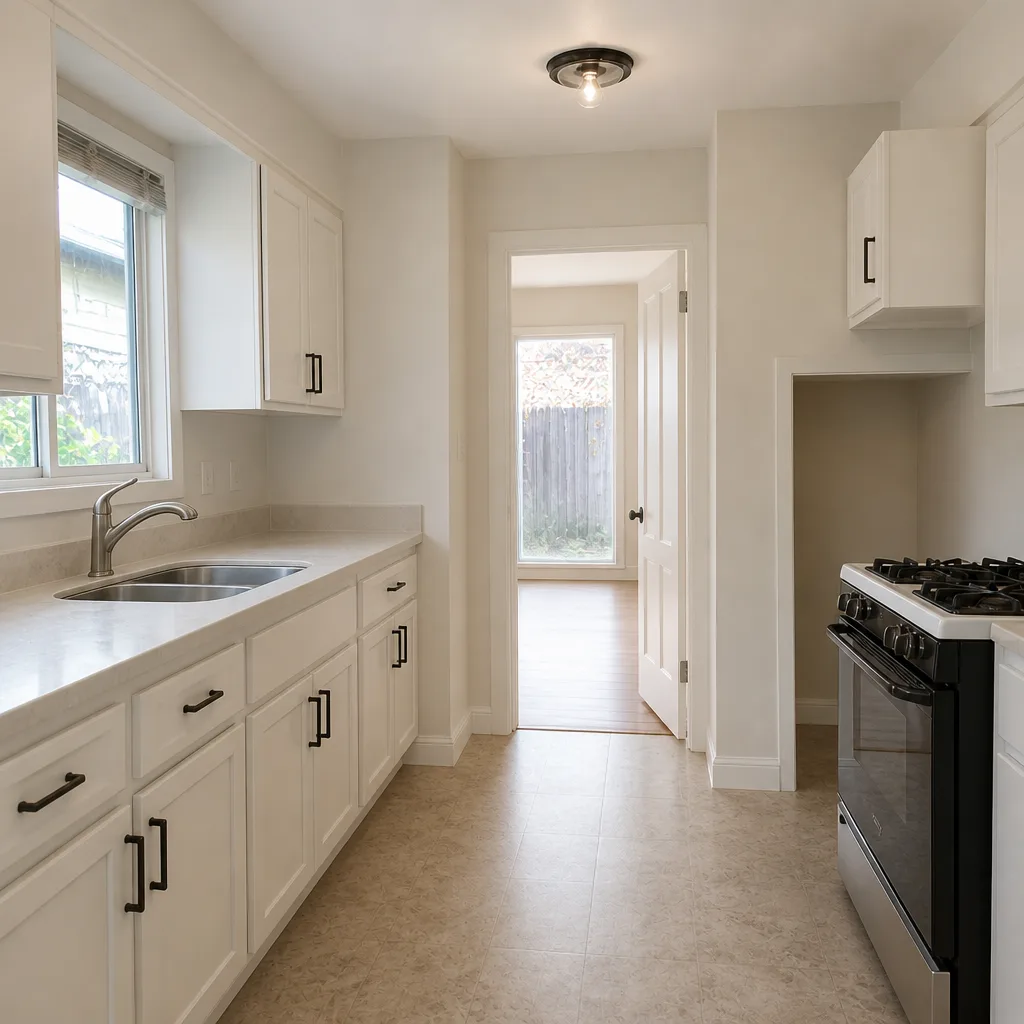 After
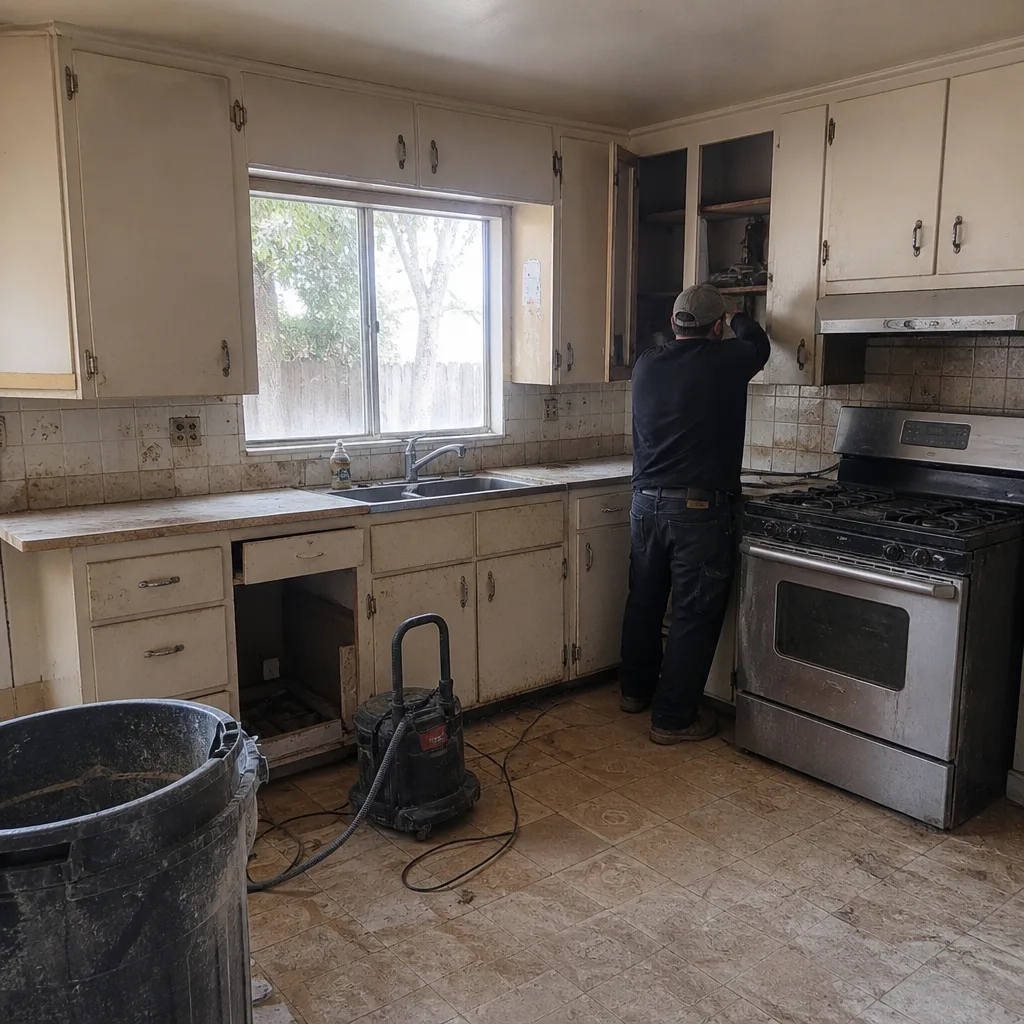 Before
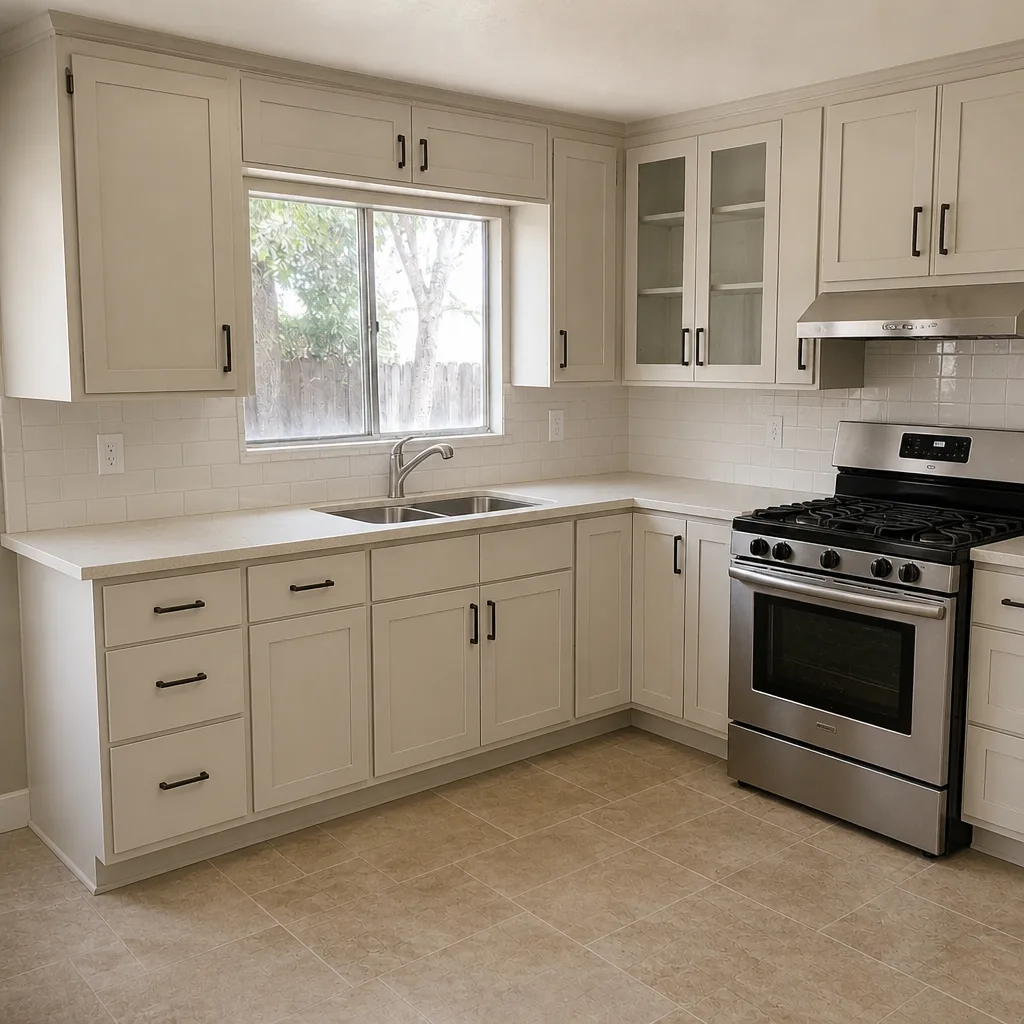 After
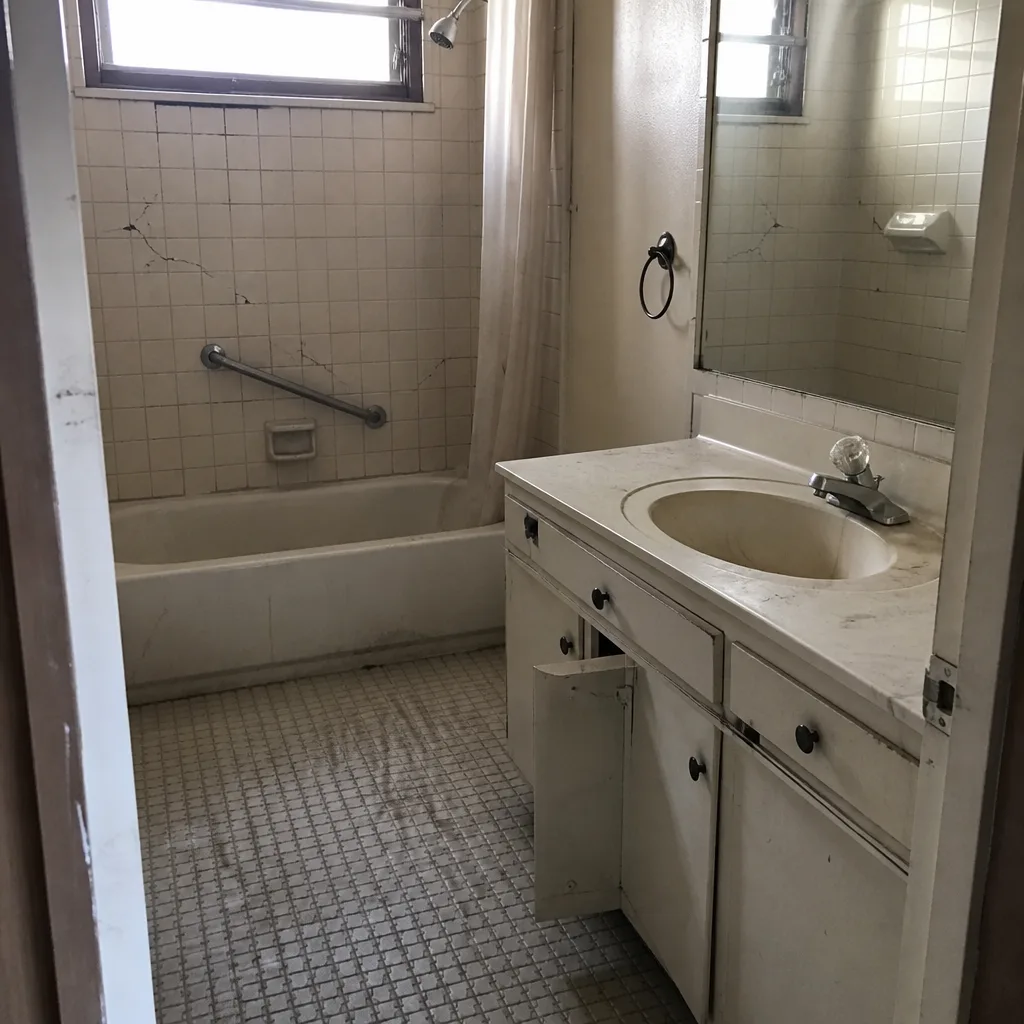 Before
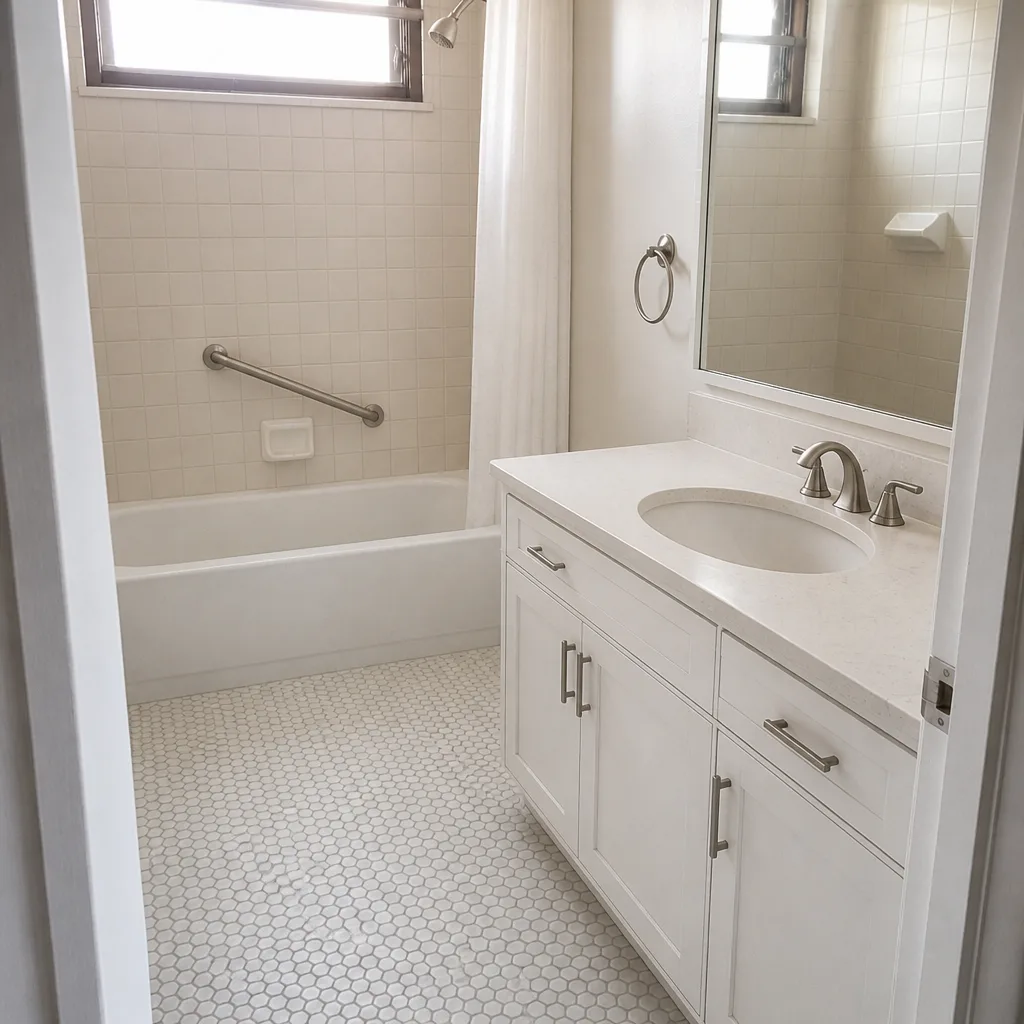 After
Frequently Asked Questions
Only if your footprint is small, your soil is stable, your drainage is already correct, and you’re committed to running proper base compaction in multiple lifts. In San Jose, that combination is rare for residential driveways. For walkways and small patios, yes – that’s a genuinely doable DIY project.
Professional paver driveway installation in San Jose typically runs $11,000 to $18,000 for a 500-square-foot two-car driveway, including demo, base, compaction, pavers, edge restraint, polymeric sand finish, and permits. A correct DIY job totals $5,350 to $8,600 in materials, rentals, and permit fees – not counting your labor. Call (844) 320-5918 for an exact quote on your specific driveway – estimates are free.
In most cases, yes. Driveway replacement on private property requires a city permit, and anything touching the public right-of-way requires an encroachment permit that generally has to be pulled by a licensed contractor. If you’re unsure, call the San Jose permit office or call us and we’ll tell you what your specific project requires.
A properly installed paver driveway with correct base compaction lasts 25 to 30 years and often longer. The pavers themselves are durable – it’s the base that determines lifespan. A driveway with compromised base typically shows failure symptoms within 3 to 5 years.
Sometimes, but rarely without complications. The existing concrete has to be structurally sound, drainage has to work with the added height, and any transition to the garage, street, or sidewalk has to be addressed. Add 1.5 inches of thickness for the pavers plus the sand bed – if that pushes you above the street apron or into the garage threshold, the concrete has to come out anyway.
The main differences are base prep, compaction methodology, slope design, and permit handling. The pavers themselves are the same product – it’s what’s underneath them that separates a driveway that lasts 25 years from one that fails in 3. Professionals also carry the workmanship warranty, which the DIY homeowner doesn’t have.
The Bottom Line
Small paver projects – walkways, patios, garden paths under 200 square feet with no vehicle traffic and no slope complications – are genuinely DIY-safe. You’ll save real money. Driveway projects are a different animal. Once you’re carrying vehicle weight, the variables that matter most (base compaction in proper lifts, slope calculation, drainage, edge restraint) are the ones where an amateur mistake doesn’t show up for two or three years and costs roughly twice the original bid to correct. If your San Jose project is a driveway, or a patio with drainage issues, or a paver install on clay-heavy soil, talk to a professional before you order material. If you’re considering a broader project, our Home Additions & ADU in San Jose page covers how we coordinate exterior hardscape and structural work together.
Get a Free Estimate on Your San Jose Paver Project
We started in 1998 and have been on San Jose job sites ever since – Tom and his sons are on-site most days, and every job includes permits pulled, inspections signed, and pricing locked in writing before work starts. Every quote comes with a written scope, written allowances, and written change orders for any adjustment. Every completed job is backed by our written 90-Day Done Right Promise – if something isn’t right, one call brings Tom back to make it right. We’re licensed, insured, and we publish the name and license number so you can look them up before you sign anything. Free second opinion on any written estimate you’ve already received. No trip charge inside the county. Permanent 10% Senior & Veteran discount. Call (844) 320-5918 for a free estimate, or start with our Barrett & Sons Construction San Jose home page to see what else we do.
Written by the team at Barrett & Sons Construction San Jose.